Oil Painting Medium & Drying Time Calculator
Enter your mix and press Calculate to see the composition bars and warnings.
Your estimated surface-dry and full-cure windows appear here.
Add each layer of your painting in order, from the first underpainting at the top down to your final glaze at the bottom. Each layer should be at least as "fat" (oil + resin) as the one beneath it.
Most people assume there is one single chemical equation for oil painting, like a recipe for cake. But in reality, the "formula" is a flexible system of ratios between three core components: pigment, oil binder, and medium additives. Get these proportions wrong, and your paint might crack, yellow, or never dry. Get them right, and you unlock control over texture, color depth, and longevity that lasts centuries.
This guide breaks down the actual mechanics behind mixing oil paints. We will look at the standard industrial ratios, how to adjust them for specific techniques like glazing or impasto, and the critical rules that keep your work from falling apart decades later.
The Core Components of Oil Paint
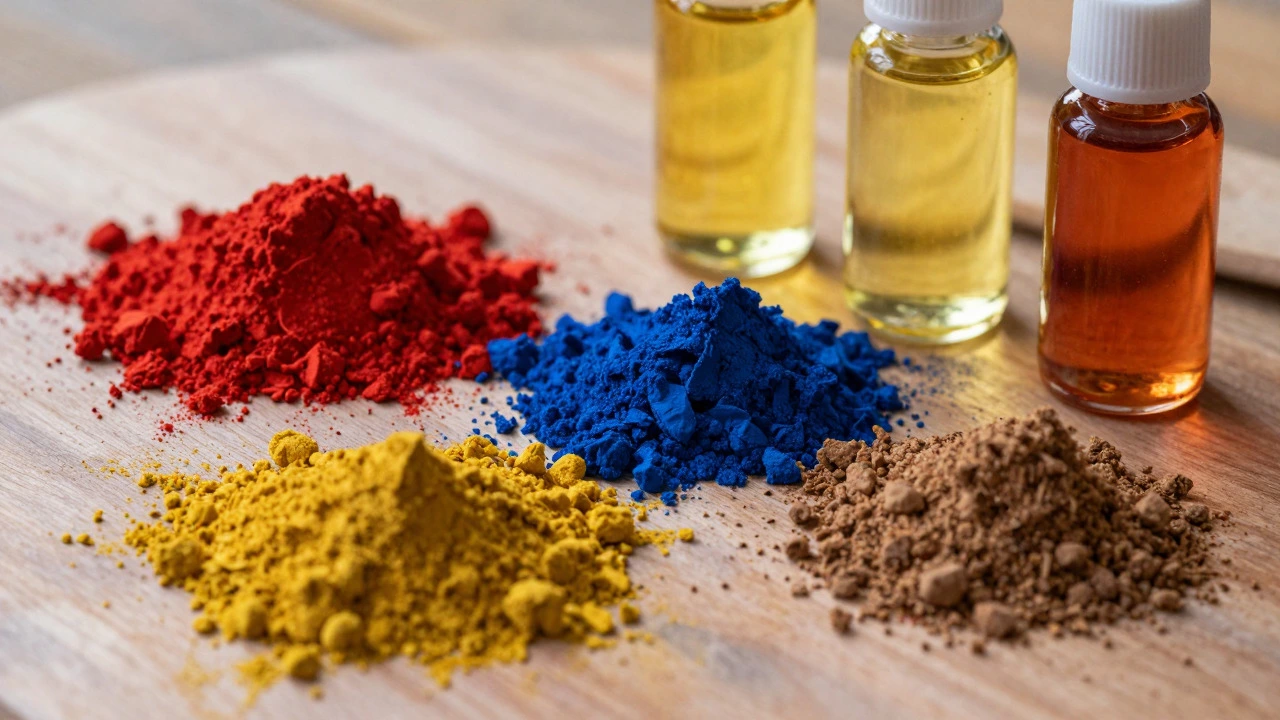
To understand the formula, you first need to know what you are mixing. Traditional oil paint consists of ground pigment suspended in a drying oil. The most common oil is linseed oil, but poppy seed and safflower oils are also used for specific effects.
- Pigment is the colored powder that provides opacity, hue, and lightfastness. It has no binding power on its own.
- Binder (Oil) is the liquid vehicle that holds pigment particles together and adheres them to the canvas. Linseed oil is the industry standard due to its fast drying time and strong film formation.
- Solvents are volatile liquids like turpentine or odorless mineral spirits used to thin paint during application. They evaporate completely and do not remain in the final dried film.
The basic factory formula for tube paint is roughly 60-70% pigment by weight and 30-40% oil. This creates a paste that is thick enough to hold its shape but fluid enough to load onto a brush. When you buy a tube of cadmium red, it is already pre-mixed with this base ratio.
Adjusting the Ratio: Creating Your Own Mediums
Professional painters rarely use straight tube paint for everything. You modify the formula by adding mediums. A medium is a mixture of oil, resin, and solvent designed to change the physical properties of the paint.
Here is how the ratios shift based on your goal:
| Medium Type | Typical Ingredients | Primary Effect | Drying Time Impact |
|---|---|---|---|
| Thinning Medium | 90% Solvent, 10% Oil | Liquid consistency for washes | Faster (solvent evaporation) |
| All-Around Medium | 50% Oil, 30% Resin, 20% Solvent | Smooth flow, moderate gloss | Moderate |
| Glazing Medium | 70% Oil, 30% Resin | Transparent, slow-drying layers | Slower (high oil content) |
| Impasto Medium | 80% Oil, 20% Thickener (Wax/Resin) | Stiff, peak-holding texture | Variable |
Notice the pattern: more oil equals slower drying and higher gloss; more solvent equals faster drying and lower gloss. If you want a quick sketch that dries overnight, you increase the solvent. If you want deep, rich colors that glow from within, you increase the oil and resin.
The Golden Rule: Fat Over Lean
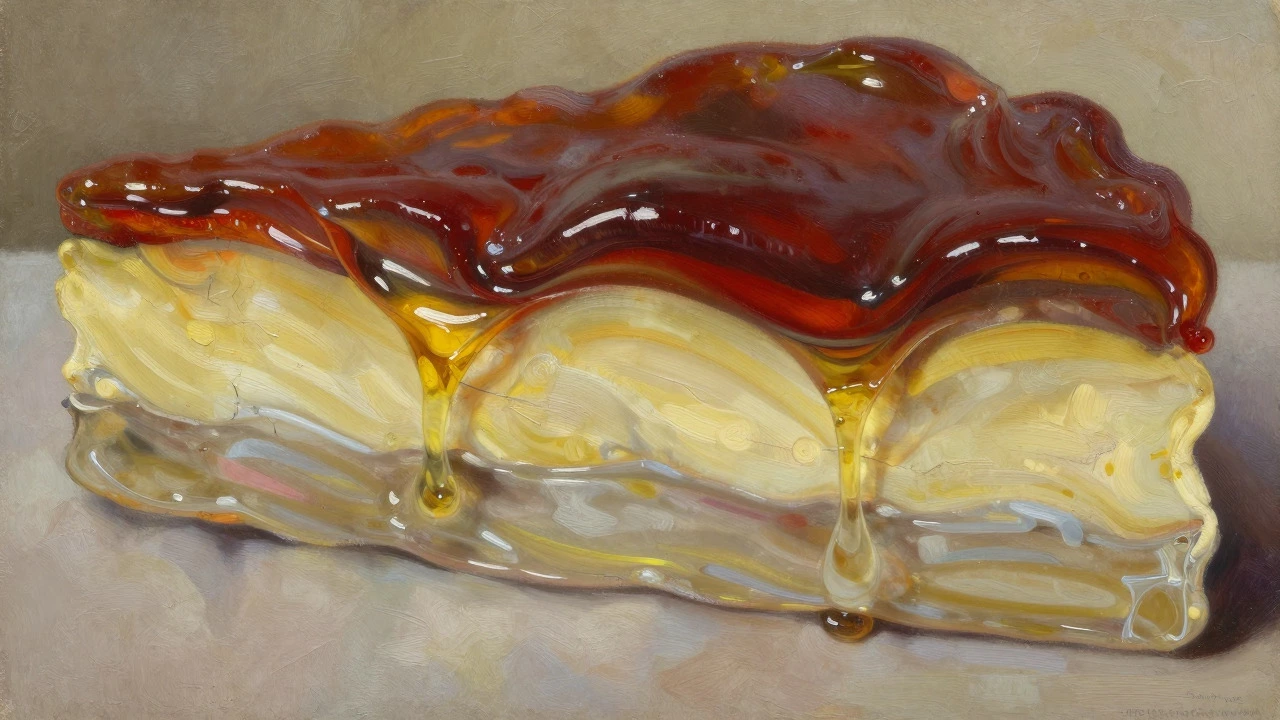
This is the most critical structural rule in oil painting. "Fat" refers to high oil content; "lean" refers to low oil content (more solvent or pure pigment).
You must always apply leaner layers before fatter layers. Why? Because oil takes weeks or months to fully cure into a hard plastic-like film. If you put a stiff, lean layer on top of a soft, fatty layer, the top layer will shrink as it dries. The bottom layer is still moving and expanding slightly. This tension causes cracks.
Think of it like building a house. You lay the concrete foundation (fat) first, then brick (medium), then plaster (lean) last. If you reverse the order, the structure fails. In practice, this means your underpainting should be thinned heavily with solvent. Your middle layers can have normal oil content. Your final glazes should be the fattest, richest mixtures.
Understanding Drying Times and Curing
Drying in oil painting happens in two distinct stages, and confusing them leads to mistakes.
- Surface Dry (Tack-Free): This happens in hours to days. The surface feels dry to the touch. You can safely paint over it if following the fat-over-lean rule. However, the interior is still wet.
- Full Cure (Hard Dry): This takes 6 months to 2 years. During this phase, the oil continues to oxidize and polymerize. The paint becomes brittle and hard. Varnishing should only happen after full cure, otherwise, trapped moisture will cause cloudiness or cracking.
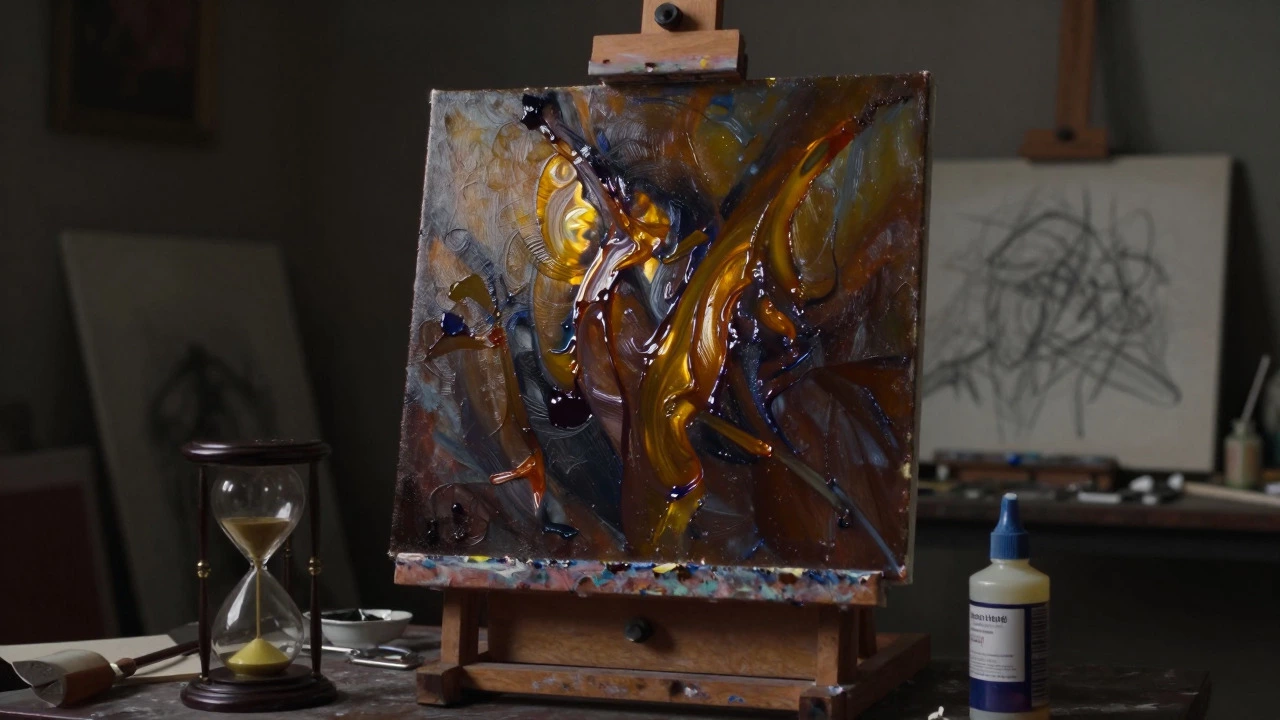
Temperature and humidity drastically affect these timelines. A warm, dry room speeds up oxidation. A cold, humid basement slows it down significantly. If you live in a damp climate, add an extra month to your curing estimates before varnishing.
Color Mixing Formulas and Pigment Interactions
While the binder formula is about physics, the color formula is about chemistry. Oil pigments behave differently than acrylics or watercolors because of their refractive index and particle size.
Some pigments are "stainers," meaning they bleed through other colors easily. Alizarin Crimson is a classic example. If you mix it with white titanium, the white may eventually turn pink as the alizarin migrates. To prevent this, artists often use opaque pigments like quinacridone magenta instead, which sits on the surface rather than penetrating.
Also, consider the "load" of the pigment. Some tubes contain more pigment than others. A tube of ultramarine blue is dense and dark. A tube of zinc white is chalky and light. When mixing, you need less ultramarine to match the value of a large amount of white. Always test your mixes on a scrap canvas, not directly on your main piece, because optical mixing in oils is complex and non-linear.
Common Pitfalls and How to Avoid Them
Even experienced painters make formula errors. Here are the most common ones:
- Too Much Solvent: Washing out too much oil leaves the paint weak. It may flake off the canvas years later. Keep solvent usage under 50% of the total volume for structural integrity.
- Mixing Too Much: Oil paint dries better when mixed fresh. Standing paint in a palette cup loses solvent and becomes gummy. Mix small batches frequently.
- Ignoring Lightfastness: Not all pigments react well to long-term exposure. Some yellows and blues fade quickly. Check the manufacturer's data sheet for ASTM ratings. I rating means excellent lightfastness; III means poor.
By respecting these ratios and rules, you transform oil painting from a guessing game into a controlled craft. The formula isn't static-it’s a toolkit. Master the basics, and you can tailor every stroke to exactly how you want it to look and last.
What is the best oil to use for oil painting?
Linseed oil is the most popular choice because it dries relatively quickly and forms a hard, durable film. Poppy seed oil is preferred for glazes because it stays clear and doesn't yellow, but it dries very slowly. Safflower oil is another option for preserving color clarity in transparent layers.
Can I use water to thin oil paint?
No. Water does not mix with oil. If you add water, the paint will separate and become emulsified, leading to a weak, chalky finish that peels easily. You must use solvents like turpentine, odorless mineral spirits, or alcohol-based mediums to thin traditional oil paint.
How long should I wait before varnishing an oil painting?
You should wait at least 6 months, and ideally 1-2 years, for the paint to fully cure. Varnishing too early traps residual solvents and moisture inside the paint layer, which can cause the varnish to turn cloudy or crack as the paint continues to move beneath it.
What does "fat over lean" actually mean in practice?
It means each successive layer of paint should contain more oil (or slower-drying medium) than the layer beneath it. Start with thin, solvent-heavy underpaintings. Move to thicker, oil-rich mid-tones. Finish with heavy, oily glazes. This prevents cracking caused by differential shrinking rates.
Do different pigments require different amounts of oil?
Yes. Absorbent pigments like earth tones soak up more oil, making the paint feel dry and matte. Non-absorbent pigments like metallics or certain synthetics sit on the surface, requiring less oil to achieve the same consistency. Always check the texture of the pigment in the tube before adding medium.