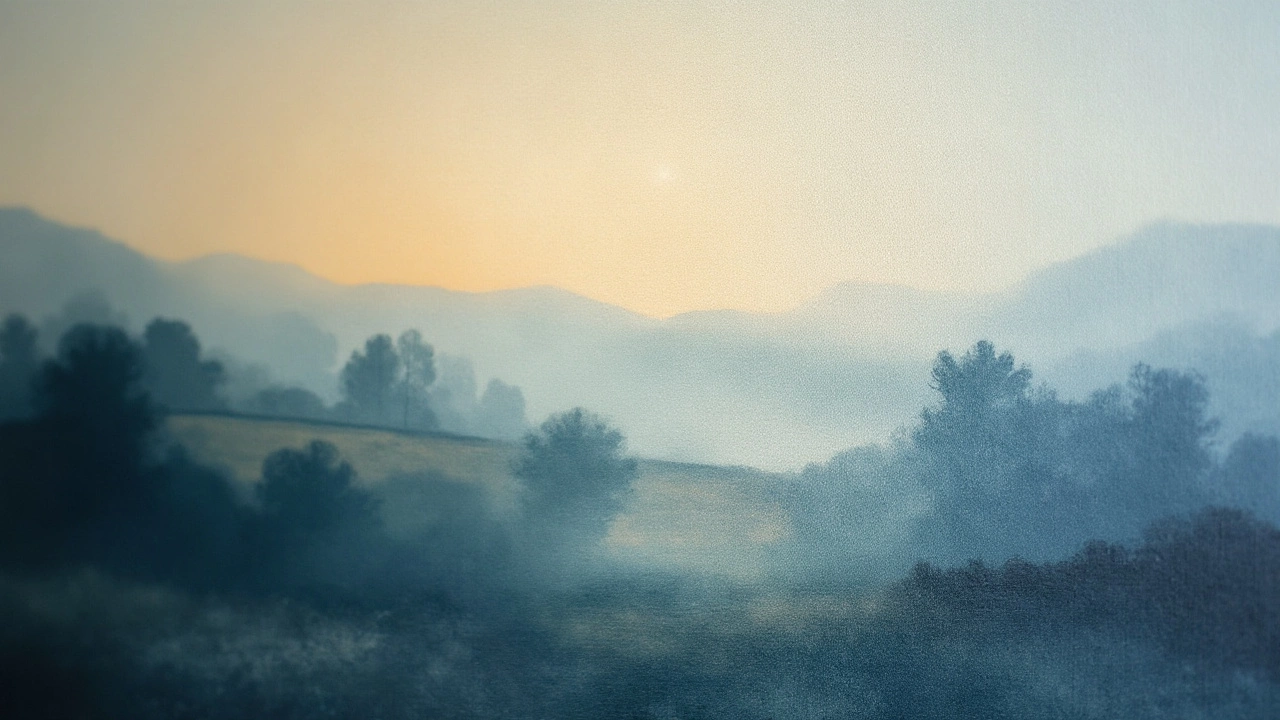
Diving into the world of oil painting opens up a palette of expressive possibilities, none quite as enchanting as the wash technique. This method, typically associated with watercolors because of its translucent quality, translates into oil painting with a unique depth and vibrance.
Crafting washes requires understanding both the chemistry of oil paints and the effect of layering these thin, fluid strokes onto the canvas. Artists use washes to create atmospheric effects, soft transitions, and to unify the tones across a painting.
Acquiring mastery over this technique offers endless creative opportunities, from subtle nuances in a subject's skin tones to the expansive gradients of a twilight sky. Each brush stroke, feathered gently over the surface, contributes to the emerging tapestry that is both evocative and incredibly alive.
- Introduction to Wash Technique
- Materials and Preparation
- Step-by-Step Guide to Applying Washes
- Common Mistakes and How to Avoid Them
- Tips for Enhancing Your Oil Painting with Washes
Materials and Preparation
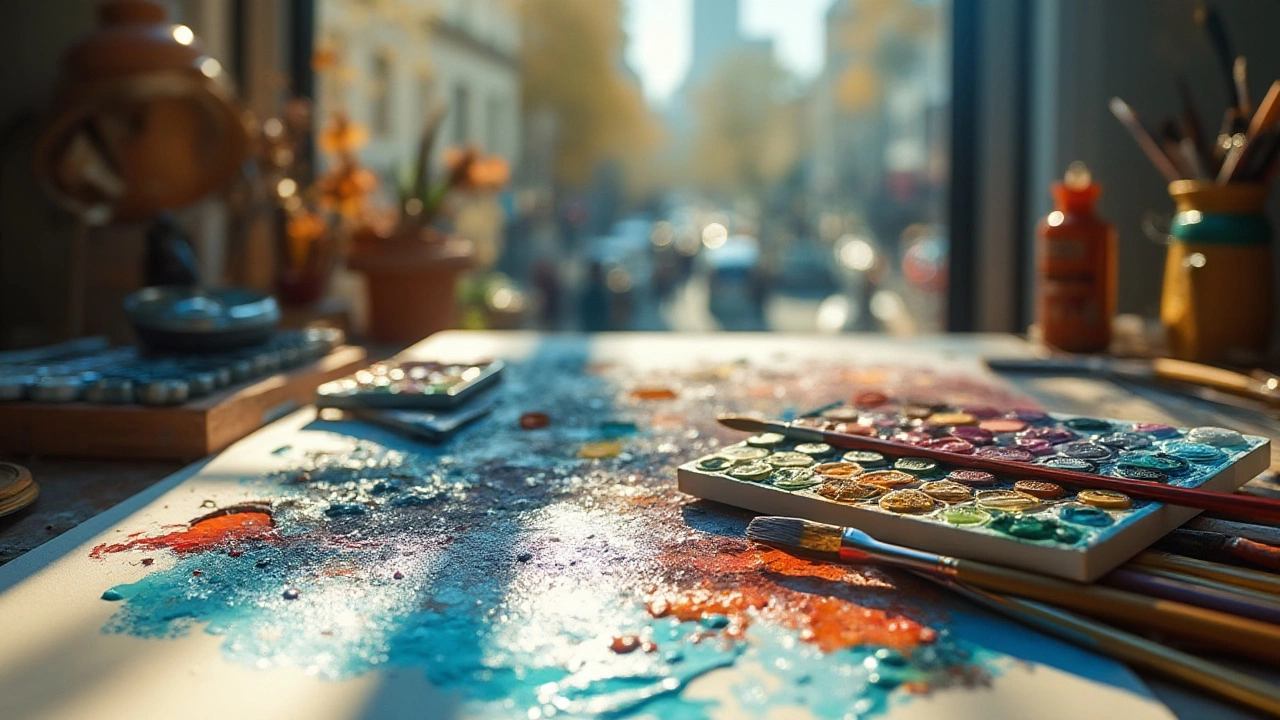
The journey to mastering the wash technique in oil painting begins with gathering the right materials. This technique, delicate yet profound in its impact, demands a particular set of tools. Start with a high-quality canvas or a gesso board—these surfaces handle the fluidity of washes beautifully, allowing for an even spread of the thinned paint. The canvas's tooth will grab onto the wash, ensuring the pigment stays vibrant and doesn’t pool excessively.
Next, choose your oil paints wisely. Professional-grade oil paints provide richer pigments and a consistency that is easier to thin, making them ideal for washes. Whites and lighter tones should be readily available as they often mix with vibrant shades to create the gauzy effect characteristic of washes. Along with paint, you will need a medium to thin out your colors. Traditional options like turpentine can serve well but consider modern alternatives like odorless mineral spirits for a more pleasant studio environment.
Brushes play a critical role in achieving the desired wash effect. Opt for a variety of sizes, particularly those with soft, synthetic bristles. These brushes will help in applying smooth washes without leaving harsh brush marks. Flat brushes or filberts with rounded edges can distribute the pigment evenly across the canvas, making them particularly useful for this technique. A palette knife, although not directly used in washing, can help in mixing colors efficiently, ensuring that the tones remain consistent.
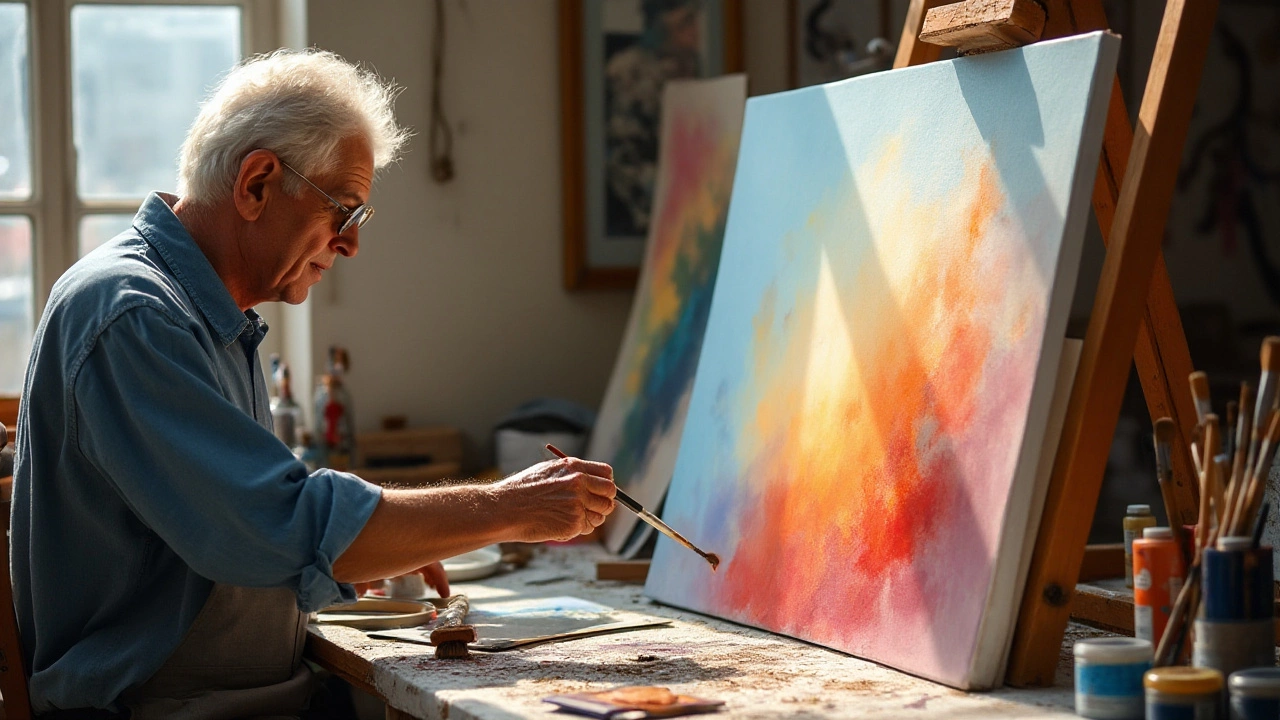
Finally, prepare your workspace to avoid contamination and ensure safety. Always work in a well-ventilated area to avoid inhaling fumes from paint thinners and other chemicals. An easel that can be adjusted allows for better control over paint flow and helps avoid inadvertent drips. It's wise to have paper towels or lint-free cloths on hand for cleaning brushes and correcting mistakes quickly. An organized artist's space fosters creativity, allowing you to focus on exploring the depths of the wash technique without distractions.
"The preparation stage is the soul of the oil painting process; it defines the colors, movement, and texture before you even lay brush to canvas," once remarked renowned art historian, Richard George, emphasizing the importance of being meticulously prepared when venturing into oil painting techniques.

Step-by-Step Guide to Applying Washes
Embarking on the adventure of applying a wash technique in your oil painting starts with the right preparation and understanding of how colors interact with one another. This begins by selecting the appropriate materials, focusing on high-quality brushes and oil paints that suit your painting style. Thinning your paints is crucial. You could use either turpentine or oil medium to create those subtle, translucent layers that define a wash. Remember, balance is key; you want the paints to flow smoothly but retain enough pigment to reveal the richness only oil can provide. Patience is essential as your brushes glide over the canvas, wicking color softly into prepared spaces. This process can turn an ordinary landscape into a remarkable vista enriched with atmosphere and depth.
Begin by visualizing the effect you want to achieve. Are you aiming for a moody sky, a gentle seascape, or maybe the soft complexion of a portrait subject? Each goal guides the direction and technique of your wash. Prepare the painting surface by applying a toned background if necessary, which helps colors pop and blend naturally. Use an easel positioned at the angle that best suits the flow of the medium, as gravity can affect how the wash settles. When it comes to mixing, aim for a consistency similar to skim milk for the most effective washes.
Once your preparation is set, it’s time to start. Dip your brush lightly into your thinned paint mixture and test your stroke on a piece of scrap canvas or paper first. This can help gauge the flow and color intensity. Apply the wash in broad, fluid strokes, often working from the background to the foreground. It might surprise newcomers to know that oils take time to settle and dry, so there’s the flexibility to backtrack and adjust without rushing. The drying time, ranging from a couple of days to even weeks, provides opportunities to layer subsequent washes to build depth and luminosity.
Key to a successful wash is controlling the amount of medium used. Using too little might leave the pigment uneven, whereas too much might cause it to drip, altering your intended design. A tip shared by many seasoned artists: “Trust the process and learn to enjoy the dance of paint and canvas.” Such advice underscores the importance of persistence and exploration. Experiment with different tools—such as sponges or palette knives—to vary the texture and dynamic range of your washes.
If you wish to stop at any given layer, ensure the wash is evenly spread by gently tilting the canvas and watching how the paint settles. Allow each layer to dry naturally in a dust-free area. If necessary, protect your work with a dedicated drying cover to keep unwanted particles away. Revisit the piece once completely dry to identify any areas that might require enhancement or touch-ups. This iterative process is not just a methodical application but a conversation with your creation.
Finally, nurture your growing skills by watching other artists and attending workshops. Videos and digital tutorials abound, but nothing replaces the tactile experience of seeing art unfold before your eyes. As Leonardo Da Vinci once said, “Where the spirit does not work with the hand, there is no art.”
Cultivating this harmony between intention and execution turns the simple act of applying a wash into both an exploration and a profound expression of art.

Common Mistakes and How to Avoid Them
When embracing the wash technique in oil painting, it's easy to misstep, even for seasoned artists. One of the prevalent errors is applying the wash without considering the fat-over-lean principle. This concept dictates that each layer of the paint should be progressively oilier than the one beneath to allow the paint to dry properly without cracking. Many overlook this principle, resulting in a muddy appearance or eventually cracked areas. To avoid this, always ensure that your wash, being thinner, lies beneath thicker, more oil-rich layers. Mixing a medium like linseed or stand oil can help control this balance effectively.
Another frequent issue is using too much solvent when thinning the paints for your wash. Excessive thinning can degrade the quality of the pigment, leaving a patchy, uneven color. A good rule of thumb is to start with a small amount of solvent and gradually increase until you reach a consistency similar to skim milk. Charles Reid, a renowned artist, once noted,
"The secret to a successful wash lies in the delicate dance between thickness and transparency."Aim for a soft translucency that holds its color integrity.
Some artists also rush the drying process, either not allowing enough time or attempting artificial methods to speed it up. Patience is crucial, as the oils need time to dry naturally to maintain their luster and adherence. Drying too quickly under the wrong conditions can cause the finishes to appear dull. Make sure your workspace is well-ventilated and not too humid. If you must hasten drying, ensure to use appropriate mediums designed for quick drying.
Balancing Pigments and Solvents
Getting the balance right between pigments and solvents is another tricky area. When creating your wash technique, take care not to dilute the pigment too much as this will weaken its saturation and covering power. Achieving the right balance allows your paints to float on the surface, capturing light while blending harmoniously with underlying layers. One method for checking this is by brushing a stroke over an existing color; if it diminishes or appears weak, adjust your ratios.
The importance of testing cannot be overstated. Prior to applying a wash to your central piece, experiment on a scrap canvas to judge how the wash interacts with your chosen palette. Note how different colors behave once thinned. Some pigments carry more tinting strength than others, giving each wash unique properties that can either lead to brilliance or disaster. Keep refined notes on your experiments as a future reference!

Tips for Enhancing Your Oil Painting with Washes
Incorporating the wash technique in your oil painting practice can transform an ordinary canvas into a vibrant piece bursting with life. To bring these ethereal washes into your work, it's vital to embrace both the precision they require and the creativity they inspire. Start by selecting your palette wisely. Use high-quality pigments that, when thinned, maintain their saturation and vibrancy. Opt for hues that lend themselves well to blending, as washes depend heavily on subtle shifts in tone, which more muted or harshly contrasting colors may disrupt. Pay special attention to your choice of medium; combining oil paint with solvent or linseed oil in balanced proportions can significantly affect the flow and drying time of washes, ultimately influencing your painting's texture.
When applying a wash, ensure that each layer is sufficiently dry before proceeding to the next to avoid muddying the colors and to maintain clarity in your composition. This technique shines when used to suggest depth and atmosphere. Subtle layers can mimic the intoxicating glow of the setting sun or the mysterious depths in a shadow, capturing the viewer's imagination. Experiment with the density of washes to highlight certain areas, adding detail where your story demands it and pulling back where mystery should reign. A well-executed wash can imbue even a static scene with motion, drawing the eye across the canvas as though it were a living moment caught in time.
Artists often improve their wash technique through practice and experimentation. John Sloan, an influential figure in the art world, once noted, "Art is the result of a struggle to tell the truth."
His words serve as a reminder that achieving mastery over washes—or any technique—involves pushing boundaries and sometimes struggling with your materials until they yield something new and exciting. The journey might require breaking down familiar barriers and embracing the unpredictable results washes can bring.Be ready to adapt your approach creatively as you explore. As artists become more attuned to the way washes interact with the canvas, the paintings gradually reveal new dimensions of beauty and complexity. Don’t shy away from the brilliant unpredictability washes offer, as often it's in those unexpected elements that the most dynamic pieces are born.

