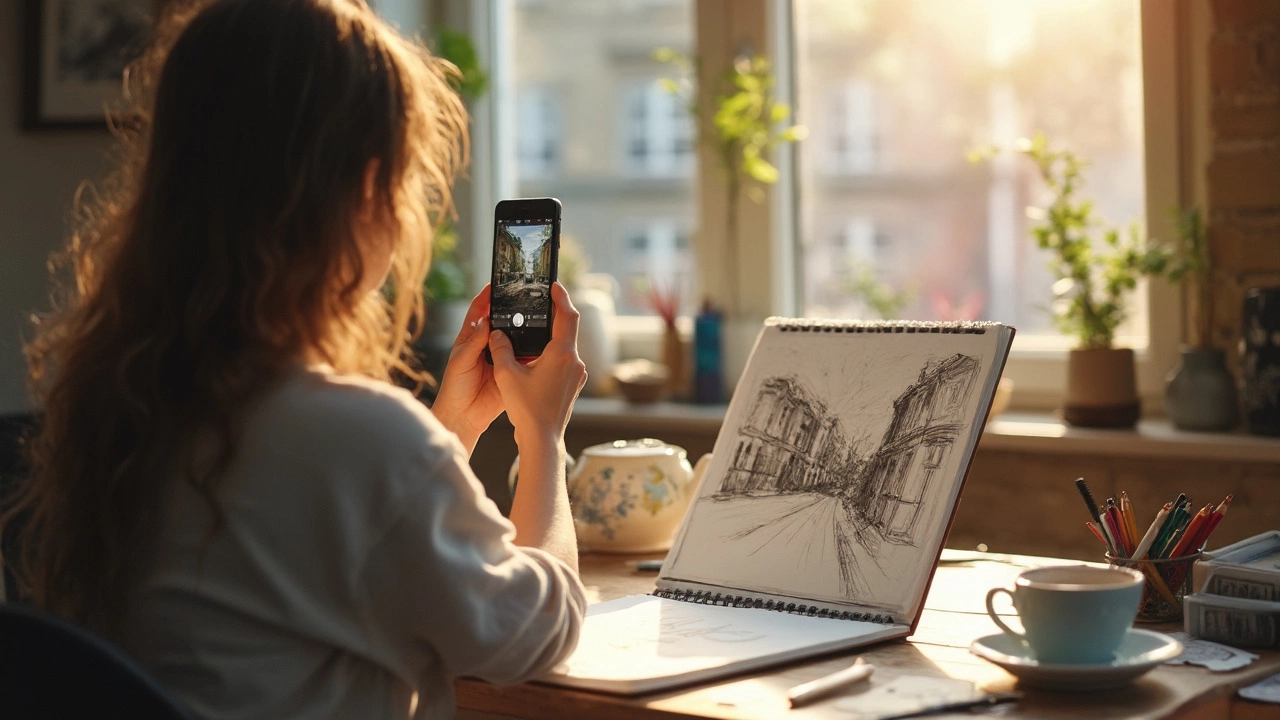
Ever looked at your pencil sketch and wished it could live online or be turned into crisp digital art? Good news: you don’t need fancy equipment to make it happen. Most people just grab their phone, snap a picture, and wonder what’s next. But if you want your digital version to actually look good, there are a few super helpful steps that can make a night-and-day difference.
Lighting is everything. Put your drawing near a window during the day, so you get natural light but avoid direct glare. This helps your photo show real colors and fewer weird shadows. If sunlight isn’t playing along, point a lamp at your sketch—but keep it diffused with some white paper so you don’t end up with harsh spots.
It’s tempting to rush, but take a minute to get your camera straight above the drawing. Tilting your phone or camera will mess with the proportions, and nobody wants a long-faced cat or a squished superhero if that’s not what you drew. Hold steady, focus, and take a few shots to pick the best one.
- From Paper Sketch to Digital Canvas
- Best Ways to Capture Your Drawing
- Editing Magic: Turning Photos into Clean Digital Art
- Common Pitfalls and How to Avoid Them
From Paper Sketch to Digital Canvas
Transforming your pencil drawing into a digital file is something anyone can do—no art degree or expensive tech required. First, you need to figure out your end goal: do you just want a digital copy, or are you looking to color, edit, or share your art online? This makes a difference in how you approach the process.
The easiest way is to use a smartphone, but scanners work great for sharpness and color accuracy. Around 87% of artists under 30 use their phones to digitize sketches, according to an Adobe 2023 survey, mostly because it’s convenient. But if you’ve got a scanner, those built-in options can pull out subtler shading and prevent distortion.
| Method | Best For | Pros | Cons |
|---|---|---|---|
| Smartphone Photo | Quick shares, rough edits | Easy, accessible, decent quality | Lighting issues, possible distortion |
| Flatbed Scanner | Print-level quality, archiving | High resolution, true color | Bulky, not portable |
| Tablet with Stylus | Tracing, direct digital editing | Instant editing, no photo step | Learning curve, pricey |
If you're using a digital art app or want to clean up your scan later, it helps to save your picture or scan as a PNG or TIFF. These file types hold details better than JPEGs, so your clean lines and shading stick around through edits.
One more practical tip: use a clean, white sheet of paper and erase extra pencil marks before you digitize. Random smudges can stand out way more on screen than in real life. Once you’ve snapped your photo or scanned your image, it’s ready for the next step—editing and refining on your device.
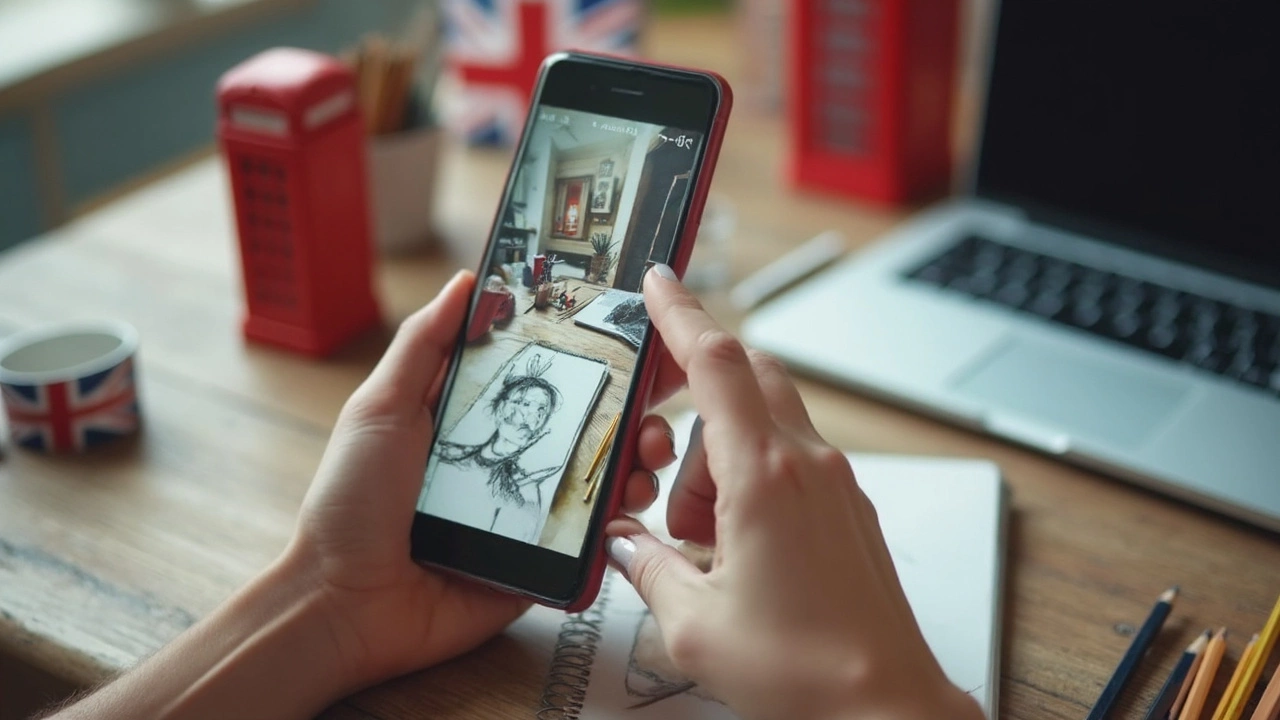
Best Ways to Capture Your Drawing
If you want your hand-drawn art to look its best when you move it into the digital world, the capture step is everything. Using your smartphone or tablet is totally fine, as most have cameras that work plenty well for this. Don’t stress if you don’t own a scanner—you can get great results without one if you know a few tricks.
Here’s a simple checklist for getting the cleanest shot possible:
- Lighting is your best friend. Go for bright, even lighting. Natural light from a window is ideal, but avoid letting the sun shine directly onto your drawing—it can cause weird shadows or faded spots.
- Keep your camera lens clean. A smudge or fingerprint on your lens can make your photo cloudy or foggy. Quick wipe with a soft cloth solves this instantly.
- Lay your drawing flat. Put it on a solid, neutral background (like a tabletop or a piece of white paper). This stops distractions and weird edges in your shot.
- Line up your camera so it’s straight above the drawing. A little tilt can distort your art and change the way people see your lines and shapes.
Using a dedicated scanning app can level up your results. Apps like Adobe Scan, CamScanner, or even the built-in Notes app on iPhones use smart cropping and even out lighting, making your photo look closer to a true scan. Plus, they’re easy to use and often free for basic features.
If you do have access to a scanner, it will give you sharp, color-accurate copies with less effort. Set the scanner to at least 300 dpi (dots per inch) if you plan to touch up your art or print it later. For big pieces, scan in sections and stitch them together in an art or photo editing app.
Try different methods a couple of times and compare: even a small change in light or angle can make a big difference. Once you snap the shot, check that lines are crisp, colors look right, and there’s not too much glare before moving onto digital editing. That’s how you start turning a sketch into shareable, professional-looking digital art.
Editing Magic: Turning Photos into Clean Digital Art
So, you've snapped a clear photo of your artwork. Now it's time to turn that image into a clean digital file that’s ready to share or print. Thankfully, you don’t need high-end software to pull this off—apps like Adobe Photoshop, GIMP, and even free ones like Snapseed or Autodesk Sketchbook get the job done.
Start by cropping your image so only the drawing fills the frame. This gets rid of clutter and makes tweaks way easier. Next, bump up the brightness and contrast a bit. This makes the white paper look bright, and your lines stand out sharply. Watch out though—cranking these settings up too much can erase subtle pencil details or turn dark lines blocky.
One of the coolest tricks is using the "Levels" or "Curves" tool if your app has it. Here’s how:
- Open your image in the app and find the "Levels" or "Curves" tool under adjustments.
- Slide the blacks to deepen your lines, and push the whites to get a clean background.
- Keep an eye on the middle tones if your shading is important, so you don’t lose the details.
If your photo picked up shadows or there are weird yellow tints, try the "Color Balance" or "White Balance" tool. On mobile, Snapseed has a "White Balance" setting that helps your paper look truly white instead of gray or yellowish. It saves you a ton of trouble fixing things later.
Want a transparent background? Look for the "Magic Wand" or "Select Subject" tool—it’s built into Photoshop, ibisPaint X, and even some free sites like remove.bg. With a couple taps, you can erase the paper and leave only your lines.
If you plan to keep working on your art digitally, save your cleaned image as a PNG. This file type keeps your lines crisp and doesn't throw in weird compression marks like JPEG sometimes does. PNG is also the go-to for keeping transparent backgrounds.
One more tip: always save a backup of your original photo before you edit. Things can get messy, and sometimes you need to start over. The more you play with these tools, the quicker you’ll figure out the sweet spot for your style of drawing.
Turning a photo into digital art isn’t just about cleaning things up—it’s about making your creative work shine online. Whether it’s a quick sketch or a detailed piece, these tweaks help your art look its best in the world of digital art.
Common Pitfalls and How to Avoid Them
So you’ve snapped a picture of your drawing, excited to see it as digital art, but something looks off. You’re not alone—most beginners run into the same issues, but thankfully, they’re easy to fix once you know what to watch out for.
One of the most common mistakes is blurry photos. It sounds basic, but even a slight shake can make lines look soft or smudged. Use both hands, rest your elbows on the table, or even use your phone’s timer to steady the shot.
Lighting can also sneak up on you. Too much direct light will wash out your lines, and yellowish room lights can mess with your colors. Stick to natural daylight if you can. If not, use bulbs labeled "daylight" or "cool white." You want your photo to capture your actual drawing, not weird tints.
Ever notice shadows or your own hand showing up on the edge? That happens more often than you think. Double-check the frame before snapping: make sure nothing but your drawing is in the shot and that your camera, not your body, is causing shadows.
Here’s a quick list of ways to dodge these problems:
- Hold your phone or camera parallel to the drawing—no weird angles.
- Clean your lens before shooting. Fingerprints = smudgy lines.
- Don’t use your camera’s flash; it creates ugly glares, especially on white paper.
- If your drawing is on wrinkled paper, flatten it out with some books first—creases show up way more in digital photos.
- Check your background. A busy or colorful table can distract from your art. Use a plain sheet under your drawing if you need to.
Once you’ve got a nice photo, crop tightly to the edges and bump the contrast a little to make the lines pop—apps like Snapseed or Photoshop Express work great for this. And remember, when digital art is the end goal, even small fixes make a huge difference!