Sculpture Basics Quiz
Loading question...
You’ve seen it in museums, you’ve felt the weight of it in your hands at a craft fair, and maybe you’ve even tried to make something out of Play-Doh as a kid. But sculpture art is different. It’s not just about making a shape; it’s about manipulating space, volume, and mass. If you’re wondering how to start, you aren’t alone. Most people think they need a chisel and a block of marble before they can begin, but that’s like saying you need a concert grand piano to learn music theory. You don’t. You need curiosity, some basic materials, and a willingness to get your hands dirty.
The biggest hurdle isn’t talent; it’s understanding the medium. Sculpture is tactile. Unlike painting, where you work on a flat plane, sculpture exists in three dimensions. You have to walk around it. You have to touch it. This article breaks down exactly how to go from zero experience to creating your first real piece, whether you want to mold clay, carve wood, or build with found objects.
Start With Your Hands: The Power of Modeling
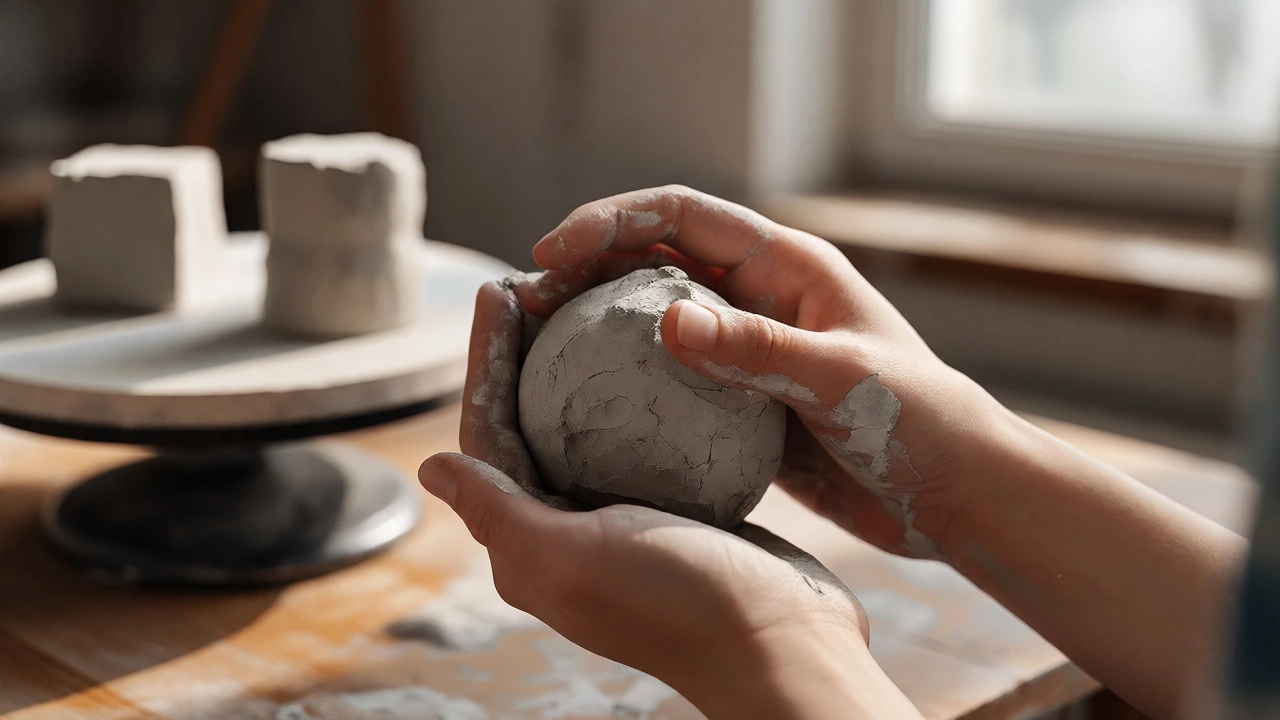
If you are new to this, ignore stone and metal for now. Start with modeling. This is the additive process where you add material to build up a form. It is forgiving, cheap, and immediate. The best entry point is water-based clay or oil-based plasticine. Why? Because if you mess up, you just squish it and start again. There is no waste, no dust, and no expensive mistakes.
Grab a lump of air-dry clay or polymer clay. Don’t try to sculpt a human portrait yet. That’s like trying to write a novel before you know the alphabet. Instead, practice basic forms. Make a sphere. Then make a cube. Now, try to blend them together smoothly. This teaches you how light hits a curve versus a flat surface. In sculpture, shadow is your friend. Understanding how light wraps around a form is half the battle.
- Ball and Stick Method: Roll balls for heads and joints, sticks for limbs. Connect them. See how they look from different angles.
- Pinch Pot Technique: Pinch a ball of clay until it becomes a bowl. This teaches you wall thickness and structural integrity.
- Coil Building: Roll snakes of clay and stack them. Great for building tall, hollow structures without them collapsing.
The goal here isn’t perfection. It’s muscle memory. Your fingers need to learn the difference between pressure that dents clay and pressure that tears it. Spend two weeks just playing with these basic shapes. Do not worry about realism. Worry about volume.
Understanding the Toolkit: What You Actually Need
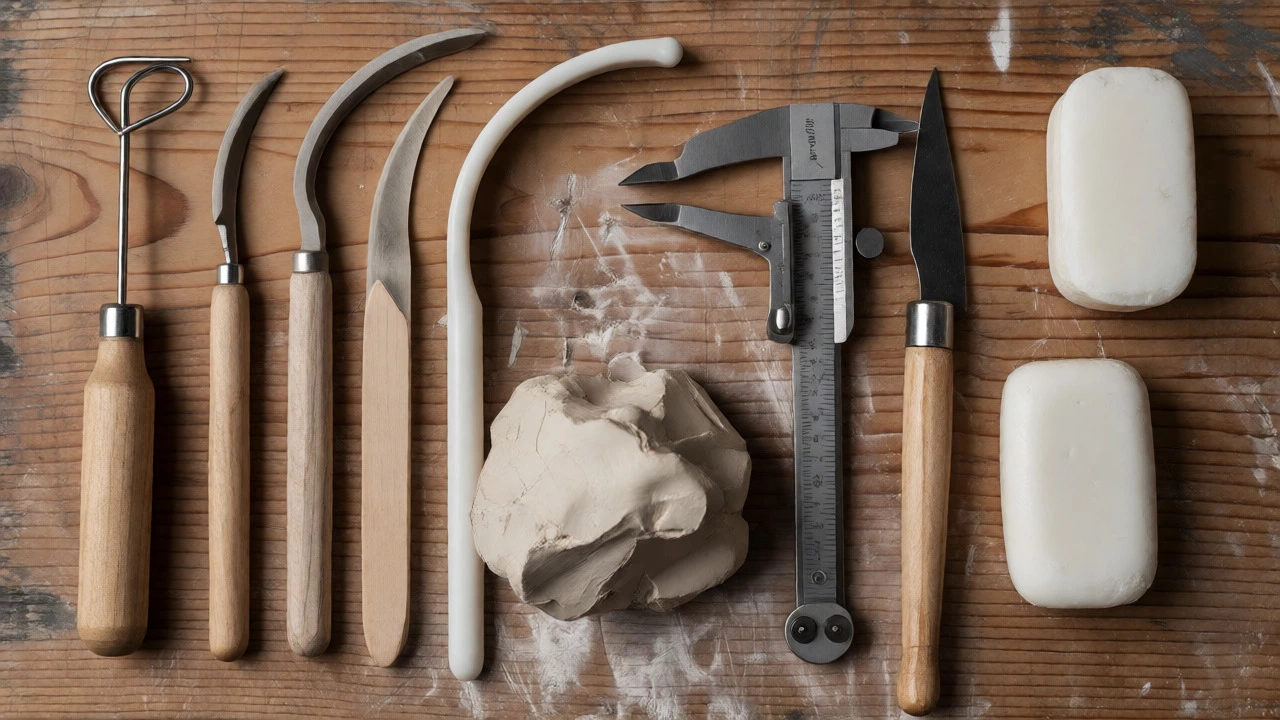
You don’t need a workshop the size of Michelangelo’s studio. You need a few specific tools that do more than your fingers can. While your hands are your primary instruments, tools help refine details and remove material efficiently. Here is what a beginner kit should look like.
| Tool Type | Purpose | Best For |
|---|---|---|
| Wire Loop Tool | Cutting away excess clay | Shaping large masses quickly |
| Rib Tool | Smoothing surfaces | Finding curves and removing fingerprints |
| Calipers | Measuring proportions | Keeping symmetry in figurative work |
| Turntable | Rotating the work | Viewing all angles without moving yourself |
A wire loop tool is essentially a U-shaped wire attached to a handle. It cuts through clay like cheese wire. Use it to slice off chunks when you’re roughing out a shape. Ribs are curved pieces of wood, plastic, or metal. They act like an eraser for clay, smoothing out bumps and creating consistent curves. And please, buy a turntable. Even a lazy Susan from the kitchen works. Sculpture is 360 degrees. If you can’t spin the work easily, you’ll end up with a piece that looks good from the front and terrible from the back.
The Subtractive Process: Dipping Toes in Carving
Once you understand how to add material, you might feel drawn to subtractive methods. This is carving. Instead of adding clay, you remove material from a solid block. Soap is the perfect starter material for carving. It’s soft, cheap, and safe. Buy a bar of white soap and a set of wooden modeling tools (or even old spoons).
Carving teaches you restraint. In modeling, you can always add more clay. In carving, once you cut it away, it’s gone forever. This forces you to plan ahead. Look at your soap block. Where do you want the high points? Where do you want the low points? Start by cutting away the corners. Then define the main planes. Work from general to specific. Never try to carve a detail, like an eye or a nose, until the overall head shape is established.
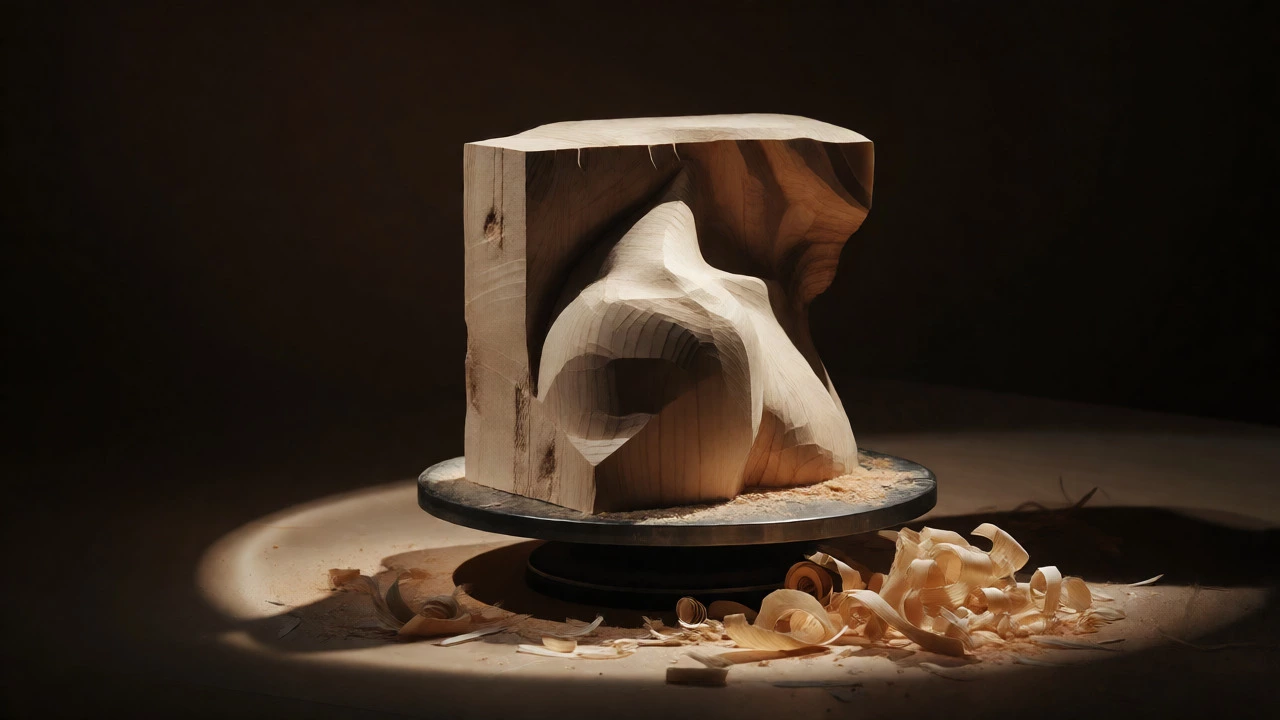
If soap feels too easy, move to soft woods like basswood or pine. These require sharp knives or gouges. The key rule in carving is "cut with the grain." Cutting against the grain causes splintering and loss of control. Always test a small area first. Safety is non-negotiable here. Keep your hand behind the blade, not in front of it. A slip in soap hurts; a slip in wood draws blood.
Observation Is Everything: Learning to See
Many beginners fail because they sculpt what they think they see, not what is actually there. We carry mental symbols for things. We draw eyes as almonds, noses as triangles. Sculpture requires breaking these symbols. You need to observe reality.
Set up a simple still life. An apple, a crumpled paper bag, a bottle. Sit in front of them. Close one eye to flatten the depth perception slightly, which helps you see shapes rather than objects. Sketch them first. Not detailed sketches, but contour drawings. Trace the outer edge of the object with your pencil without looking at the paper. This trains your brain to follow lines and curves accurately.
When you sculpt, constantly compare your work to the reference. Step back. Squint. When you squint, details disappear, and only the big shapes remain. Does your sculpture have the same silhouette as the subject? If the silhouette is wrong, the details won’t save it. This technique, often called "squinting," is used by professional sculptors every day. It strips away noise and reveals the core structure.
From Clay to Final Piece: Firing and Finishing
So, you’ve made a beautiful figure in air-dry clay. Now what? Air-dry clay is great for learning, but it’s fragile. If you want durability, you need to fire your work. This brings us to ceramics, a major branch of sculpture.
To fire clay, you need access to a kiln. Many community colleges, art centers, and pottery studios offer "bisque firing" services for a small fee. You bring your dried piece, they fire it, and you pick it up harder and permanent. Before you take it to be fired, ensure it’s completely dry. Any moisture trapped inside will turn to steam during firing and explode the piece. This is known as "kiln pop." To avoid this, let your sculpture dry slowly under loose plastic wrap for several days, then leave it uncovered for another week.
Once fired, you can glaze it or paint it. Glazing adds color and a glass-like surface. Painting allows for more realistic skin tones or textures. For stone or wood carvings, finishing involves sanding. Start with coarse grit (80-120) to remove tool marks, then move to finer grits (220, 400, 600) for smoothness. Apply wax or oil to protect the surface and enhance the natural color of the material.
Common Pitfalls and How to Avoid Them
Everyone makes mistakes when starting out. Knowing them in advance saves frustration.
- The Hollow Trap: If you build a thick clay piece, the outside dries faster than the inside. As the inside shrinks, it cracks the outside. Solution: Build hollow. Use coil building or press clay over a balloon or foam core.
- Ignoring Gravity: Clay sags. Thin arms break. If you’re making a figure, support thin parts with armature wires (aluminum foil or steel wire) while working.
- Overworking: Touching the clay too much destroys texture. Sometimes, leaving fingerprint marks or tool scars adds character and energy to the piece. Don’t polish everything to death.
Also, don’t rush. Sculpture takes time. Clay dries in hours. Wood takes days to season properly. Patience is part of the medium. If you feel frustrated, step away. Come back the next day with fresh eyes. You’ll spot errors instantly that you missed yesterday.
Where to Go Next: Resources and Community
You don’t have to learn this in isolation. Local art classes are invaluable. Look for "introductory ceramics" or "basic modeling" courses at community centers. Having an instructor correct your posture or grip early on prevents bad habits. Online platforms like Skillshare or YouTube offer tutorials, but nothing beats physical feedback.
Visit galleries. Look at sculptures from different eras. Notice how Rodin left rough surfaces to show the process, while Bernini smoothed his marble to mimic skin. Ask yourself: How did they do that? Was it carved or cast? Did they use a model? Engaging with existing art sharpens your critical eye.
Join local maker spaces. Many have shared kilns and workshops. Networking with other artists exposes you to new techniques and materials. Maybe you’ll discover you love casting in resin instead of clay. Or perhaps you’ll find joy in kinetic sculpture using motors and scrap metal. The field is vast.
Learning sculpture is a journey of touching the world differently. You stop seeing empty space and start seeing potential volume. You stop looking at a rock and start seeing a statue waiting to be revealed. Start small. Get messy. Make ugly things. Then make better ones. That’s how every master started.
Do I need formal training to learn sculpture?
No, formal training is not required. Many successful sculptors are self-taught. However, taking a few introductory classes can help you learn safety protocols, basic techniques, and how to use tools correctly, which accelerates your learning curve significantly.
What is the cheapest way to start sculpting?
The cheapest method is using air-dry clay or homemade salt dough. These materials cost very little, require no kiln, and allow you to practice fundamental shaping techniques immediately. Basic tools like butter knives and toothpicks can serve as initial sculpting instruments.
How long does it take to finish a beginner sculpture?
A small, simple clay piece can be modeled in a few hours. However, drying time varies. Air-dry clay may take 24-72 hours to dry completely depending on thickness. If firing is involved, add 1-2 weeks for kiln scheduling and cooling. Patience is essential for structural integrity.
Can I sculpt indoors without a workshop?
Yes. Modeling with clay is ideal for home environments. It produces minimal mess compared to carving or welding. Ensure you have a stable table, good lighting, and a drop cloth to catch debris. Ventilation is less critical for clay than for resin or spray paints.
What is the difference between additive and subtractive sculpture?
Additive sculpture involves building up material, such as modeling with clay or assembling metal. Subtractive sculpture involves removing material from a solid block, such as carving wood, stone, or soap. Additive methods are generally more forgiving for beginners because mistakes can be corrected by adding more material.