Canvas Preparation Planner
Project Details
Select your project details to generate a custom preparation guide.
Have you ever looked at a raw, unprimed canvas and wondered why no serious painter starts directly on that rough, beige fabric? It feels like the most logical place to begin, right? Just put your paint on the cloth. But if you try this, you’ll run into trouble fast. The oil in your paints will soak straight into the linen or cotton fibers, leaving your colors looking dull, muddy, and weak. Worse, over time, the acid in the unprimed fabric will eat away at the paint layer, causing it to crack and fall off within a few years.
This is exactly why artists apply a white-or sometimes colored-layer before they even touch their brushes with pigment. This process isn't just about making the surface look pretty; it's about chemistry, longevity, and control. In the world of oil painting, this preparatory step is non-negotiable for anyone who wants their work to last. We call this layer the "ground," and understanding it changes how you approach every stroke.
The Chemistry Behind the White Layer
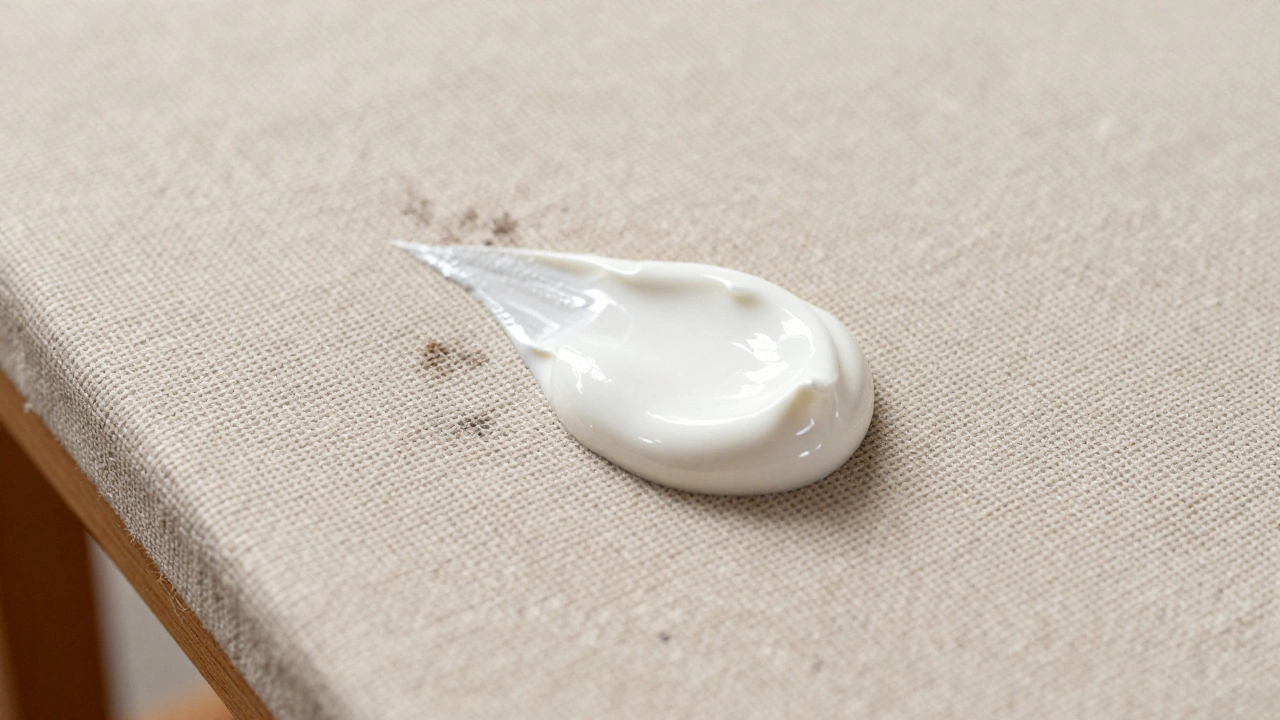
To understand why we prime canvases, we have to look at what happens when oil meets fabric. Raw canvas is made of natural fibers like linen or cotton. These materials are absorbent. If you squeeze a dollop of titanium white oil paint onto bare linen, watch closely. Within minutes, the darkening begins. The oil binder migrates into the weave, leaving the pigment sitting loosely on top. This phenomenon is known as "sink-in." Your vibrant reds turn brownish, and your blues lose their punch because the light reflects off the dark, saturated fiber underneath rather than bouncing back through the translucent paint layers.
Furthermore, there is a structural issue. Linen contains lignin and other organic compounds that break down over time. Without a barrier, these acids react with the metal salts in some pigments. This reaction can lead to discoloration or even the complete disintegration of the paint film. By applying a gesso ground, we create an inert, non-absorbent buffer zone. The gesso seals the fabric, ensuring that the oil stays in the paint layer where it belongs. This simple act preserves the integrity of both the support and the artwork itself.
Gesso vs. Oil Primer: Choosing Your Foundation
Not all white grounds are created equal. When you buy a pre-primed canvas from an art store, it is almost certainly coated with acrylic gesso. Acrylic gesso is water-based, flexible, and dries quickly. It creates a slightly toothy surface that holds paint well. For many hobbyists and students, this is perfectly adequate. However, traditional oil painters often prefer an oil-based primer, such as rabbit skin glue mixed with chalk (traditional gesso) or modern alkyd-based primers like Liquitex Professional Gesso or Gamvar.
Acrylic gesso has one major drawback for oil painting: it is less flexible than oil paint. As the seasons change, humidity fluctuates, and the canvas expands and contracts. Over decades, this differential movement can cause micro-cracks in an acrylic ground, which may eventually propagate into the paint layer. Oil-based primers move more similarly to the oil paint applied on top, reducing this risk. While acrylic gesso is convenient and widely available, professional artists working on large-scale pieces intended for museum-quality longevity often opt for oil-modified grounds to ensure better compatibility between the layers.
| Ground Type | Drying Time | Flexibility | Best For |
|---|---|---|---|
| Acrylic Gesso | Fast (1-2 hours) | Moderate | Students, quick studies, small works |
| Oil-Alkyd Primer | Slow (24-48 hours) | High | Professional oil paintings, large canvases |
| Traditional Chalk Gesso | Medium | Rigid | Panel painting, classical techniques |
The Case for Toned Grounds
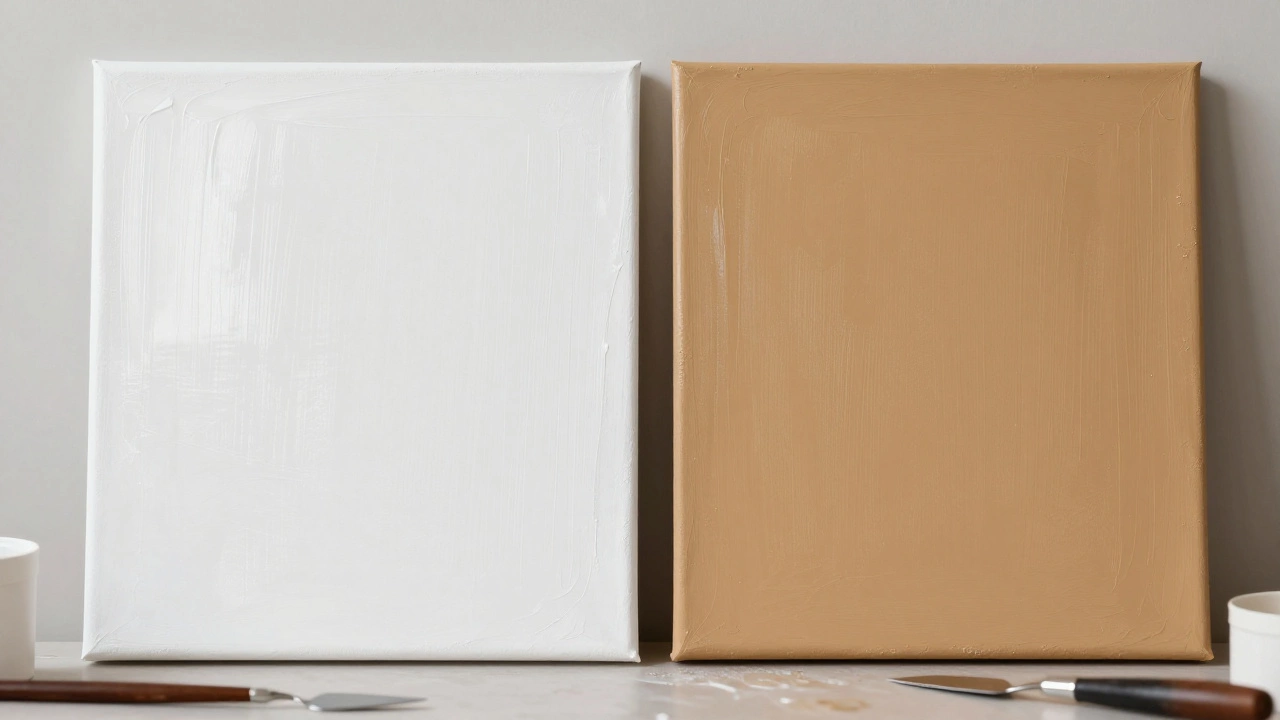
While white is the standard default, many masters-from Rembrandt to Sargent-did not start on pure white. They used a "toned ground." This involves mixing a small amount of earth pigment, such as burnt sienna, yellow ochre, or raw umber, into the white primer. The result is a warm, mid-tone background that covers the entire canvas before any drawing begins.
Why go through this extra step? A toned ground solves several visual problems instantly. On a stark white canvas, every mark you make stands out sharply. This can be intimidating and makes it difficult to judge values correctly. A mid-tone ground allows you to see both lights and darks relative to the middle value. It acts as a neutral starting point, helping you build up shadows and highlights more accurately. Additionally, the color of the ground subtly influences the final appearance of thin glazes. A warm orange ground can make cool blue shadows appear richer and more vibrant by creating optical contrast.
If you are new to painting, sticking with white is fine. It offers high contrast and makes it easy to see your lines. But as you progress, experimenting with toned grounds can dramatically improve your ability to mix colors and manage lighting. Try mixing a teaspoon of burnt sienna into a jar of white gesso next time you prep a canvas. You might find that your skin tones become easier to mix and your landscapes feel more cohesive.
Practical Steps to Prepare Your Own Canvas
Buying pre-primed canvases is convenient, but preparing your own gives you total control over the texture and quality. Here is a straightforward method for applying a proper ground:
- Select Your Support: Use stretched linen or heavy-duty cotton duck. Ensure the frame is tight and square.
- Clean the Surface: Wipe the canvas with a soft brush to remove dust or lint. Any debris trapped under the primer will show through later.
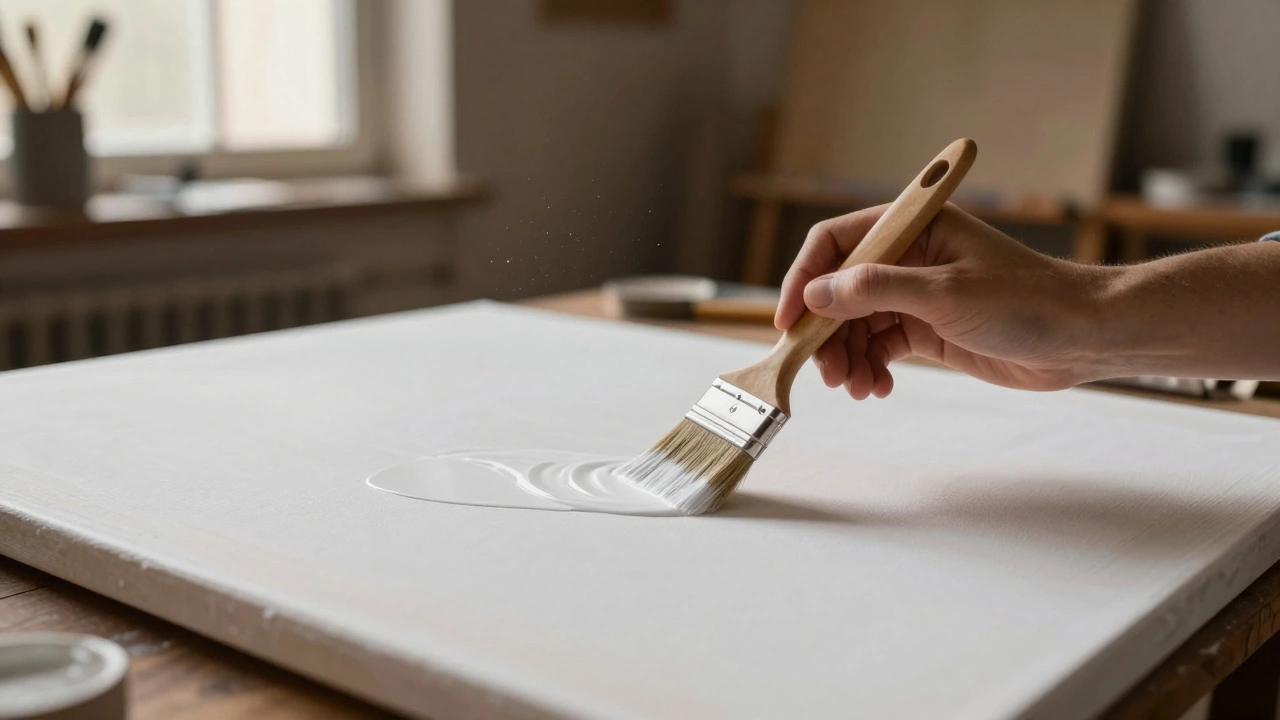
- Apply the First Coat: Using a wide, flat brush or a roller, apply a thin, even layer of gesso. Work in one direction to avoid bubbles. Don’t worry about perfect coverage yet; this coat seals the fabric.
- Sand Lightly: Once dry (usually overnight), lightly sand the surface with fine-grit sandpaper (220 grit). This removes raised fibers and creates a smooth base.
- Apply Subsequent Coats: Apply two to three more coats, alternating the direction of your brushstrokes (horizontal then vertical) to ensure even thickness. Sand lightly between coats if you desire a very smooth finish.
- Final Check: Hold the canvas up to the light. Look for any thin spots or visible weave. Add another coat if necessary.
This process takes time, but the payoff is significant. A properly prepared canvas accepts paint beautifully, allowing for smooth blending and sharp details without fear of the paint sinking in or cracking prematurely.
Common Mistakes to Avoid
Even experienced artists can trip up during the preparation phase. One common error is applying gesso too thickly. Thick layers of acrylic gesso can become brittle and peel off the canvas over time, especially if the environment changes temperature frequently. Always aim for thin, multiple layers rather than one heavy application.
Another mistake is painting on a damp or tacky ground. Oil paint requires a completely dry surface to adhere properly. If the underlying layer is still curing, the oil from your paint can re-emulsify the acrylic or oil primer, leading to adhesion failures. Wait at least 24 to 48 hours after applying the final coat before starting your painting. Patience here saves hours of frustration later.
Finally, don't ignore the edges. Many artists focus only on the front of the canvas, leaving the sides bare. If you plan to hang the painting without a frame, or if you want a finished look, extend your gesso around the stretcher bars. This protects the wood from moisture and gives the piece a polished appearance from every angle.
How the Ground Affects Your Technique
The texture of your ground dictates how your brush behaves. A heavily toothed ground, achieved by adding sand or using coarse gesso, grabs the paint. This is excellent for impasto techniques, where you build up thick layers of paint for dramatic texture. Think of Van Gogh’s swirling skies-the paint needed something to hold onto.
Conversely, a smooth, satin-finish ground allows brushes to glide effortlessly. This is ideal for realistic portraiture or delicate glazing, where you need seamless transitions between colors. If you are struggling with scratchy marks or uneven blending, check your canvas. You might simply need a smoother surface. Experimenting with different grits of sandpaper between coats lets you customize the "tooth" to match your specific style.
Understanding the role of the white (or toned) ground transforms it from a mere chore into a strategic tool. It is the foundation upon which your entire image rests. By taking the time to prepare your canvas correctly, you ensure that your artistic vision is captured with clarity, vibrancy, and permanence. So, before you pick up that tube of cadmium red, take a moment to appreciate the silent, white stage waiting beneath it.
Can I paint oil directly on raw canvas?
Technically, yes, but it is highly discouraged for permanent work. Raw canvas absorbs the oil binder, causing the paint to darken (sink-in) and lose vibrancy. More importantly, the acidic nature of untreated linen can degrade the paint layer over time, leading to cracking and flaking. Always use a primer or ground to protect both the canvas and the paint.
What is the difference between gesso and primer?
In modern art supplies, the terms are often used interchangeably. Traditionally, gesso referred to a mixture of chalk and animal glue used for panel painting. Today, "gesso" usually means acrylic-based primer, while "primer" can refer to oil-based or alkyd preparations. Both serve to seal the support and provide a suitable surface for painting, but their chemical compositions and flexibility differ.
Why do some artists use a colored ground instead of white?
A toned ground (colored primer) helps artists judge values more accurately by providing a mid-tone reference. It also unifies the painting, as the ground color shows through transparent glazes, creating depth and harmony. Warm tones like burnt sienna are popular for portraits and landscapes because they complement skin tones and natural light.
How many coats of gesso should I apply?
Most artists apply two to three thin coats of gesso. One coat is rarely enough to fully seal the canvas and hide the weave. Applying thin layers prevents brittleness and peeling. Sand lightly between coats for a smoother finish, or leave it textured if you prefer a toothier surface for impasto work.
Does the type of canvas affect how much primer I need?
Yes. Coarser fabrics like heavy linen require more coats to fill the deep weave compared to finer cotton duck. If you can still see the dark shadow of the weave through your white ground, you need another coat. Proper sealing ensures that your paint sits on the surface rather than sinking into the fibers.
