Watercolor Beginner's Subject Finder
Not sure what to paint first? Watercolor punishes hesitation but rewards flow. Use this tool to find a subject that matches your current confidence level and lets the medium work for you.
Step 1: Your Confidence Level
Recommended Starting Point
Select your options above to see your personalized recommendation.
💡 Pro Tip for This Session
You stare at a blank sheet of cold-pressed paper. The water glass sits ready. Your brush feels heavy in your hand. You want to paint something beautiful, but you’re terrified of making a mess. This is the classic watercolor paradox: the medium looks effortless and airy, yet it punishes hesitation. One drop too much water, and your crisp line turns into a muddy blob. So, what gives? What is the easiest thing to paint in watercolor?
The answer isn’t a specific object like "an apple" or "a tree." It’s about leveraging the medium’s natural behavior. Watercolor is a transparent medium that relies on the flow of pigment through water onto absorbent paper. The easiest things to paint are those where the chaos of water works *for* you, not against you.
The Core Principle: Embrace the Blur
If you try to paint a photorealistic clock face with watercolors as a beginner, you will likely fail. Why? Because clocks require sharp edges, perfect circles, and zero tolerance for error. Watercolor hates rigid control when you’re still learning how much water to load on your brush.
Instead, choose subjects that thrive on softness. Think clouds, mist, distant mountains, or abstract washes. These subjects don’t have hard boundaries. If a cloud edge bleeds out slightly, it just looks more atmospheric. If a mountain silhouette wobbles, it looks rugged. By picking subjects where "mistakes" look like artistic choices, you remove the fear factor entirely.
Subject #1: Simple Landscapes (The "Three-Band" Method)
Landscapes are often intimidating because beginners try to paint every leaf on every tree. Don’t do that. Start with the sky, the ground, and one middle element. That’s it.
Try this exercise:
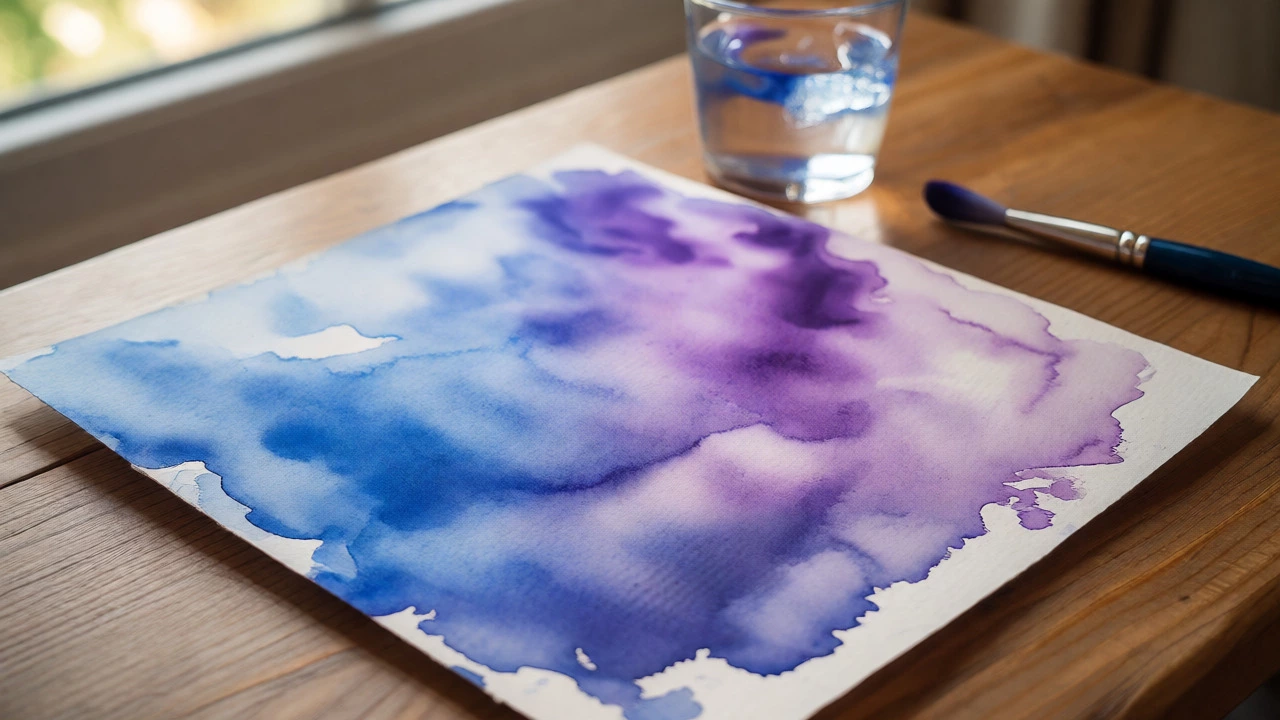
- Sky: Wet the top half of your paper. Drop in blue and purple. Let them bleed together. No brushes needed after the initial wetting-just tilt the paper.
- Ground: Once the sky dries, paint the bottom third green or brown. Use horizontal strokes.
- Horizon: Draw a single dark line between them. Maybe add one silhouetted tree if you feel brave.
This works because Wet-on-wet technique creates smooth gradients automatically. You aren’t trying to control the pigment; you’re guiding it. The result looks professional because watercolor naturally blends colors better than any human hand can.
Subject #2: Botanicals and Leaves
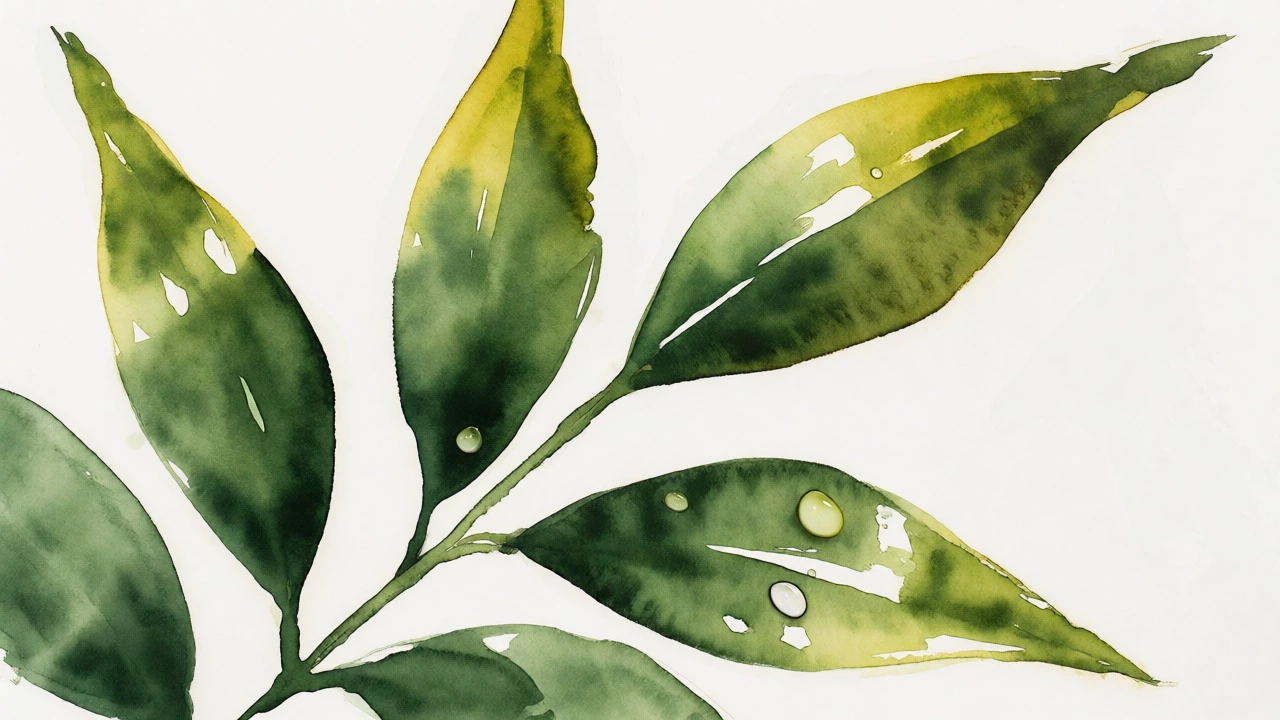
Nature is forgiving. A leaf doesn’t need to be symmetrical. In fact, asymmetry makes it look real. Painting leaves teaches you color mixing without the pressure of getting a face right.
Here’s why leaves are easier than flowers: they are mostly one shape repeated. You can practice loading your brush with two colors-one side yellow-green, one side deep green-and swipe it across the paper. The tip creates a light vein, the belly creates shadow. Do this ten times, and you have a branch. It’s repetitive, meditative, and low-stress.
| Feature | Benefit for Beginners |
|---|---|
| Organic Shapes | No rulers needed; wobbly lines look natural. |
| Color Variation | Green mixes easily from yellow and blue; few complex pigments required. |
| Layering | Teaches transparency without needing precise registration. |
Subject #3: Abstract Washes and Blooms
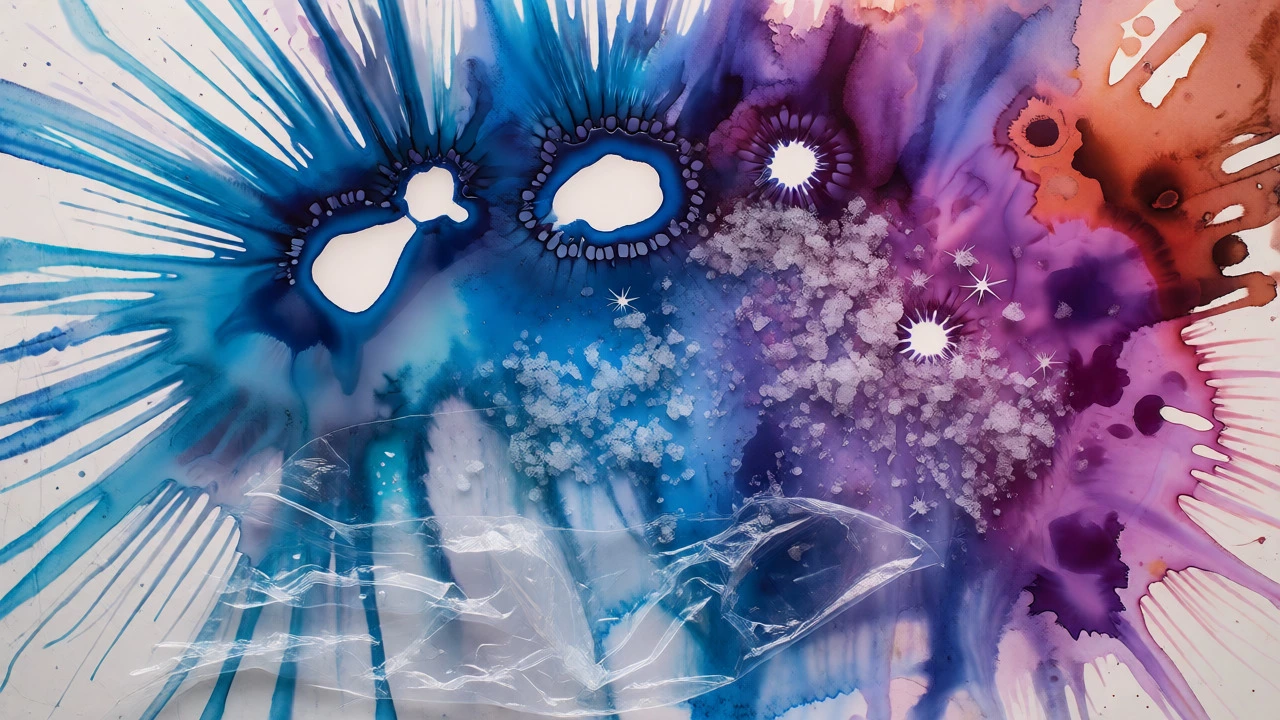
If you hate drawing, skip it. You can make stunning art with just water and pigment. An abstract bloom happens when you drop concentrated paint into a wet area. The pigment pushes outward, creating organic, starburst patterns.
This is arguably the easiest entry point because there is no "right" way to do it. You can use household items to create texture. Try these tools:
- Salt: Sprinkle coarse salt on wet paint. It absorbs the pigment, leaving white star-like spots.
- Plastic Wrap: Crumple it and press it onto wet paint. When you peel it off, you get icy textures.
- Alcohol: Drop rubbing alcohol onto wet paint. It repels the pigment, creating circular voids.
These techniques turn accidents into features. You aren’t painting a picture; you’re exploring chemistry. This removes the burden of representation. You don’t need to know what the final image should look like before you start.
Common Pitfalls That Make Things Harder Than They Need to Be
Most beginners struggle not because their subject is too complex, but because their setup is wrong. Here are three quick fixes that instantly make painting easier:
1. Too Much Water. This is the number one killer. If your paper is swimming, your paint will go everywhere except where you put it. Aim for a damp sheen, not a puddle. Test your brush on a scrap piece of paper first. If it drips, dab it on a towel.
2. Wrong Paper. Cheap printer paper buckles and tears. Use Cold-Pressed Watercolor Paper (140lb/300gsm). It has enough tooth to hold pigment but is smooth enough for details. It absorbs water predictably, which means fewer surprises.
3. Overworking the Wet Layer. You applied a stroke. It looks uneven. You grab your brush to fix it while it’s still wet. Now you’ve lifted the pigment and created a patchy mess. Walk away. Let it dry. Most issues resolve themselves once the paper is bone-dry.
A Step-by-Step Starter Project: The Misty Mountain
Let’s put this into practice. Grab three tubes of paint: Ultramarine Blue, Burnt Sienna, and Sap Green. You don’t need a full palette.
- Wet the Top Half: Use clean water to wet the top 60% of your paper. Tilt it slightly so water pools at the bottom of the wet zone.
- Drop in Color: Load your brush with diluted blue. Touch it to the wet paper. Watch it spread. Add a touch of purple near the horizon line. Stop. Do not stir.
- Let it Dry: Wait 10-15 minutes. Check by touching the back of the paper. If it’s cool, it’s still wet.
- Paint the Mountains: Mix a gray using blue and sienna. Paint jagged triangles along the horizon. Keep the tops lighter by adding less pigment.
- Add Foreground Trees: Once the mountains are dry, mix dark green. Paint simple vertical lines for trees. Don’t draw branches. Just trunks. The viewer’s brain will fill in the rest.
Notice how each step relies on the previous one drying. Patience is part of the technique. Rushing causes mud.
When to Move Beyond "Easy" Subjects
You might wonder, "Is this really art?" Yes. But eventually, you’ll crave detail. How do you know when you’re ready to tackle harder things like faces or architecture?
Watch your water control. If you can paint a straight line without it wobbling excessively, you’re ready for buildings. If you can mix a skin tone that stays consistent over a large area, you’re ready for portraits. Until then, stick to the fluid stuff. Mastering the flow of water is the foundation. Without it, detailed work looks stiff and lifeless.
Also, consider your motivation. If you paint to relax, stay with abstracts and landscapes. If you paint to improve technical skill, challenge yourself with one small architectural element, like a window frame, within an otherwise loose painting. Balance is key.
Final Thoughts on Choosing Your First Subject
The easiest thing to paint in watercolor is whatever allows you to let go. Clouds don’t judge your brushstrokes. Leaves don’t care if your symmetry is off. Abstract blooms celebrate happy accidents. Start with these forgiving subjects. Build confidence in handling water and pigment. Once you trust the medium, you’ll find that even complex subjects become manageable because you understand how to guide the flow rather than fight it.
So, grab that cheap pad of paper. Mix some blue. Splash it on. See what happens. That curiosity is the only tool you actually need.
Can I use regular acrylic paint instead of watercolor?
You can, but it behaves differently. Acrylics dry faster and are opaque, meaning mistakes are harder to lift. Watercolor is transparent and reactivates with water, allowing for softer blends and easier corrections during the drying process. For beginners seeking the signature 'flow' of watercolor, true watercolor paints are recommended.
Do I need expensive brushes to start?
No. A synthetic round brush size 8 or 10 is sufficient for most beginner projects. Synthetic bristles are durable and hold a decent amount of water. Avoid very cheap brushes that shed hairs into your paint, but you don't need high-end sable hair until you advance to fine detail work.
How long does watercolor take to dry?
Drying time depends on humidity and paper thickness. On standard 140lb paper, a thin wash may dry in 5-10 minutes. Thick layers or humid conditions can take 30+ minutes. Never rush this step; painting over damp areas causes unwanted bleeding and muddiness.
What is the best paper for absolute beginners?
Cold-pressed cotton blend paper (around 140lb/300gsm) is ideal. Pure cellulose paper is cheaper but wrinkles more and doesn't handle lifting well. Cotton rag paper is excellent but expensive. A blend offers the best balance of performance and cost for learning basic techniques.
Why does my watercolor look muddy?
Mud usually comes from two causes: mixing too many complementary colors (like red and green) in the same wet area, or applying new paint before the previous layer is fully dry. To fix it, limit your palette to 3-4 colors per session and ensure layers are completely dry before glazing.