Sculpting Material Selector
Select a material to see if it matches your needs.
Air-Dry Clay
No kiln needed. Forgiving & easy.
Polymer Clay
Bake in oven. Great for details.
Oil-Based Clay
Never dries. Professional use.
Wood Carving
Subtractive. Natural texture.
Stone (Soapstone)
Permanent cuts. High skill.
Essential Tools
Walk into any art supply store or scroll through social media, and you’ll see sculptures that look impossibly intricate. A hyper-realistic portrait in bronze, a delicate wire figure, or a massive marble block turned into a flowing dress. It’s easy to stand back and think, I could never do that. But is sculpting actually difficult?
The short answer is yes, but not in the way you might think. Sculpting isn’t like learning a complex software code where one wrong character breaks everything. It’s more like learning to cook or play an instrument. You can make a simple dish or a basic chord progression on day one. Mastering a five-course meal or a symphony takes years. The barrier to entry is low; the ceiling for mastery is incredibly high.
Why Sculpting Feels Intimidating (And Why It Isn't)
Most people assume sculpting is hard because they imagine it as purely subtractive-chipping away at stone until something appears. That image comes from classical statues of David or Athena. If you chip off too much marble, you can’t put it back. That pressure makes your hands shake before you even pick up a chisel.
However, modern sculpting offers many paths that are forgiving. When you work with clay, which is a plastic material made from fine-grained earth that becomes malleable when wet and hard when fired, mistakes are fixable. You can add more clay if you cut too deep. You can smooth out a bump with a tool or your fingers. This additive process removes the fear of permanent error, allowing you to focus on form and shape rather than precision cutting.
The difficulty also depends on what you want to achieve. Want to make a small abstract shape? That’s easy. Want to carve a realistic human face in granite? That’s a lifetime pursuit. Defining your goal changes the difficulty curve entirely.
Choosing Your Medium: The Biggest Decision
The hardest part of starting isn’t the physical act of shaping material; it’s choosing which material to use. Each medium has its own learning curve, cost, and required tools. Let’s break down the most common options for beginners.
| Material | Difficulty Level | Cost | Key Challenge |
|---|---|---|---|
| Air-Dry Clay | Very Low | Low | Drying cracks; limited strength |
| Polymer Clay | Low | Medium | Baking times; softness after curing |
| Oil-Based Clay | Medium | High | Requires armature; doesn't dry naturally |
| Wood | Medium-High | Medium | Grain direction; sharp tools |
| Stone (Soapstone) | High | Medium | Dust management; permanent cuts |
Clay: The Best Starting Point
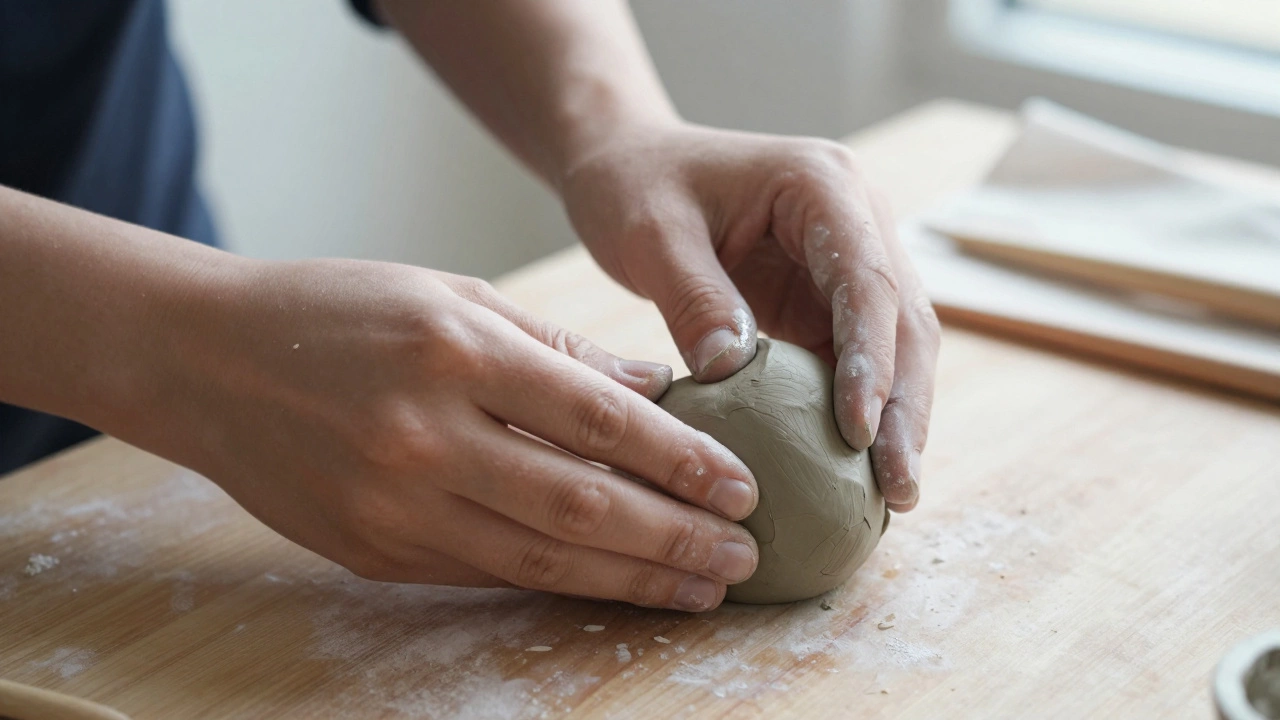
If you are new to three-dimensional art, start with clay. Specifically, air-dry clay or polymer clay. Air-dry clay requires no kiln. You shape it, let it sit for 24-48 hours, and it hardens. It’s perfect for testing ideas without investing in expensive equipment. Polymer clay, like Fimo or Sculpey, is baked in a regular home oven. It’s great for small figurines, jewelry, and detailed textures because it holds fine details better than air-dry clay.
Traditional oil-based clay is used by professionals for maquettes (small models) and large works. It never dries out, so you can work on it for weeks. However, it needs an internal support structure called an armature, which is an internal framework made of wire, metal, or wood that supports the weight of the clay. Without an armature, heavy clay will slump and collapse under its own weight. Learning to build a strong armature is a skill in itself, adding a layer of complexity.
Carving: Wood and Stone
Carving is subtractive. You remove material to reveal the form. Wood carving is accessible if you have a safe space and some basic tools. Green wood (freshly cut) is softer and easier to carve than dried lumber. Start with basswood or pine. They are soft and have minimal grain interference.
Stone carving is often seen as the pinnacle of difficulty. For beginners, avoid marble or granite. Instead, try soapstone or alabaster. These stones are soft enough to cut with hand tools but still feel like real stone. The main challenge here is dust. Carving stone creates silica dust, which is harmful to your lungs. You must wear a proper respirator mask. Safety is a significant part of the "difficulty" here.
Essential Tools You Actually Need
You don’t need a full studio to start. Many artists fall into the trap of buying every tool before making their first piece. Keep it simple.
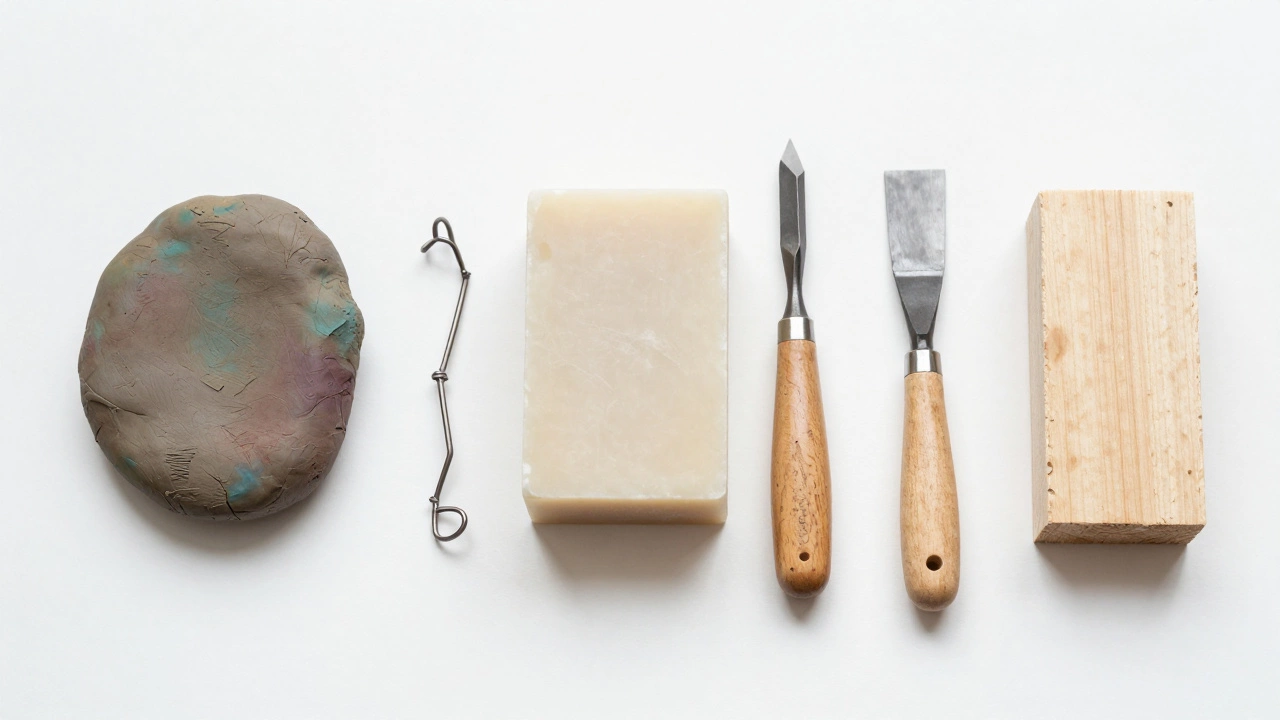
- For Clay: A set of wooden modeling tools (available cheaply online), a wire clay cutter (to check wall thickness), and a rib tool (for smoothing surfaces). Your hands are your most important tool.
- For Wood: A gouge (curved blade), a V-tool (for lines), and a mallet. A knife is good for small details but dangerous for large removals.
- For Stone: A pitch bowl (to hold the stone), a claw chisel, a point chisel, and a hammer. Again, safety gear is non-negotiable.
Invest in quality tools gradually. Cheap steel dulls quickly, making the work harder and increasing the risk of slipping and injury. Sharp tools are safer because they require less force.
The Mental Game: Seeing in Three Dimensions
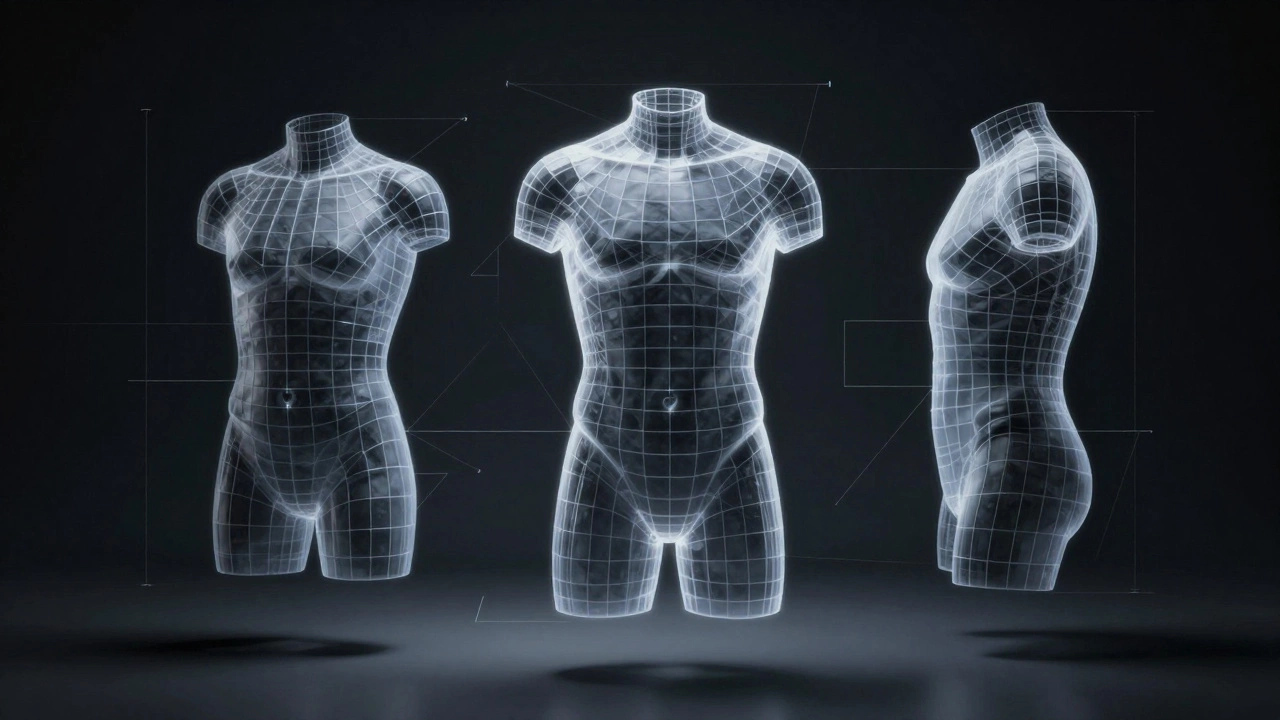
The biggest hurdle in sculpting isn’t physical strength; it’s spatial awareness. Drawing is two-dimensional. Sculpting is three-dimensional. You need to understand how forms relate to each other from all angles. A nose looks different from the front than from the side. A chest curves differently than a stomach.
This is why many sculptors study anatomy. Even if you’re making abstract shapes, understanding underlying structure helps. Think of it like building a house. You need to know where the load-bearing walls are before you decorate the rooms. In sculpture, the "load-bearing walls" are the core masses-the head, torso, limbs. Get those proportions right, and the details become easier to add.
A useful trick is to use reference photos from multiple angles. Don’t just look at the front view. Look at the top, bottom, and sides. Rotate your sculpture constantly. What looks good from the front might look lopsided from the back. Sculpting forces you to be honest about every angle.
Common Mistakes Beginners Make
Everyone makes mistakes. Here are the most common ones that slow down progress:
- Starting too big: Trying to sculpt a life-sized statue as your first project is a recipe for frustration. Start small. A fist-sized piece allows you to finish quickly and learn the entire process.
- Ignoring the armature: Skipping the support structure leads to sagging clay. Spend time building a strong wire frame.
- Adding too much detail too soon: Focus on the big shapes first. Add texture and fine details only after the overall form is correct. Details cannot save a bad proportion.
- Not letting clay dry evenly: Covering clay with plastic wrap while working prevents surface drying. When you remove it, uneven drying causes cracks. Keep your workspace humid or cover unused portions.
- Fighting the material: If the clay is sticking, use water or slip (clay mixed with water). If it’s tearing, it’s too dry. Learn the behavior of your material instead of forcing it.
How Long Does It Take to Get Good?
This is the million-dollar question. You can create a recognizable object in your first session. You can improve significantly within a month of regular practice. Becoming proficient enough to sell your work or exhibit it typically takes 1-2 years of consistent effort.
Practice matters more than talent. Try this exercise: Sculpt a simple sphere, cube, and cylinder. Then, combine them to create a basic human figure. Repeat this weekly. Notice how your eye for proportion improves. Compare your week-one sculpture to your week-four sculpture. The difference will surprise you.
Sculpting is tactile. It engages your muscles, your eyes, and your mind simultaneously. It’s meditative for some and intense for others. The difficulty is real, but it’s a rewarding kind of difficult. It’s the struggle of bringing something into existence from nothing.
Next Steps for Aspiring Sculptors
If you’re ready to start, buy a bag of air-dry clay and a set of wooden tools. Set aside two hours this weekend. Don’t worry about making something "good." Just explore the feeling of the material. Pinch, roll, press, and smooth. See what happens when you add water. See what happens when you cut it.
Join local art communities or online forums. Share your work, even if it’s messy. Feedback accelerates learning. Watch tutorials on YouTube, but remember that videos speed up the process. Real sculpting is slow, deliberate, and often messy.
Remember, every master sculptor started with a lump of clay they didn’t know what to do with. The difficulty fades as familiarity grows. Pick up a tool and start shaping.
Do I need special equipment to start sculpting?
No. To start with clay, you only need clay and your hands. Basic wooden modeling tools help but are not strictly necessary. Avoid buying expensive kilns or power tools until you have committed to the medium and understand your preferred style.
What is the easiest type of sculpture for beginners?
Abstract shapes or simple organic forms like animals or fruits are the easiest. Avoid realistic human portraits initially, as they require advanced knowledge of anatomy and proportion. Air-dry clay is the most forgiving material for these projects.
Can I sculpt without being artistic?
Yes. Sculpting is a learned skill, not an innate talent. While an "eye for art" helps, technical skills like mixing materials, building armatures, and understanding form can be taught and practiced. Many successful sculptors started with zero drawing ability.
Is stone carving dangerous?
It carries risks primarily from dust inhalation and tool slips. Silica dust from stone can cause serious lung damage, so a NIOSH-approved respirator is essential. Using sharp tools reduces the force needed, lowering the chance of slipping. Always secure your stone in a pitch bowl or vise.
How long does clay take to dry?
Air-dry clay typically takes 24-72 hours to dry completely, depending on thickness and humidity. Thicker pieces may take longer. Polymer clay needs to be baked in an oven according to package instructions, usually around 275°F (135°C) for 15-30 minutes per inch of thickness.
What is an armature and do I need one?
An armature is an internal support structure, usually made of wire or metal mesh. You need one for larger clay sculptures or those with overhangs (like arms or legs) to prevent the clay from collapsing under gravity. Small, solid pieces may not require one.
Can I paint my sculpture?
Yes. Air-dry clay and polymer clay can be painted with acrylics once fully cured. Seal the painting with a clear varnish for durability. Stone and wood can also be painted or stained, though many artists prefer to highlight the natural texture of these materials.