Portrait Professionalism Checklist
Evaluate your current portrait or plan by checking off these key elements derived from professional painting techniques.
Structure & Anatomy
Lighting & Depth
Color & Brushwork
Composition & Details
Professional Score
There is a distinct line between a sketch that looks like a hobbyist’s quick study and a portrait that commands attention in a gallery. The difference rarely comes down to raw talent alone. It usually boils down to intentionality. When you look at a professional piece, you notice the confidence in the brushwork, the logic of the light, and the emotional pull of the subject’s gaze. If you want your work to sit comfortably alongside those high-end pieces, you need to move beyond simply copying what you see. You have to understand the mechanics behind the illusion.
The Foundation: Understanding Structure Before Color
Most beginners rush to mix their first color. This is where the first mistake happens. A professional portrait relies on accurate anatomy long before it relies on beautiful skin tones. If the eyes are uneven or the jawline drifts, no amount of glazing will save the piece. You must treat the face as a three-dimensional object, not a flat map of features.
Start with a loose gesture drawing. Focus on the tilt of the head and the angle of the neck. Use simple geometric shapes to block out the cranium, the jaw, and the brow ridge. This structural approach prevents the common error of "floating" features. Once the proportions are locked in, refine the landmarks. Check the distance between the eyes-it should roughly equal the width of one eye. Mark the center line of the face; this helps keep symmetry honest when working from memory or a slightly off-center photo reference.
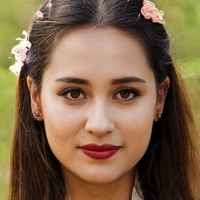
Portrait painting requires a strong grasp of facial anatomy and proportion to create convincing likenesses. Without this skeleton, your colors have nothing to cling to.
Lighting: The Secret Weapon of Depth
Light defines form. In amateur work, lighting is often ignored or rendered as a uniform wash. Professional artists manipulate light to sculpt the face. You need to decide early on where your light source is coming from. Is it harsh overhead sunlight? Soft window light? Dramatic side lighting?
- Chiaroscuro: Using strong contrasts between light and dark to create volume. This technique, popularized by Rembrandt, adds drama and depth.
- Soft Light: Creates gentle transitions. Great for flattering portraits but requires careful handling to avoid looking muddy or flat.
- Hard Light: Produces sharp shadows. Excellent for defining bone structure and adding intensity.
Pay attention to the core shadow. This is the darkest part of the form, right before the reflected light hits. Many artists miss this, making faces look paper-thin. Also, look for reflected light. Light bounces off surfaces-skin, hair, clothing-and fills in shadows with subtle color shifts. Ignoring these nuances makes the portrait feel stiff. Embrace them to make the skin breathe.
Color Theory: Beyond Skin Tone
Skin is not just beige, pink, or brown. It is a complex interplay of warm and cool hues. A professional painter understands that shadows are not just darker versions of the highlights. They are often cooler or warmer, depending on the environment.
If your light source is warm (like candlelight or sunset), the shadows will tend toward blue or purple. If the light is cool (like overcast sky), the shadows may lean into yellow or orange. This complementary relationship creates vibrancy. Mix your skin tones using a limited palette to maintain harmony. For example, mixing Alizarin Crimson, Yellow Ochre, and Titanium White can produce a wide range of realistic flesh tones without becoming chalky or dirty.
Avoid using straight black for shadows. Black deadens color. Instead, use deep blues, purples, or burnt umbers to darken your mixes. This keeps the shadows transparent and lively, allowing the underlying layers to show through slightly.
\n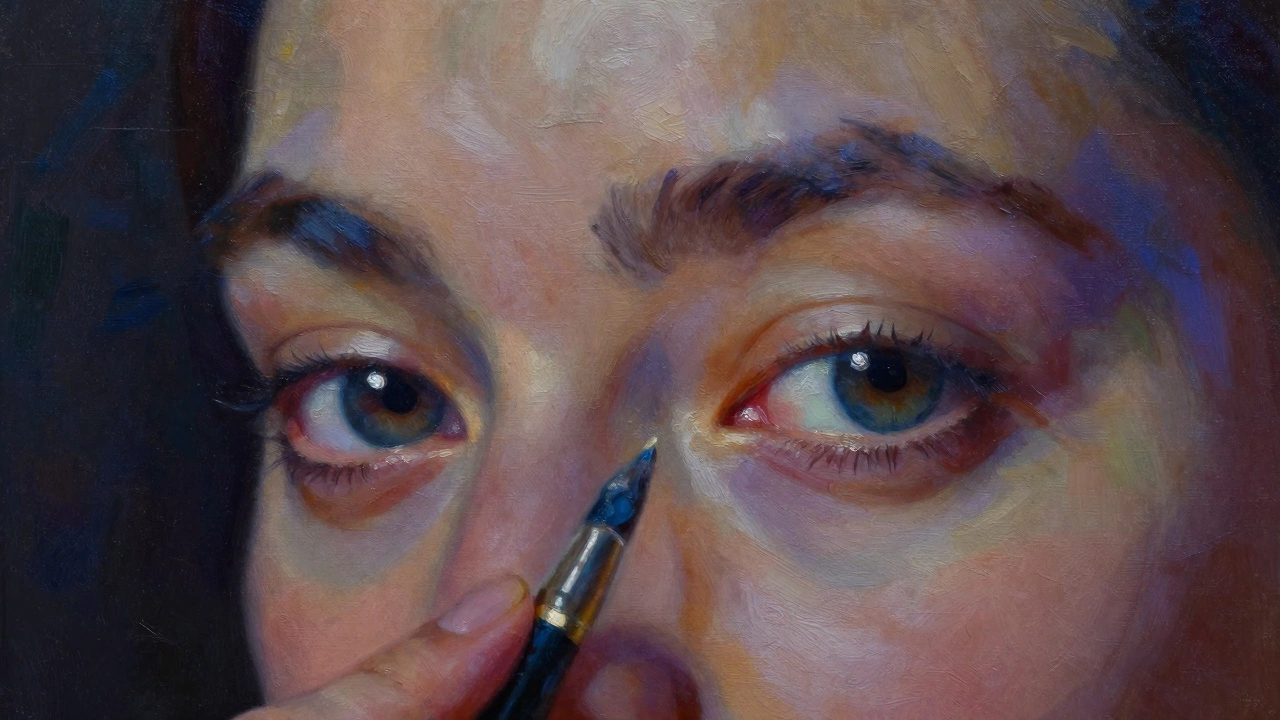
Composition: Guiding the Viewer's Eye
A great portrait is not just about the face; it is about how the face sits within the frame. Composition dictates the mood and focus of the piece. Do not center the subject rigidly unless you intend a formal, iconic effect. Instead, use compositional rules to create dynamic tension.
Consider the Rule of Thirds. Place the eyes along the upper horizontal third line. This leaves space above the head for context or negative space, which feels more natural than crowding the top edge. Look at the direction the subject is looking. Leave more space in front of their gaze than behind them. This gives the subject "room to look," preventing a feeling of confinement.
Use leading lines. The curve of a shoulder, the direction of hair, or even the tilt of the head can guide the viewer’s eye back to the focal point-usually the eyes. Every element in the painting should serve this goal. If a detail distracts from the face, simplify it or remove it entirely.
Brushwork: Confidence Over Perfection
Professional portraits often display visible, confident brushstrokes. This does not mean messy; it means decisive. Overworking a painting-blending every edge until it disappears-can lead to a loss of energy and detail. This is known as "muddying."
Vary your brush size and pressure. Use larger brushes for broad masses of color and smaller brushes only for critical details like the iris or lips. Keep edges varied: some sharp, some soft. Sharp edges draw attention; soft edges recede. The eyes and mouth should generally have sharper definition, while the cheeks and forehead can be softer.
Do not fear mistakes. A bold stroke that is slightly off can add character. A hesitant stroke looks unsure. Commit to your marks. If you need to adjust, do so deliberately, not by scrubbing away paint repeatedly.
The Eyes: Windows to the Soul
The eyes are the most critical part of any portrait. If they fail, the whole painting fails. They require precision, patience, and an understanding of light reflection.
- Shape: Get the shape of the eyelids correct first. The upper lid casts a shadow on the eye socket. The lower lid has a highlight where it curves.
- Iris: The iris is a sphere, not a flat circle. It reflects light. Paint the base color, then add radial lines for texture. Add a bright catchlight-the reflection of the light source. This small white dot brings the eye to life.
- Pupil: Keep the pupil dark and crisp. It anchors the gaze.
- Sclera: The white of the eye is never pure white. It has subtle shadows and veins. Cool it down slightly to contrast with the warm iris.
Ensure both eyes share the same horizon line unless the head is tilted. Even a slight misalignment can make the subject appear cross-eyed or distracted.
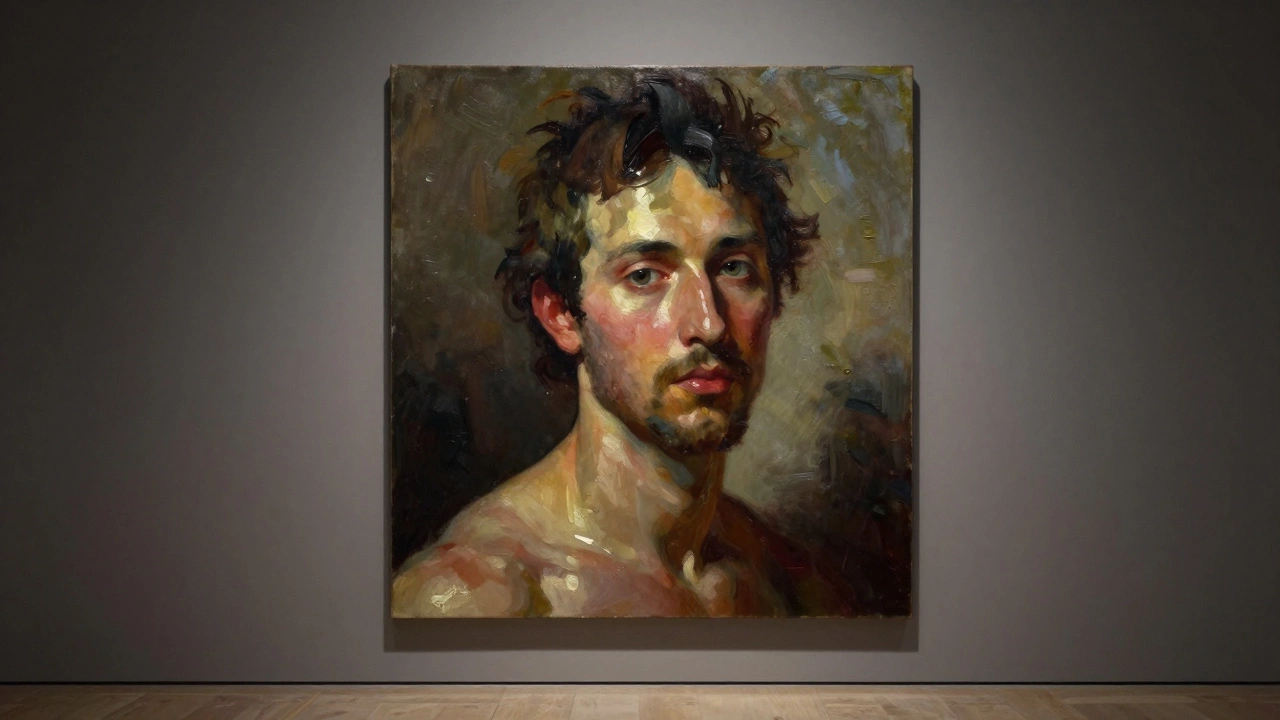
Final Polish: Squinting and Stepping Back
As you near completion, step back from your canvas. Squint your eyes. This blurs the details and allows you to see the overall value structure. Are the lights light enough? Are the darks dark enough? Does the contrast pop?
Look for distractions. Are there stray brushmarks that break the flow? Smooth them out or paint over them. Check the background. It should support the subject, not compete with it. A busy background can undermine a serene portrait. Simplify if necessary.
Finally, sign your work. Place the signature discreetly, usually in a corner or on a neutral area of the background. It should not detract from the image.
What is the most important element in a professional portrait?
While all elements matter, accurate structure and proportion are foundational. Without correct anatomy, even the best color and lighting will result in an unconvincing likeness. However, the eyes are often considered the focal point that connects emotionally with the viewer.
How do I avoid my portrait looking flat?
Flatness usually results from ignoring value changes and reflected light. Ensure you have a clear light source and render the core shadows and reflected lights accurately. Use contrasting temperatures in your highlights and shadows to enhance the sense of volume.
Should I blend every part of the portrait?
No. Over-blending leads to a muddy, lifeless appearance. Vary your edges. Keep areas of interest, like the eyes and mouth, sharper, and allow other areas to remain softer or even show visible brushstrokes to maintain energy and texture.
What colors should I use for skin tones?
Avoid relying on pre-mixed "flesh" paints. Instead, mix your own using a limited palette such as Titanium White, Yellow Ochre, Alizarin Crimson, and Burnt Umber. Adjust warmth and coolness based on your light source to create realistic, vibrant skin.
How can I improve my composition quickly?
Apply the Rule of Thirds by placing the subject's eyes on the upper horizontal line. Ensure there is adequate negative space in the direction the subject is looking. Use leading lines from the body or background to guide the viewer's eye directly to the face.