Value Ratio Calculator
Calculate optimal color mix ratios using the three-bucket rule for oil painting value control. Input your desired value (0-100 scale), and we'll show the ideal mix of white, black, and base color.
Use this ratio when mixing your base color. For lighter values, increase white; for darker values, increase black. Keep your base color consistent for best results.
Quick Takeaways
- The three-bucket rule splits your palette into white, black, and a mixed color bucket.
- It streamlines value control and keeps colors consistent throughout a painting.
- Ideal for both beginners and seasoned artists looking to reduce muddiness.
- Set up takes just a few minutes and works on any surface - wood, canvas, or panel.
- Combine with glazing and underpainting for richer depth.
Ever stared at a chaotic palette and wondered why your colors keep turning gray? That frustration often stems from trying to juggle too many pigments in one bowl. The three-bucket rule offers a simple fix: dedicate three separate containers to the core values you need, then mix from them. Below we break down what it is, how to set it up, and why it fits naturally into a classic oil painting workflow.
What is the three-bucket rule?
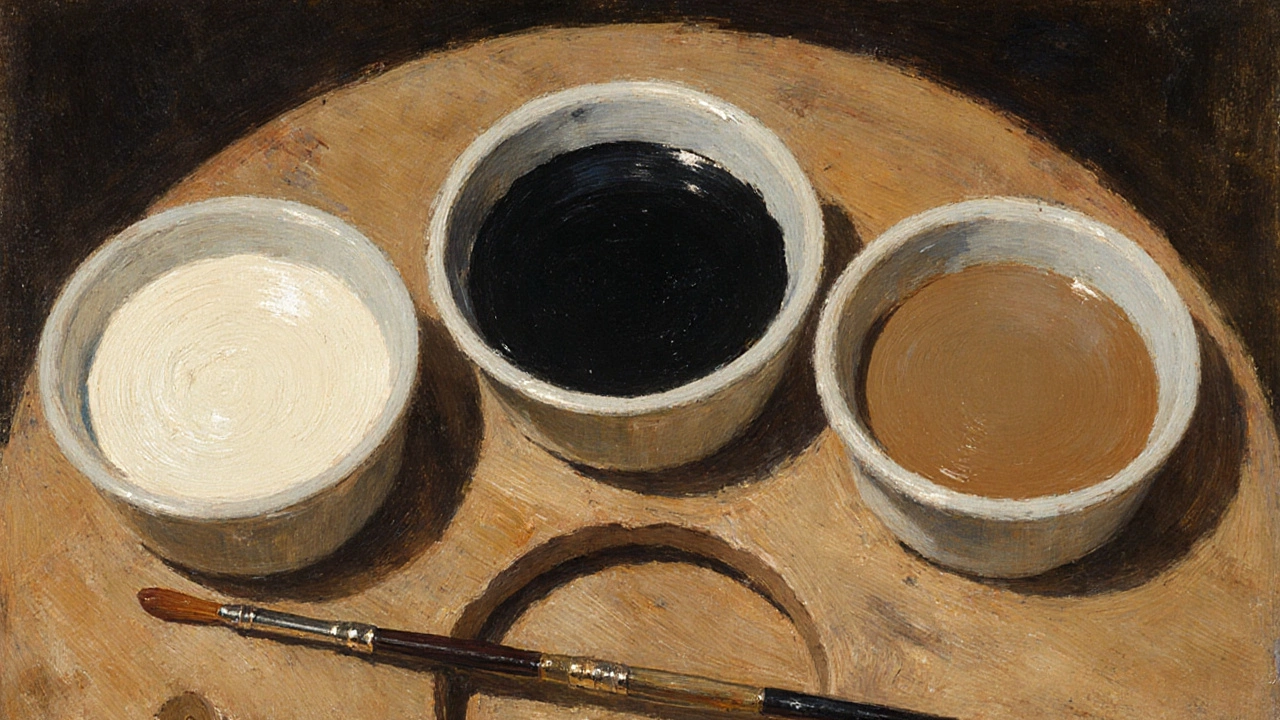
Three-bucket rule is a palette organization method that uses three distinct containers - one for white (or a light value), one for black (or a dark value), and one for a mixed base color. The technique originated in the early 20th‑century academies, where students were taught to control value before focusing on hue. By separating light, dark, and middle tones, painters can maintain clean, vibrant mixes without accidental dulling.
Why artists swear by three buckets
Oil painting relies on the balance between value (lightness-darkness) and hue. Mixing pigments directly together often leads to a muddy middle. The three-bucket rule tackles this problem in three ways:
- Consistent values: White and black buckets provide reliable reference points for adjusting lightness.
- Cleaner mixes: By pulling color from a neutral base bucket, you avoid stacking too many pigments.
- Speed: Once the buckets are prepared, you simply blend on the canvas or a mixing tray, reducing palette clutter.
Most professional studios use some version of this method because it aligns with the broader oil painting workflow: underpainting, glazing, and final detailing.
Setting up the three buckets - step by step
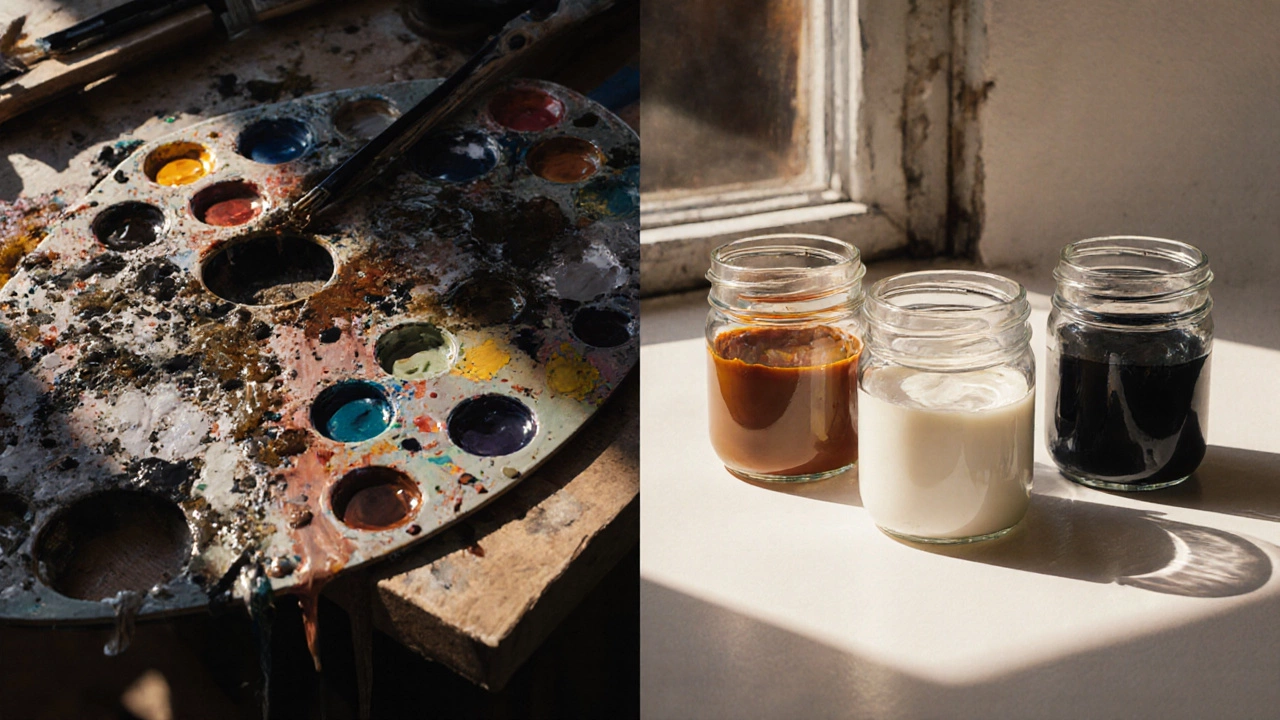
- Choose your containers. Small glass jars, porcelain dishes, or even disposable plastic cups work. Make sure they are clean and have flat rims for easy mixing.
- Fill the white bucket. Use a high‑loading titanium white mixed with a thin medium - linseed oil (or walnut oil) in a 1:1 ratio. This keeps the white fluid and easy to spread.
- Fill the black bucket. Black oil paint (Ivory Black or Mars Black) is thinned with a bit of turpentine or mineral spirits to maintain flow.
- Prepare the mixed base bucket. Pick a neutral hue that matches your overall palette - often a warm earth tone like burnt sienna mixed with a touch of ultramarine. Thin it with the same medium you used for white.
- Arrange your palette. Place the three buckets in a triangle formation, leaving a small empty area for quick test mixes.
Now you have a reliable value framework. When you need a mid‑tone, pull from the mixed bucket and adjust with a dab of white or black. For vibrant hues, add a pinch of pure pigment to the base mix, then tweak the value with the dedicated buckets.

Integrating the rule with classic oil painting stages
Most painters follow a three‑phase process: underpainting → glazing → final details. Here’s how the three-bucket rule fits:
- Underpainting: Use the black and white buckets to block in broad values. The base bucket can be thinned to a wash for a tonal sketch.
- Glazing: Apply thin, transparent layers of color from the base bucket, adjusting depth with white or black as needed. Because each glaze starts from a consistent value, the final colors stay luminous.
- Final details: For sharp highlights or deep shadows, you’ll reach directly into the white or black buckets, preserving crisp edges without contaminating the main color mix.
Artists who pair the three-bucket rule with solid color theory knowledge report higher confidence in achieving the desired mood and atmosphere.
Common pitfalls and pro tips
- Over‑thinning: Adding too much solvent to the white or black buckets makes them runny, causing unwanted streaks. Keep the consistency similar to the paint you’ll apply on the canvas.
- Neglecting the base bucket’s hue: If the base is too warm or cool for your subject, every mixed color will feel off. Test a few swatches before committing.
- Mixing directly on the canvas: While tempting, this can muddy values. Use a small mixing tray or the empty area on your palette.
- Pro tip - “value ladder”: Arrange the three buckets in ascending order of darkness (white → base → black). This visual cue reinforces proper value progression.
- Pro tip - “quick reset”: Keep a tiny brush for each bucket. When a bucket gets too thick, swipe it clean and re‑apply fresh paint to maintain color fidelity.

How the three-bucket rule stacks up against other systems
| Feature | Three‑Bucket Rule | Two‑Bucket (White/Black only) | Single‑Palette Mix |
|---|---|---|---|
| Value control | High - dedicated light & dark references | Medium - no middle‑tone base | Low - relies on eye judgment |
| Color consistency | Strong - base bucket keeps hue stable | Weak - each mix starts from scratch | Variable - high risk of muddiness |
| Setup time | 5‑10 minutes | 3‑5 minutes | 2‑4 minutes |
| Flexibility for glazing | Excellent - thin, transparent layers from base | Limited - need separate glaze mixes | Moderate - can glaze but with inconsistent values |
For most traditional oil painters, the three-bucket rule offers the best balance of control and efficiency. If you’re a plein‑air artist who favors speed, the two‑bucket might suffice, but you’ll sacrifice some tonal precision.
Frequently Asked Questions
Do I need to use a specific type of white paint?
Titanium white is preferred because it offers high opacity and a cool temperature that blends well with most pigments. Some artists use a slightly warmer zinc white for softer highlights, but the key is consistency.
Can the three‑bucket rule work with acrylics?
Absolutely. Replace the oil medium with an acrylic glazing medium and keep the same bucket arrangement. The principle of separating values remains identical.
How often should I refresh the base bucket?
If you notice the hue shifting or the mixture becoming too thick, wipe the bucket clean and remix a fresh batch. For a typical 2‑hour session, a single refill is often enough.
Is the rule suitable for large‑scale murals?
Yes, but you’ll need larger containers and perhaps a few extra buckets for regional color variations. The same value‑control logic applies.
What’s the biggest mistake beginners make?
Mixing all colors directly into the base bucket without checking values first. Start with a light‑dark test, then adjust with the dedicated buckets.
Give the three‑bucket rule a try on your next canvas. You’ll likely notice faster decision‑making, cleaner colors, and a more confident handle on value-a core skill that every oil painter needs.