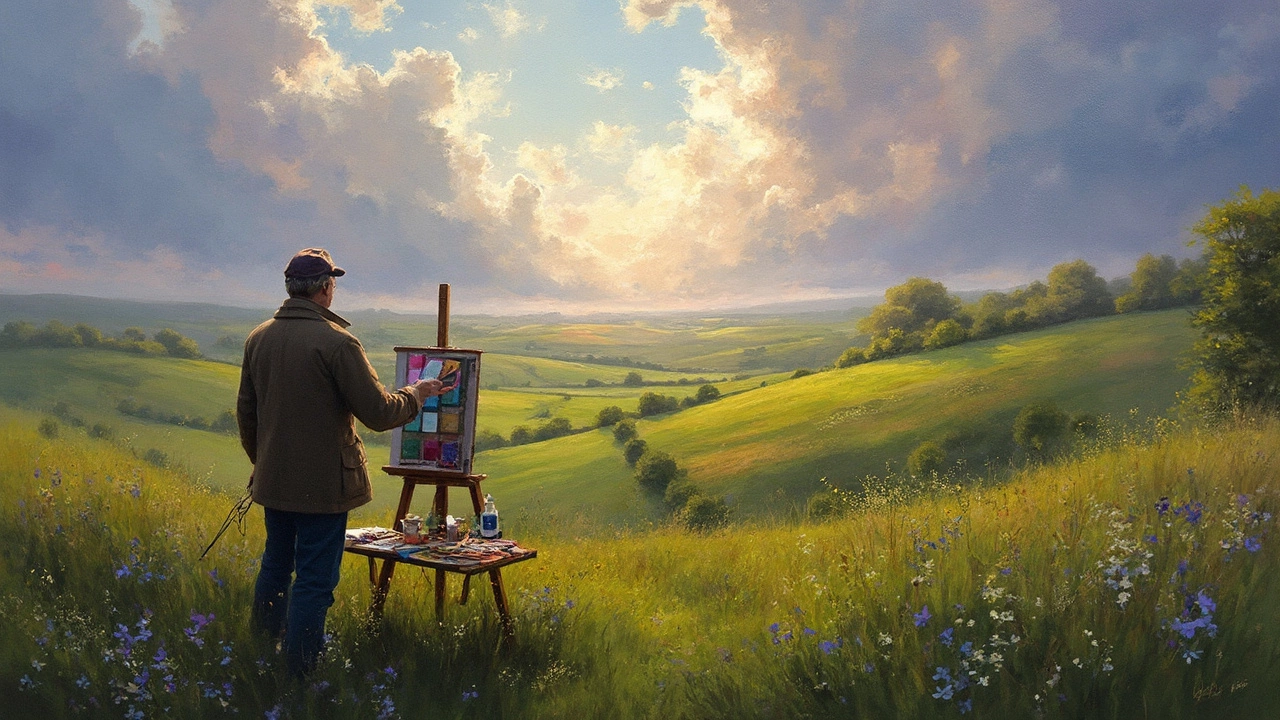
Paint for Landscapes – Easy Tips and Tools to Create Great Outdoor Scenes
If you’ve ever tried to capture a sunrise or a forest trail, you know it can feel tricky. The good news is you don’t need a fancy studio or expensive gear to get a solid result. Pick a paint type you’re comfortable with, follow a few basic rules, and you’ll see improvement fast.
Choosing the Right Paint and Materials
Oil, acrylic, and watercolor each have pros for landscape work. Oil gives you a long drying time, so you can blend clouds or water reflections smoothly. Acrylic dries fast, perfect for layering sky tones without waiting all day. Watercolor shines when you want light, transparent washes for misty mornings. Test a small swatch of each on a cheap canvas or paper to see which feels right.
Next, grab a few essential brushes: a flat one for broad sky strokes, a filbert for soft edges on trees, and a fine round for details like rocks or fence posts. A palette knife can also help you add texture to cliffs or mountain ridges. Don’t forget a medium—linseed oil for oil paints, a flow improver for acrylic, or a masking fluid for watercolor.
Simple Composition Tricks for Landscape Success
The rule of thirds is a quick fix for off‑balance scenes. Imagine your canvas split into a 3×3 grid. Place the horizon on the top or bottom line, not smack in the middle. Put a standout element—like a tree or a lone cabin—at one of the four intersecting points. Your eye will travel naturally across the painting.
When you start, block in the biggest shapes first. Use a large flat brush to lay down the sky, then the land, and finally the middle ground. This prevents you from getting lost in tiny details too early. Once the major areas are solid, add layers of color. Mix a little complementary hue (blue with orange, green with red) to make clouds pop or foliage look lush.
For realistic lighting, notice where the light hits and where shadows fall. A simple way to keep shadows consistent is to use a single color—like a muted violet for cool shadows—and adjust its value with white or black. This keeps the mood uniform across the whole scene.
Don’t forget texture. A dry‑brush technique on acrylic or oil can suggest bark or grass without painting each blade. With watercolor, lift paint off with a clean, damp brush to create highlights in water or sunlight on leaves.
After the main work, step back and look at the whole picture. Does the eye move smoothly? Is there a focal point? Make small tweaks—add a brighter accent, deepen a shadow, or soften a line—until it feels balanced.
Cleaning up is easy if you use the right solvents: a simple soap and water rinse for acrylic, mineral spirits for oil, and a gentle rinse for watercolor. Store brushes upright so they keep their shape.
With these basics—pick the paint you enjoy, use the rule of thirds, block in big shapes first, and add texture—you’re set to create landscape paintings that feel alive. Grab your brushes, head outside for a quick sketch, and let the colors guide you. Happy painting!

24 Jun 2025
Explore how to choose colours for landscape painting, with practical tips, science-backed facts, and examples. Discover what makes a palette truly work outdoors and how light, weather, and season affect your choices. Get actionable, creative advice for painting landscapes whether you’re a hobbyist or seasoned artist. Find out what pros keep in their paint box and how to make your scenes feel vibrant, real, and uniquely yours. This guide takes a deep and humorous dive—you'll never look at a field of green the same way again.
Continue reading...
