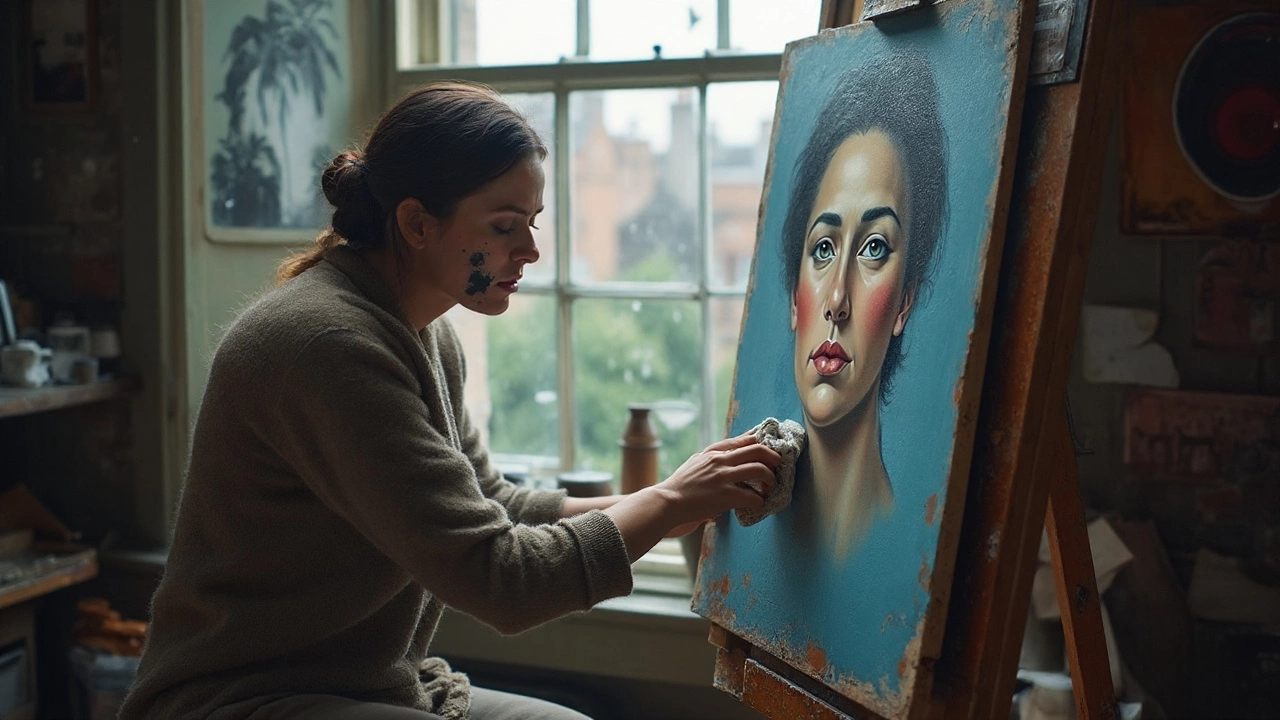
Oil Painting Correction Techniques: Fix Mistakes Quickly
Ever found a stray brushstroke that ruins a whole section? You’re not alone. Most painters hit a snag – a too‑dark sky, a loose edge, or a wet spot that won’t dry. The good news? You can undo or hide most errors without scrapping the whole canvas.
Common Mistakes and Quick Fixes
Wet‑on‑wet mishaps. If you’ve laid a color on top of another that’s still tacky, you can lift the top layer with a clean, dry brush. Gently sweep in short strokes; the paint will soften and come off. If lifting doesn’t work, wait until the lower layer dries a bit, then use a small palette knife to scrape away the unwanted bits.
Dry brush spots. Once oil paint has hardened, it’s harder to blend. A little linseed oil or a few drops of odorless mineral spirits on a soft brush will re‑wet the area. Work the solvent into the paint, then blend it into the surrounding tones. Remember to test on a hidden corner first.
Color over‑saturation. Too much hue can make a portrait look flat. Dab a tiny amount of white or a complementary color with a soft brush and feather it into the saturated area. This lightens the tone without creating a new, obvious stroke.
Unwanted texture. If you’ve built up a thick impasto that looks clumsy, use a palette knife to smooth it out while the paint is still pliable. For dried impasto, gently sand with very fine sandpaper (400‑grit) and then re‑apply a thin glaze to restore the smooth finish.
Tools and Materials for Corrections
Palette knives. A flexible, medium‑sized knife works for both scraping and smoothing. Keep a few shapes on hand – straight edge for clean lines, rounded tip for gentle lifts.
Solvents. Odorless mineral spirits and turpentine are your friends for re‑wetting dry paint. Use sparingly; a few drops on a brush go a long way. Always work in a well‑ventilated area.
Mediums. A quick‑drying medium like Liquin can speed up the correction process. Mix a small amount with your paint, apply, and you’ll have a workable surface in minutes rather than days.
Cleaning supplies. Keep a soft rag, paper towels, and a small container of warm soapy water nearby. Quickly wiping away excess solvent or stray paint prevents it from setting.
When you’re dealing with big errors, consider a “glaze” technique. Apply a thin, translucent layer of a complementary color over the mistake. Once it dries, the flaw becomes part of the painting’s depth instead of a visible flaw.
Another handy trick is the “scrape‑back” method. If a section is completely off, let it dry completely, then use a palette knife or razor blade to remove the top layer. You’ll be left with the underpainting, which you can rebuild with fresh layers.
Practice makes perfect. Set aside a small canvas for experiments – test solvents, mediums, and scraping techniques before you apply them to a finished work. This low‑risk space helps you get a feel for how quickly oil paint reacts, saving you from costly mistakes on your main piece.
Finally, remember that oil paint naturally ages. Small imperfections can become character with time. Don’t stress every little slip; sometimes the best corrections add a subtle, lived‑in quality that makes a painting feel real.
With these tools and tips, you’ll turn slip‑ups into smooth recovery moves. Keep a palette knife handy, a few drops of solvent nearby, and a willingness to experiment. Your oil paintings will look cleaner, and you’ll paint with more confidence.
