Layering Paint Made Easy: Tips You Can Use Today
Ever wondered why some paintings look like they have real depth while others feel flat? The secret is often how the artist layers paint. Whether you work in oil, acrylic or watercolor, the basics of layering are the same: build color, texture, and light step by step.
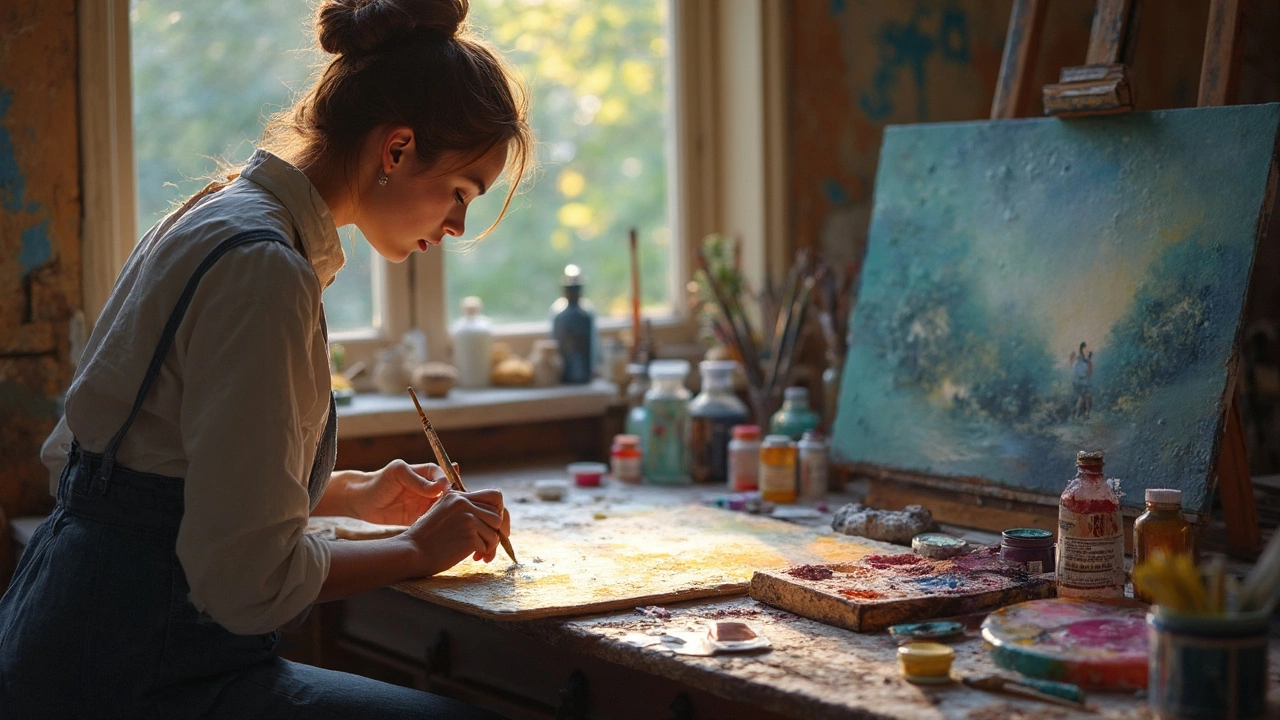
Start With the Right Surface
The surface you choose decides how fast paint dries and how well layers stick. Canvas primed with gesso is great for oils and acrylics because it absorbs a little moisture but still lets you add more paint later. For watercolor, a cold‑pressed paper that holds water without warping gives you control over wet‑on‑wet and wet‑on‑dry effects.
Know Your Paint Stage
Paint changes from wet to tacky to dry. In the wet stage you can blend freely, but once it’s tacky you can still scrape or glaze without ruining the underlayer. When it’s completely dry you’re safe to add heavy texture or dry‑brush details. Planning which stage you’ll work in helps you avoid accidental smudges.
For oil painters, a quick trick from the post “How to Fix Mistakes in Oil Painting” is to use a thin glaze over a dry layer to shift colour without scrubbing it off. A glaze is just a small amount of paint thinned with medium, applied like a translucent veil.
Acrylic dries fast, so you can layer quickly. If you need more time, add a retarder medium or work in a spray bottle to keep the surface wet longer. This lets you blend colors before they set.
Watercolor artists often start with a light wash, then let it dry before adding deeper tones. The article “What to Paint First in Watercolor” suggests this order because the dry paper will catch pigment differently, giving you natural gradients.
Scumbling is a handy technique for all mediums. It means dragging a dry brush loaded with a small amount of paint over an already dry layer. The result is a broken, textured look that adds visual interest without heavy coverage.
Dry‑brushing works the same way but uses even less paint. A stiff brush lightly sweeps across the surface, leaving only the tips of pigment. It’s perfect for highlighting edges or creating a weathered effect.
If you’re stuck with a colour that just won’t match, try glazing a complementary hue over it. The underlying paint will show through, shifting the overall tone. This works especially well with oil because the oil medium stays flexible under many layers.
Don’t forget to step back. A fresh glance often shows where a layer looks too thick or where a colour needs more depth. A quick photo on your phone can also help you see the painting from a different angle.
Finally, keep your tools clean between layers. A dirty brush can unintentionally blend colors you meant to keep separate. Rinse, dry, and wipe your brushes before you start each new stage.
Layering paint is as much about planning as it is about execution. By mastering wet, tacky and dry stages, using glazing, scumbling, and dry‑brushing, you’ll add depth and polish to any artwork. Try one technique today and watch your painting come alive.
21 May 2025
Ever wondered why some paintings seem to glow or have a magical softness? Scumbling might be the secret. This technique adds layers of life to your artwork by letting bits of color peek through. It's not tricky, but it can totally change the look of your painting. Discover how to use scumbling in oil painting, what tools work best, and why even the Old Masters loved this trick.
Continue reading...