Digitize Art: Easy Guide to Turning Physical Artwork into Digital Files
Got a canvas, a sketchbook, or a clay model you love? Making a digital copy lets you keep it safe, show it online, and even print it later. The process isn’t as tech‑heavy as it sounds – you just need a few basics and a bit of patience.
Choose the Right Capture Method
Two tools do most of the job: a flatbed scanner or a digital camera. Scanners are perfect for flat pieces like drawings, watercolors, or prints. They capture fine detail and give you a uniform lighting condition straight out of the box.
If your work is larger than a scanner or has texture (think paintings, mixed media, or sculptures), a camera works better. Use a DSLR or a good smartphone with manual controls. Set the camera on a tripod, aim it straight on, and keep the lens parallel to the artwork to avoid distortion.
Before you shoot, clean the surface gently – dust and fingerprints show up big time in the final file. For paintings, make sure the varnish is dry; for sculptures, wipe away any loose debris.
Lighting is the secret sauce. Natural light from a window on a cloudy day gives soft, even illumination. If you’re indoors, use two softbox lights at 45‑degree angles on either side of the piece. Avoid harsh shadows or glare by tilting the lights or adding a diffuser.
Save, Edit, and Store Your Files
When you’re happy with the shot, save the raw file in a loss‑less format like TIFF or PNG. These keep every pixel intact and are the best choice for archiving. If you need smaller files for web use, export a JPEG version at 80‑90% quality – that keeps the image clear without hogging space.
Resolution matters. Aim for at least 300 dpi for prints; 150 dpi works fine for online galleries. Higher dpi gives you more flexibility later, especially if you want to enlarge the image.
Quick editing can improve the result. Use free tools like GIMP or built‑in apps to crop, adjust brightness, and fix color balance. Keep edits non‑destructive by working on a copy of the original file.
Now for storage. Put the master files on an external hard drive and a cloud service like Google Drive or Dropbox. Having two copies protects you from hardware failure. Organize folders by year, medium, and title – it saves a lot of hunting later.
Sharing is the fun part. Upload the web‑ready JPEGs to your website, Instagram, or an online portfolio. Add descriptive tags (like "digitize art" or "digital archive") so people can find your work easily.
That’s it – with a scanner or camera, good lighting, proper file settings, and a solid backup plan, you can turn any piece of art into a digital treasure that lasts for years.
4 Jul 2025
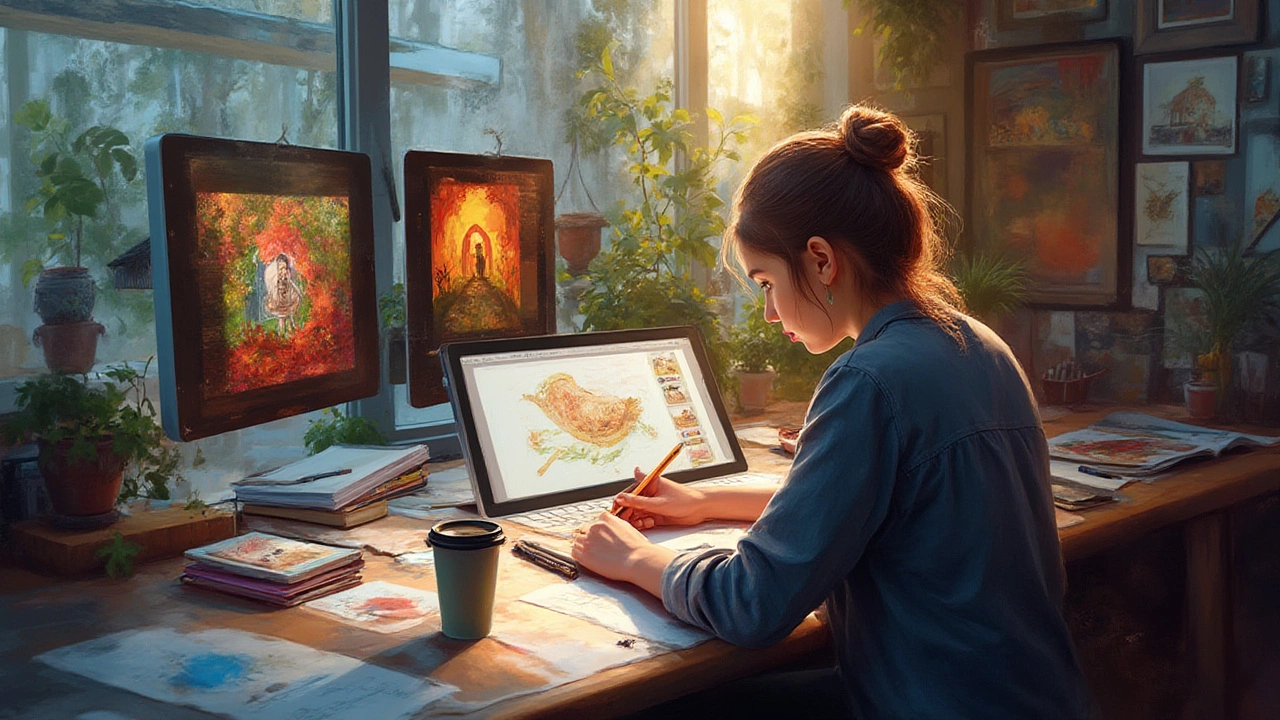
Explore practical steps and creative advice on converting hand-drawn sketches into professional digital art, with expert tips, tools, and must-know facts for artists.
Continue reading...
28 May 2025
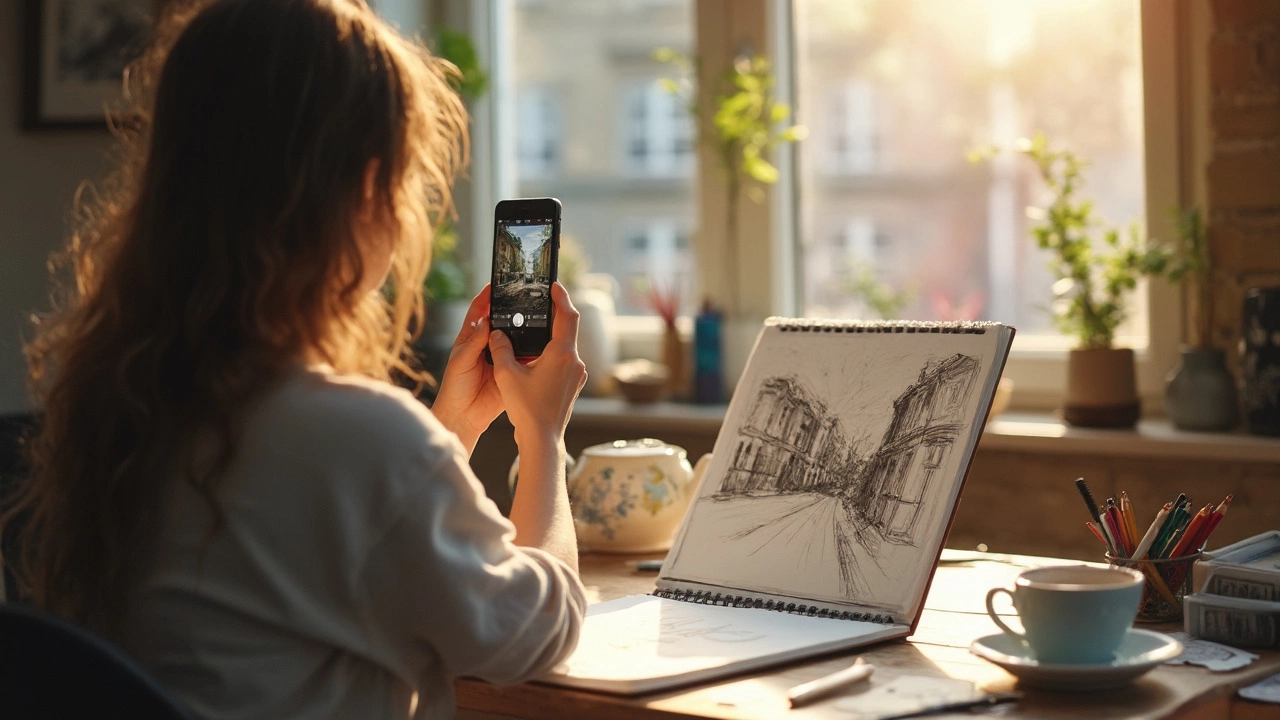
Wondering if you can snap a photo of your sketch and turn it into digital art? Absolutely—it’s easier than you think. This article walks you through picking the right tools, snapping the best shot, and making your artwork digital-ready. You’ll learn simple tricks to keep your art sharp and colors true. The tips are practical whether you have fancy tech or just a smartphone.
Continue reading...