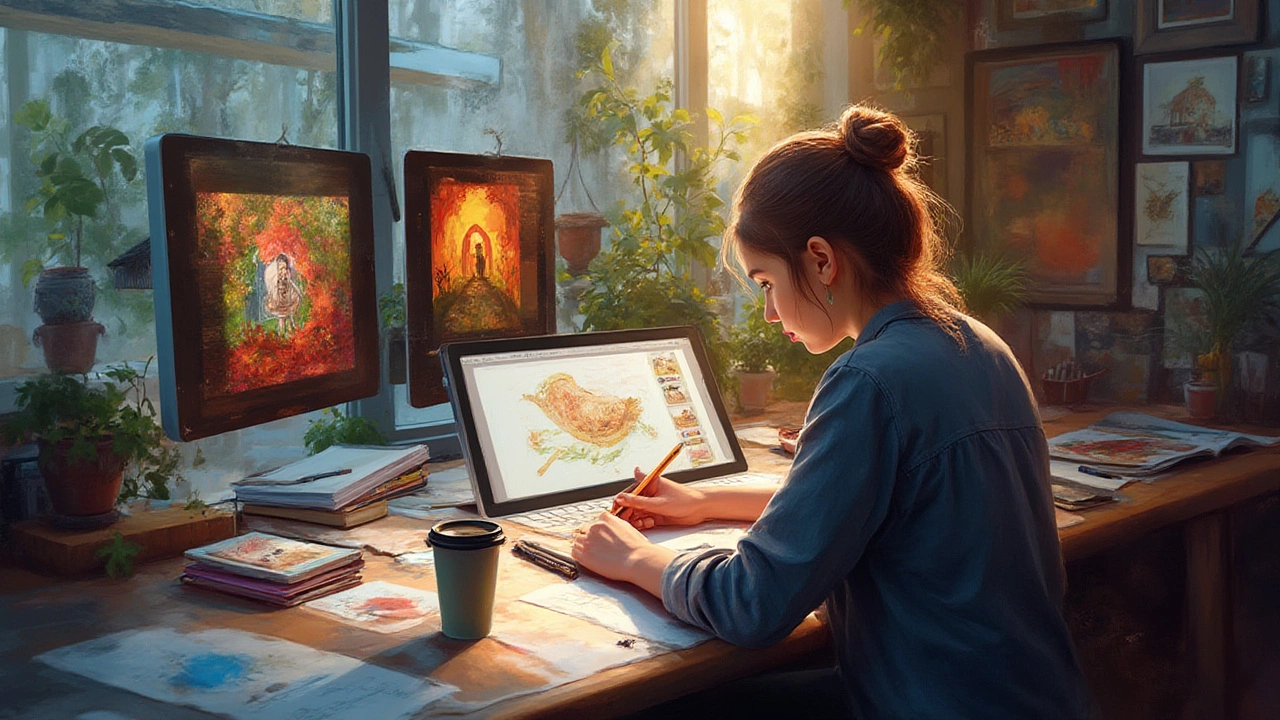
Doodling on scrap paper at midnight, pencil smudges on your hands, the crumple of the page—it’s an experience every artist knows. But now, Instagram feeds, art portfolios, and commissions rely more on clean, crisp digital art than on sketches forgotten in your desk drawer. That’s where turning those handmade drawings into digital masterpieces changes the game. Ever wondered how your quick sketch could end up looking like the stunning digital pieces you see online? With the right tools, techniques, and a bit of patience, your old-school doodles can easily evolve into digital showpieces that grab attention.
Preparing Your Drawing for the Digital Shift
Before you jump into the software and start clicking away, your analog drawing needs some love. It’s all about setting a strong foundation, just like prepping your canvas before you paint. A surprisingly high number of artists mess this up and end up struggling with muddy scans and blurry lines—that’s what we want to avoid here. First tip: start with a clean, high-contrast sketch. HB or F pencils work well, but if you want ultra-crisp lines, an ink pen (think Micron or Staedtler) saves a ton of cleanup time later. Smudges, eraser debris, and faint lines will haunt you when you try to digitize, so tidy up the old-school way first.
Now, to get your drawing into your computer. The classic way is using a flatbed scanner set to at least 300 dpi (dots per inch), but professionals often go with 600 dpi, especially if the art will be resized or printed. Why does the resolution matter? The higher it is, the sharper and more detailed your digital copy. According to a 2024 Creative Bloq survey, 86% of pro illustrators use 600 dpi or higher when scanning artwork for digital projects. If a scanner isn’t handy, your smartphone saves the day—the catch is making sure light is even and the lines are crisp. Apps like Adobe Scan or CamScanner work far better than just a regular camera snapshot, correcting distortion and bumping up the contrast. This one step makes a gigantic difference once you hit the editing phase.
Once your drawing is digitized, file format options pop up. If you're planning multiple passes with edits or sharing with others, stick with TIFF or PNG. These formats keep your details sharp and don’t introduce weird artifacts, like JPEG sometimes does. Want to shoot for pro results? Scan your drawing on a white background and avoid any bending or wrinkling of the paper, since every crease shows up in high-res scans. Once on your screen, you’ll probably spot dust, random marks, or unwanted graphite. Open the file in photo editing software (Photoshop, GIMP, or Clip Studio Paint are top picks) and use the eraser or clone tool to zap those flaws. Brightness and contrast controls aren’t just for Instagram filters here—they’re critical. Crank the contrast until the lines get punchy and the white spaces pop, but don’t overdo it where the lines start to disappear.
Color correcting comes next, if you plan to add vibrant colors or keep the original hue. Artists with colored pencil or watercolor sketches should double-check color fidelity. Your monitor’s calibration can throw off shades you spent hours perfecting, so a quick before and after look at your art (maybe checking on two devices) keeps things on point. Once that’s squared away, save a master copy of your cleaned and prepped art. If you mess up later on (it happens), you’ll be able to start fresh from this stage without scanning again.
Choosing Your Digital Art Software and Tools
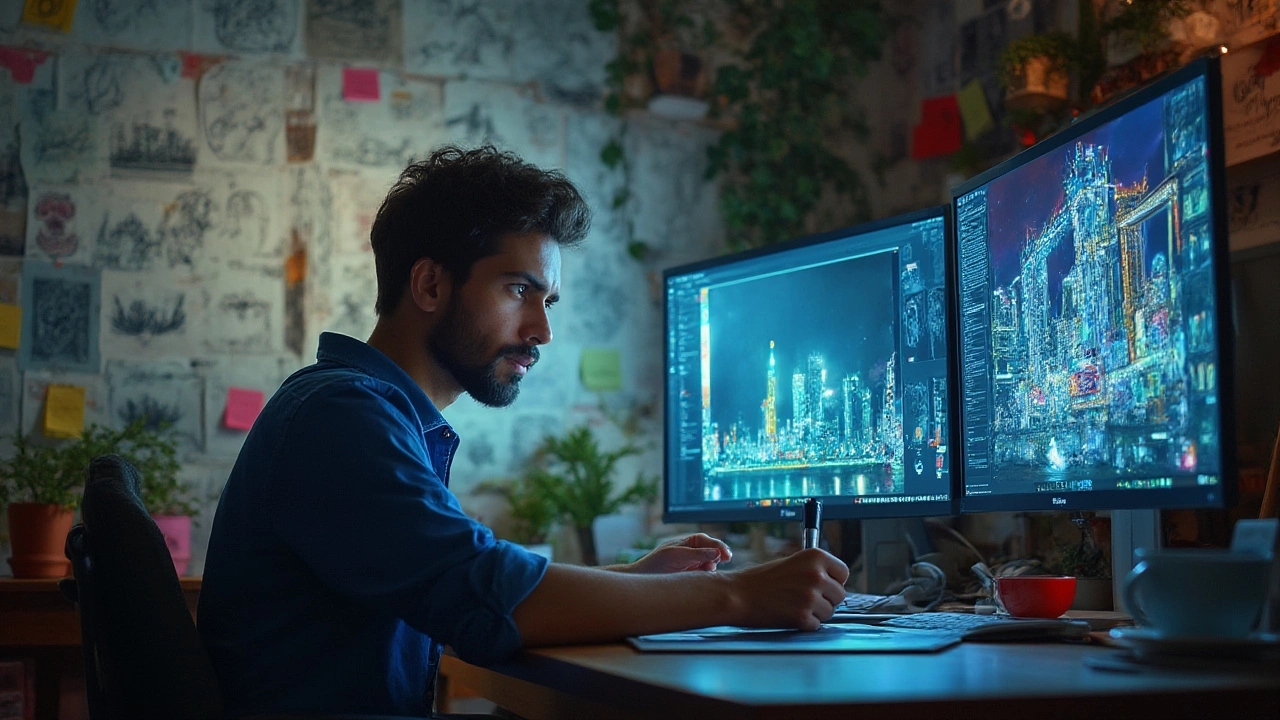
The digitized sketch is now ready for some digital gymnastics, which means diving into software and getting a grip on tools. Back in the early 2000s, digital painting was more of a tech-wizard thing, but nowadays anyone with a laptop or an iPad can pick up digital art and run with it. Photoshop remains the standard for seasoned professionals, but apps like Procreate (for iPad users), Krita (open-source and free), Clip Studio Paint, and Corel Painter offer tons of unique brushes and features specifically for illustration. Even the humble Paint Tool SAI still has a cult following for its simplicity and buttery-smooth lines.
But here’s the deal: using a mouse is like drawing with a potato. If you really want digital art to feel natural, invest in a graphics tablet. Wacom tablets are the household name, but XP-Pen and Huion have shaken up the market with quality options for half the price. Display tablets, where you draw directly on the screen, can honestly feel like magic. By 2024, global tablet shipments hovered around 37 million units according to Statista, with a major uptick led by artists and hobbyists shifting to digital workflows. Tablets with pressure sensitivity and tilt functions—features emulating pencil, brush, and pen strokes—make artwork feel more organic.
Getting the hang of your software means understanding layers—think of them like transparent sheets stacked over your drawing. Start by putting your scanned image on the bottom layer, set to ‘Multiply’ blending mode. That way you can add linework and colors on top, and the sketch underneath still shows through. A typical digital workflow looks like this:
- Place your scan or photo as the base layer
- Add a new layer for lineart—use inking tools for crisp, clean outlines
- Create separate layers for coloring, shadows, and highlights
- Lock layers you’re done with to avoid accidental mess-ups
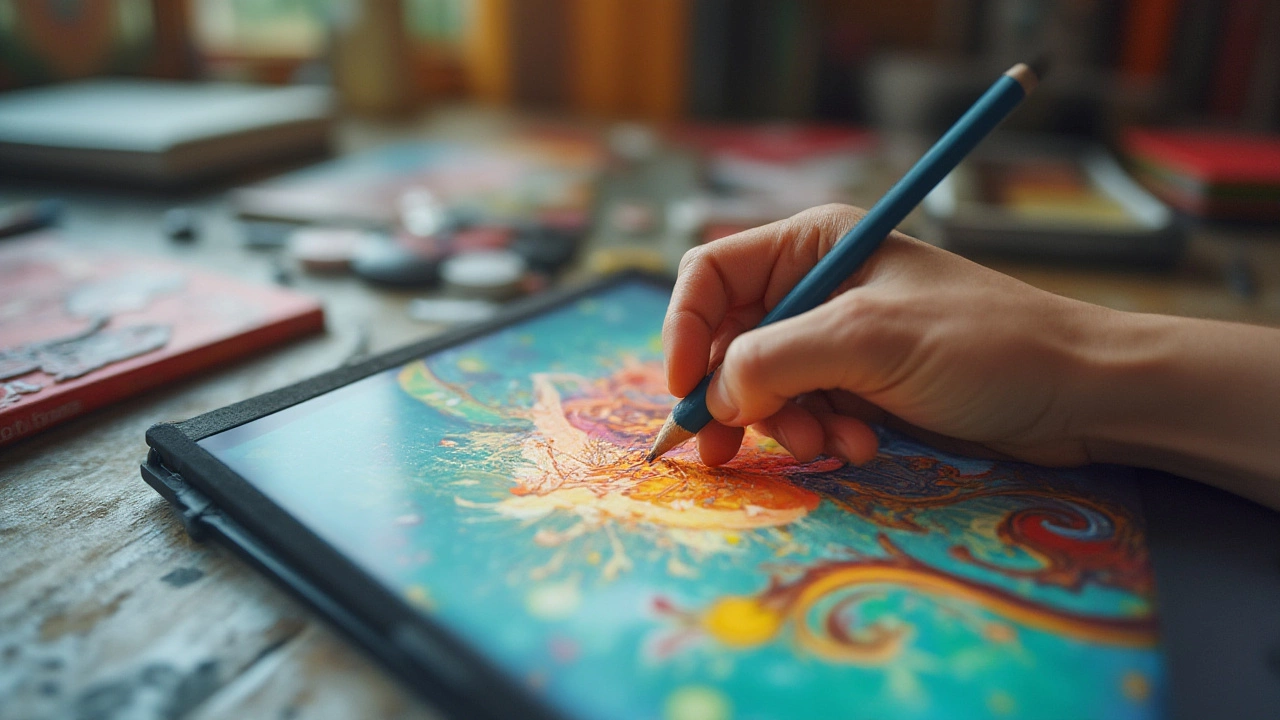
Most artists swear by keyboard shortcuts. Learning a few—like Ctrl+Z to undo, or B for brush—lets you hit that creative flow where the tech just melts away. Brush settings are another goldmine. You’ll find hundreds of options online, even free brush packs that mimic real pencil, watercolor, or ink. Adjusting opacity, size, and flow gets you effects impossible with physical media, like glowing neon, perfect gradients, or ultra-clean erasing. Pro tip: save new brush settings you like as presets, so you don’t need to fiddle around every time you open the app.
One more pro trick—automate boring tasks. Many software suites have batch processing or scripting, which means you can apply changes like contrast boosts to a folder of scanned sketches all at once. It frees you up to focus on the fun stuff: refining and coloring.
From Basic Scan to Slick Digital Art: Workflow and Finishing Touches
Here’s where things start feeling like real digital art. Your cleaned-up drawing sits on a layer, and you’re itching to make it pop. Rule number one: never work on your original scan. Duplicate the layer so if you mess up the linework, your scan is untouched. Now, outline your image using a hard round brush or an inking brush on a fresh layer. Most artists zoom in up to 200%-300% for the inking phase—yes, pixel-perfect doesn’t happen at a distance. If you want an authentic look, use a pressure-sensitive stylus to vary your strokes, fat for shadows and thin for details. Don’t be afraid to use the eraser often—in digital art, there’s no shame in “cheating.”
Coloring brings digital magic into play. If you’re drawing a character, build a layer for skin tone, hair, eyes, and clothes. Locking these layers (usually called ‘alpha lock’ or ‘clipping mask’) keeps color inside the lines. Use the lasso tool to select big areas for quickly filling in solid color, then go back to add shading by lowering brush opacity or using gradient tools. Shadows and highlights make objects look three-dimensional, so play around with blending modes like Multiply or Overlay for easy lighting tricks.
Don’t forget about digital texture. Some artists overlay scanned watercolor washes or paper textures (set to low opacity or certain blend modes) so digital art doesn’t look ‘too’ clean. Walk outside, snap a photo of cracked concrete or woodgrain, and layer it under your drawing for custom grit. Sound odd? Even top comic artists use these hacks for a little visual spice. Experiment with noise, patterns, or halftone filters to push your art past the “flat” look digital can sometimes risk.
Now, let’s talk adjustments. Once the drawing and colors feel right, tweak brightness/contrast, tweak hues, or add filters to unify the image. Photoshop has ‘Adjustment Layers’ that let you test out effects—sepia, color balance, vibrance—without messing up the actual painting. If you want a polished portfolio piece, take an extra pass for clean-up. Zoom in and fix any “jaggies” or gaps, especially if you plan to print. Here’s a quick table showing common resolutions and print sizes you’ll want to know:
| Print Size (inches) | Resolution (DPI) | Pixel Dimensions |
|---|---|---|
| 8 x 10 | 300 | 2400 x 3000 |
| 11 x 14 | 300 | 3300 x 4200 |
| 18 x 24 | 300 | 5400 x 7200 |
If you plan to share online, most websites downsize images but keep around 1200 pixels on the longest side for good web display. Saving as PNG keeps lines sharp if you don’t need a small file size. When emailing or uploading to social media, sometimes a little sharpening filter makes all the difference, but overdoing it can make the art look weirdly crunchy.
Check your art on different devices—something that looks great on a blazing-bright monitor may turn out dull on a phone screen. More than once I’ve posted a piece only to realize my reds looked way too orange on my buddy’s laptop. Take a minute to export at different sizes and color profiles (sRGB is the common profile for web). If printing, always do a test print first. Commercial printers usually ask for CMYK files, so convert your image to that mode for a true-to-life match with your original.
Once you’ve finished your piece, hang on to your layered file (like a .PSD or .CSP). Art directors and clients sometimes want tweaks, and you can’t make changes if you flattened everything. Make a habit of keeping backups—cloud storage, external drives, whatever works. Losing hours of work to a crashed hard drive is a rite of passage, but it’s one you want to avoid.
So there you have it—the entire journey from a sketchbook to a finished digital masterpiece. With a little practice, swapping erasers and pencils for styluses and layers won’t feel so strange. The coolest thing? Once your digital art is finished, sharing and selling your creations is just a click away. Forget old myths about “real” art needing to be on paper. These days, even museums and collectors chase down artists with bold, creative digital work. All you need is your original vision—technology just helps you show it off to the world.