Alla Prima Technique Guide
Understanding Alla Prima
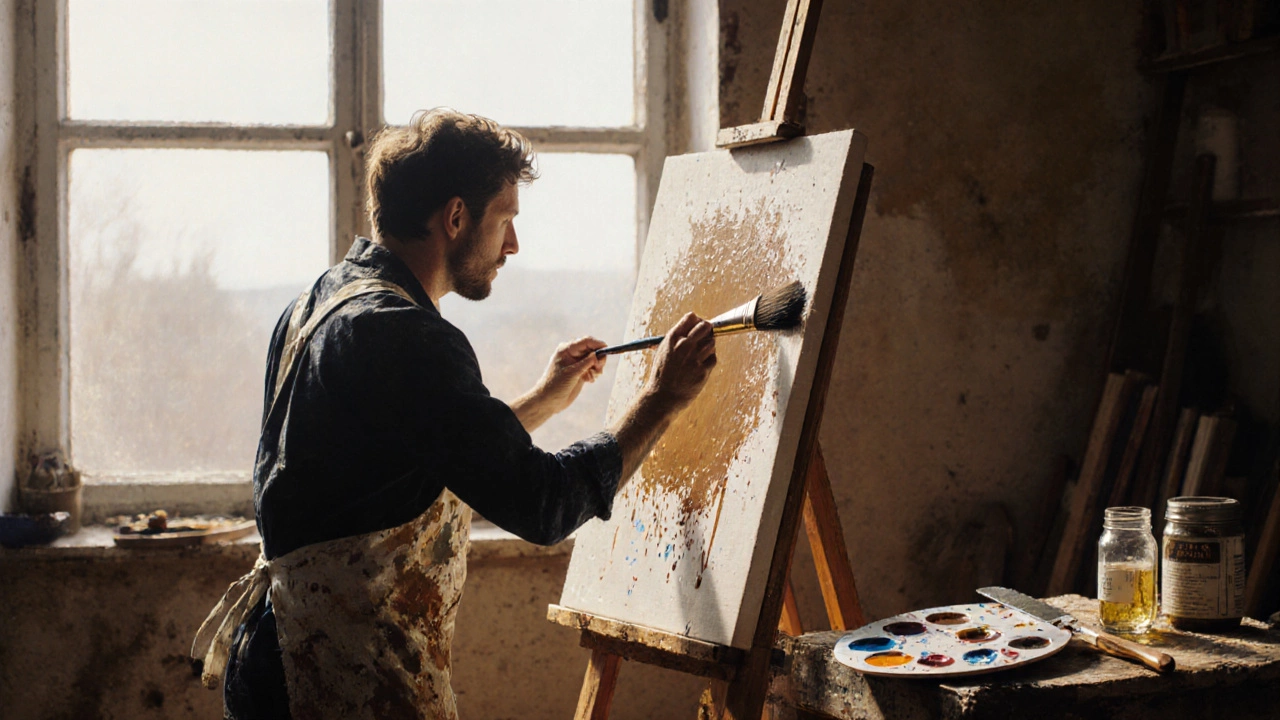
Alla prima is a direct painting technique where artists apply wet paint over wet paint without waiting for layers to dry. This method captures spontaneity and immediacy, making it popular among impressionist and contemporary artists.
Key Benefits:
- Works in a single session
- Encourages spontaneous, expressive brushwork
- Great for capturing fleeting light and atmosphere
- Reduces time spent on drying periods
Step-by-Step Process
Essential Tips
Comparison with Indirect Techniques
| Aspect | Alla Prima | Indirect |
|---|---|---|
| Time to Finish | Single session (2-4 hrs) | Multiple sessions |
| Flexibility | High – rework while wet | Low – changes are hard after drying |
| Texture Options | Impasto and smooth blending together | Typically smoother |
| Learning Curve | Requires confidence and quick decisions | Allows for more planning |
| Typical Use | Landscape, portrait, street scenes | Portraits, academic studies |
Common Mistakes to Avoid
- Over-thinning paint, causing it to run
- Applying too much paint at once leading to muddy colors
- Not considering drying times for thick areas
- Trying to add details too early before base layers are dry
- Using too many colors, which complicates mixing
Quick Reference Checklist
Summary
Alla prima is a dynamic painting method that emphasizes spontaneity and directness. It's ideal for artists seeking to capture fleeting moments or express emotional immediacy. With practice, this technique can lead to vibrant, expressive works completed in a single session.
Artists love the alla prima approach because it lets you finish a painting in a single session, capturing the energy of the moment.
What is Alla Prima?
Alla prima is a painting technique where layers of paint are applied wet on wet, without waiting for earlier layers to dry. The name comes from the Italian phrase meaning “at first attempt,” reflecting the method's immediacy.
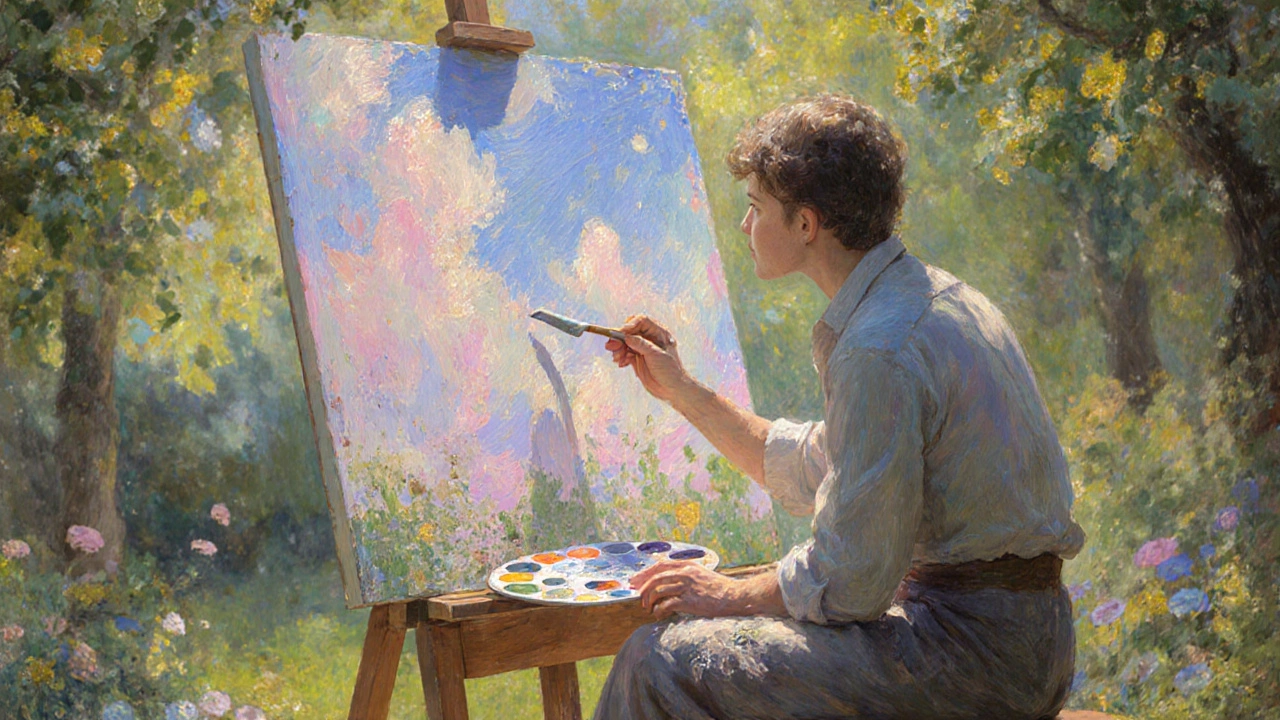
Historical Roots
The technique dates back to the Renaissance, but it truly flourished in the 19th‑century French Impressionist movement. Artists like Monet, Renoir, and later John Singer Sargent used it to capture fleeting light and atmosphere. Their fast, confident brushwork showed how powerful a single‑session approach could be.
Key Materials & Tools
- Oil paint provides the buttery consistency ideal for blending wet layers
- Brush usually a hog‑hair or sable brush, sized for the desired stroke
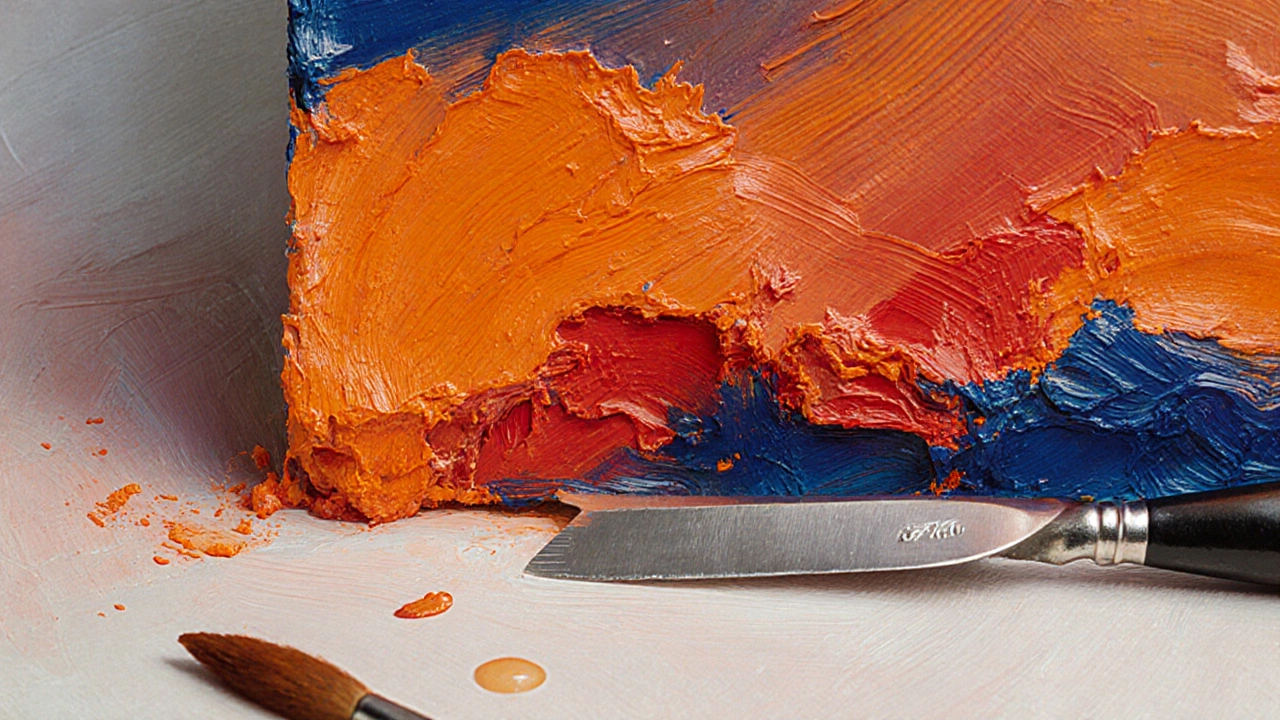
- Palette knife helps with bold impasto and texture
- Canvas or other support, primed for oil paint
- Medium such as linseed oil or a modern alkyd medium, reduces viscosity and extends drying time
- Solvent like turpentine or odor‑free mineral spirits, thins paint for initial washes
- Impasto thick, textured paint that can be built up while still wet
Step‑by‑Step Process
- Prepare your workspace. Lay out a clean canvas, have your palette ready, and ensure good ventilation for solvents.
- Create a loose sketch. Use a thin charcoal line or a diluted wash of paint to map major shapes. Keep it light; it will disappear under subsequent layers.
- Lay down the first color washes. Dilute oil paint with solvent or medium and apply broad areas of sky, ground, or background. This is the "underpainting" that stays wet for the whole session.
- Develop shapes while the paint is still wet. Switch to thicker paint (more medium, less solvent) and begin defining forms, shadows, and highlights directly on the wet base.
- Blend and adjust. Use a clean brush or a soft cloth to smooth transitions. Because everything stays wet, you can re‑work edges multiple times.
- Add texture and details. Deploy a palette knife for impasto strokes, or dip a fine brush for delicate hairs, leaves, or reflections.
- Finalize the composition. Step back, assess balance, and make any last tweaks. Once the paint dries, you’ll have a complete piece that was built in a single sitting.
Tips & Common Pitfalls
- Control moisture. Too much solvent makes the paint run; too little makes it dry prematurely. A 1:1 ratio of medium to paint is a good starting point.
- Work from general to specific. Broad washes first, then finer details. Trying to lock in fine detail before the background is dry can cause unwanted smearing.
- Mind the drying time. Even though you’re painting wet‑on‑wet, thicker impasto areas will take longer to dry. Plan your composition so heavily textured sections don’t interfere with later layers.
- Stay decisive. Alla prima rewards confidence. Over‑thinking each brushstroke can slow you down and dilute the spontaneity that defines the technique.
- Use limited palette. Fewer colors help maintain harmony and simplify mixing on the canvas, which is essential when you’re working quickly.
Pros and Cons Compared to Indirect Techniques
| Aspect | Alla Prima (Wet‑on‑Wet) | Indirect (Layered, Dry‑time) |
|---|---|---|
| Time to Finish | Single session (often 2‑4 hours) | Multiple sessions over days or weeks |
| Flexibility | High - can re‑work while paint stays wet | Low - once dry, changes are harder |
| Texture Options | Impasto and smooth blending possible together | Typically smoother, unless glaze layers are added |
| Learning Curve | Requires confidence and quick decision‑making | Allows for more planning and correction |
| Typical Use | Landscape, portrait, street scenes, impressionistic work | Portraits with fine detail, academic studies, realism |
Artists Who Embraced Alla Prima
John Singer Sargent’s portraits often appear effortless, yet they were executed in a single sitting using alla prima. Modern painters like Leonid Afremov turned the technique into vibrant, palette‑knife driven cityscapes. Even digital artists mimic the wet‑on‑wet approach by using brush engines that simulate continuous blending.
Key Takeaways
- Alla prima means painting wet‑on‑wet in one session, capturing immediacy.
- Essential tools include oil paint, brushes, palette knives, a suitable medium, and a primed canvas.
- Start with loose washes, then develop forms while the paint remains wet.
- Confidence, limited palette, and controlled moisture are crucial for success.
- Compared to indirect methods, alla prima offers speed and flexibility but demands decisive execution.
Frequently Asked Questions
Can I use acrylics for alla prima?
Yes, but the effect differs. Acrylics dry fast, so you need a retarder medium to keep them workable long enough for true wet‑on‑wet blending.
How long does a finished alla prima painting stay workable?
Typically 2‑4 hours, depending on humidity, paint thickness, and the amount of medium used. Thicker impasto areas may stay tacky for a day or two.
Is a detailed underdrawing necessary?
Not usually. A light sketch or tonal wash is enough; the wet layers will define the details as you work.
What medium gives the best flow?
A blend of linseed oil and a small amount of alkyd medium provides smooth flow while retaining enough body for texture.
Can I combine alla prima with glazing?
Yes, but glaze layers must be applied after the wet‑on‑wet stage has dried enough to hold the transparent coat without mixing.