Portrait Color Mixer
Based on the article's recommendation: Start with a warm and cool version of each primary color plus white and burnt umber. Mix skin tones by adjusting the proportions of these colors.
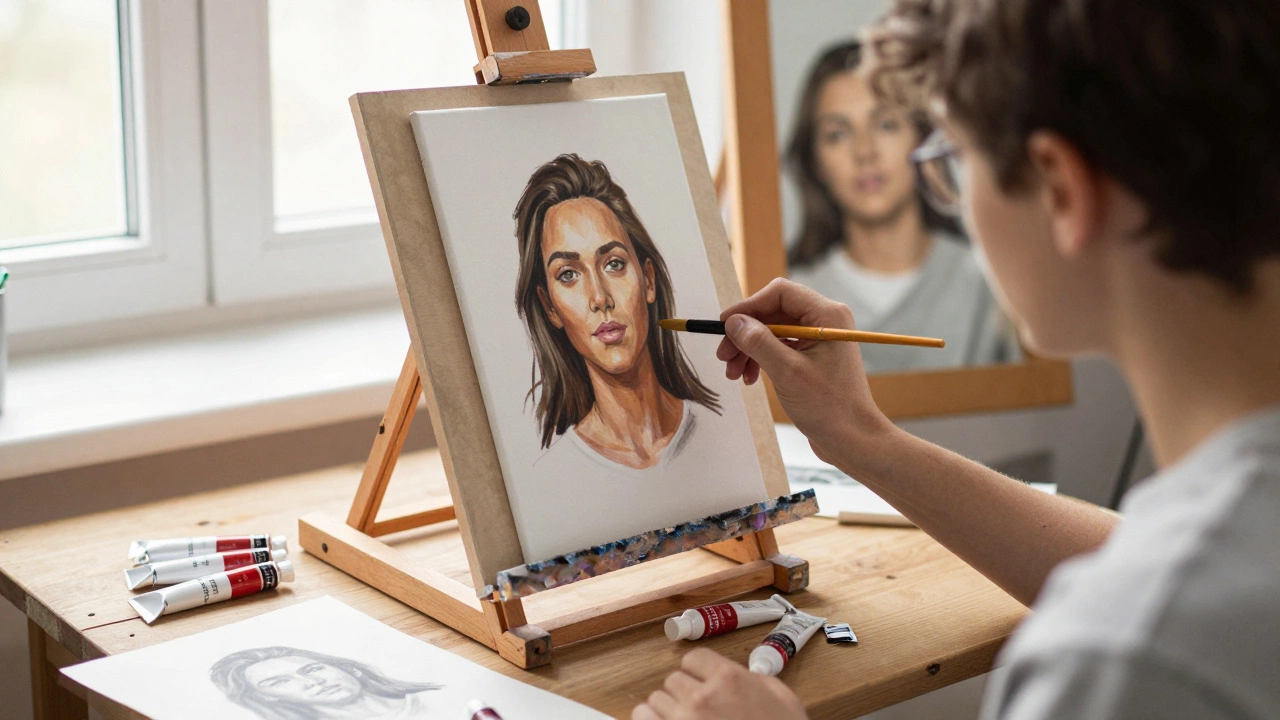
Portrait painting doesn’t need to feel overwhelming. You don’t need to be a master to start. You just need to begin - with the right tools, the right mindset, and a clear first step. Too many people quit before they even start because they think they have to paint a perfect likeness right away. That’s not how it works. Even the greatest portrait artists started with messy, awkward sketches. What matters is showing up, observing, and trying again.
Start with what you can see, not what you think you know
Most beginners try to paint a face based on what they think a face looks like - two dots for eyes, a line for a mouth, a triangle for a nose. That’s not how real faces work. Real faces are made of shapes, values, and edges. Start by breaking the head down into simple forms: an oval for the skull, a wedge for the jaw, cylinders for the neck. Don’t think "eye," think "oval with a dark center and a highlight." Don’t think "nose," think "two shadowed planes meeting at a ridge."
Use a mirror or a photo. Don’t copy the photo - study it. Look at the light. Where is it hitting? Where is it fading? The darkest part of a face isn’t usually the pupil - it’s the shadow under the brow, the crease beside the nose, the hollow under the cheekbone. Paint what you see, not what you remember.
Choose your medium wisely
Oil, acrylic, watercolor, charcoal, pastel - each has its own rhythm. For beginners, acrylic is the most forgiving. It dries fast, so you can layer and correct without waiting days. It’s also easy to clean up. Oil gives you more time to blend, but it takes days to dry and needs solvents. Watercolor is beautiful but unforgiving - one wrong brushstroke can ruin the whole thing. Charcoal is great for learning values, but messy. Start with acrylics. Buy a small set: titanium white, cadmium red, yellow ochre, burnt sienna, ultramarine blue. That’s it. You don’t need 20 tubes.
Use a limited palette - it’s not cheating
Beginners often think they need every color in the rainbow. They don’t. You can mix every skin tone you’ll ever need from just five paints. Start with a warm and cool version of each primary: red (cadmium red light and alizarin crimson), yellow (cadmium yellow pale and lemon yellow), blue (ultramarine and cerulean). Add titanium white and burnt umber. That’s seven colors. With these, you can mix warm skin tones, cool shadows, and everything in between. Mixing your own colors teaches you how light affects color - far better than grabbing a "flesh tone" tube off the shelf.
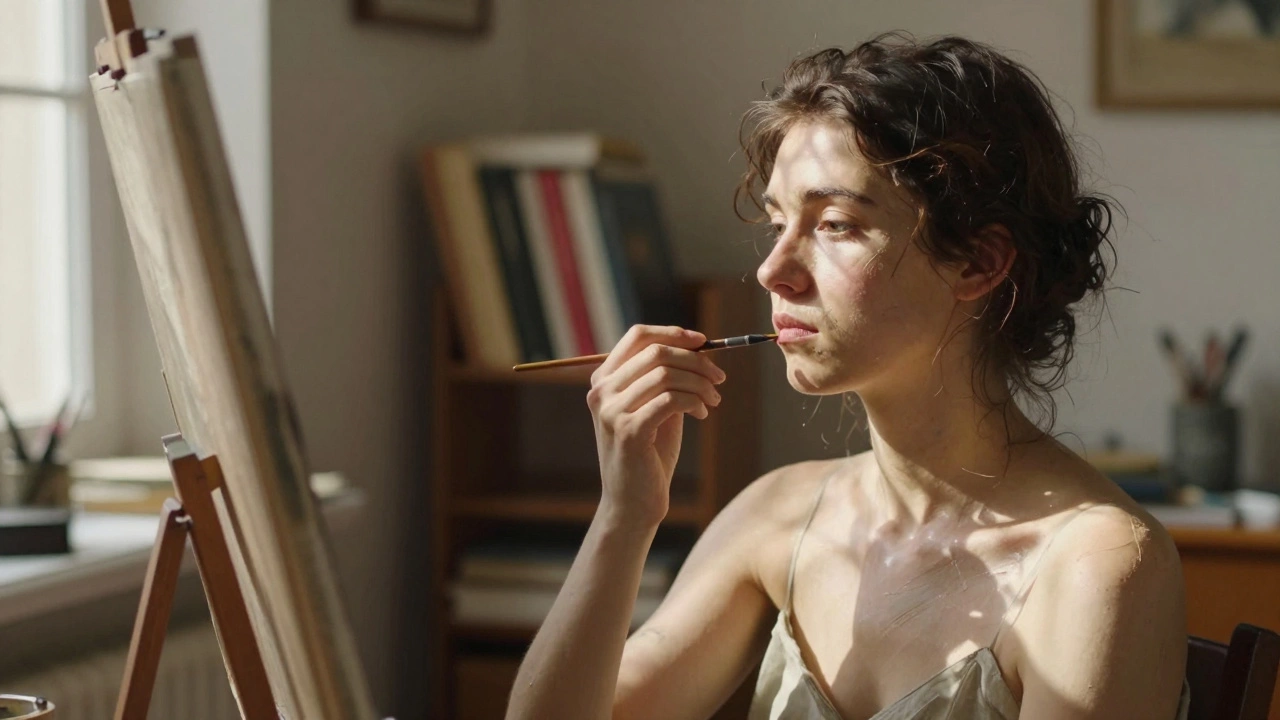
Paint from life, not just photos
Photos flatten depth. They kill subtle shifts in tone. A photo might show a shadow as flat gray. In real life, that shadow has purple, blue, and even hints of orange from reflected light. Paint from a live model - even if it’s just your partner sitting in a chair for 20 minutes. Natural light changes. Shadows move. The face breathes. You’ll learn more in one hour of painting a real person than in ten hours copying photos.
If you can’t find a model, use a mirror. Paint yourself. It’s free, always available, and you know your own features. Don’t worry about vanity - focus on structure. Notice how your brow bone casts a shadow over your eye. How your cheekbone catches the light. These are the details that make a portrait feel alive.
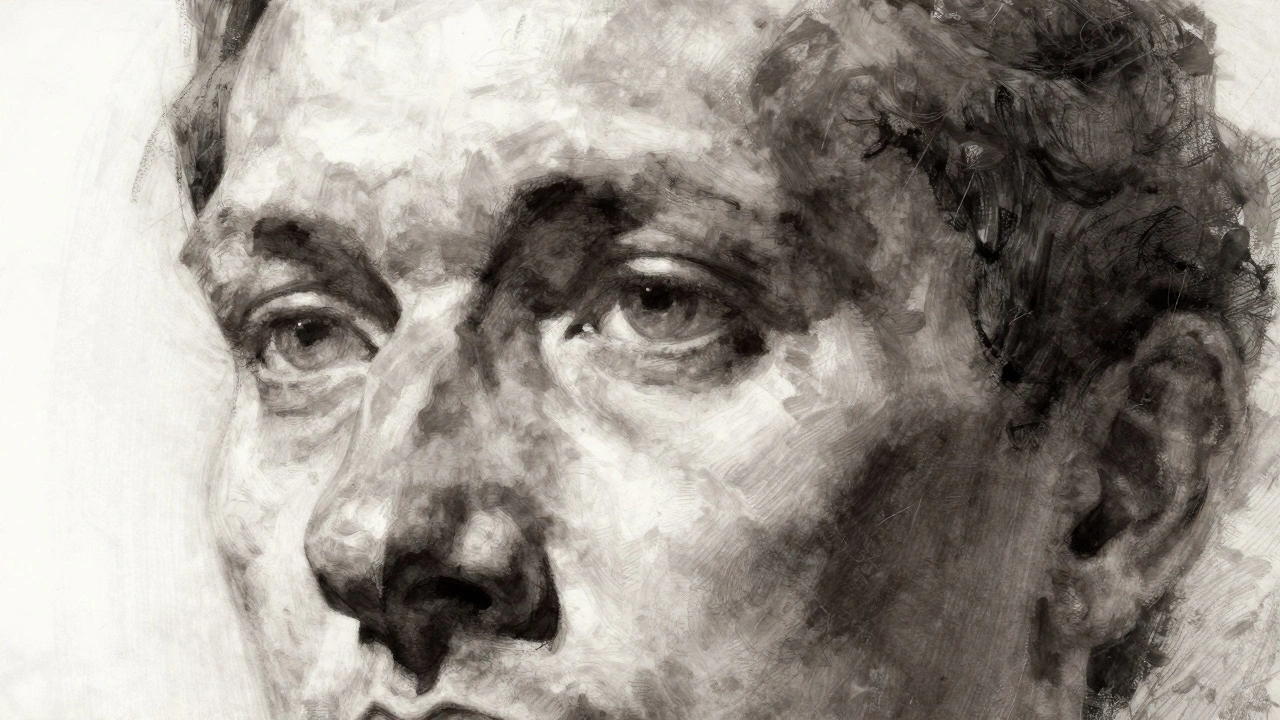
Focus on values before color
Value is how light or dark a color is. It’s the backbone of every great portrait. A portrait with perfect color but wrong values will look flat or unnatural. A portrait with perfect values but simple color can still feel powerful. Start by painting in grayscale. Use only white, black, and one mid-tone brown. Learn to see the range from the brightest highlight on the forehead to the deepest shadow under the chin. Practice making a value scale - 10 steps from white to black. Then paint your subject using only those steps. Once you can do this reliably, add color back in.
Paint the eyes last
Everyone wants to paint the eyes first. They’re the "soul" of the portrait, right? But eyes are tiny, complex, and easy to mess up. If you get them wrong early, you’ll spend hours fixing them - and still not get it right. Paint the whole head first: the shape, the shadows, the light. Then, when everything else is solid, come back to the eyes. You’ll see them in context - how they sit in the socket, how the eyelid overlaps the eyeball. The iris isn’t a flat circle. It’s a sphere with a darker ring around the pupil, a highlight from the light source, and subtle color variations. A single brushstroke can make or break it. Take your time.
Use the right brushes
You don’t need a full set. Start with three: a medium flat brush (for blocking in shapes), a small round brush (for details like eyes and lips), and a soft blending brush (for soft edges). Don’t buy the cheapest brushes - they shed and hold paint poorly. A good synthetic round brush costs $8. It’ll last years. Use it with confidence. Don’t be afraid to press down and drag. Let the brush do the work. Don’t overwork the paint. Let some areas stay loose. Imperfections make it human.
Practice daily, even for 15 minutes
Progress in portrait painting comes from repetition, not perfection. Set up a small still life - a headshot photo taped to the wall, a lamp for light. Paint for 15 minutes every day. Don’t wait for inspiration. Show up. After a week, you’ll notice you’re seeing differently. After a month, you’ll see mistakes you didn’t notice before. After three months, you’ll have a stack of portraits - none perfect, but all better than the last.
Compare your work to the masters - but don’t copy
Look at Rembrandt’s portraits. Notice how he uses light to lead your eye. Look at Alice Neel - how she captures personality with loose, bold strokes. Look at Chuck Close - how he builds a face from tiny shapes. Don’t try to paint like them. Study what they did. What did they leave out? Where did they simplify? What did they emphasize? Then take one idea - one technique - and try it in your own work. That’s how you grow.
Stop waiting for "ready"
You’ll never feel ready. You’ll always think you need more lessons, better brushes, more time. The truth? You’re ready now. Grab a canvas, a few paints, and start. Your first portrait won’t be a masterpiece. It’ll be awkward. It’ll be messy. And that’s exactly where it should be. Every great portrait painter started right where you are - with a blank canvas, a shaky hand, and the quiet courage to try anyway.