Wash Technique: Simple Steps to Smooth Paint Washes
Ever tried a wash and ended up with blotches, streaks, or a muddy mess? You’re not alone. A good wash can make a painting look alive, but a bad one can ruin hours of work. Below you’ll find easy, practical advice for watercolor, acrylic, and oil washes, plus tools and mistakes to dodge.
How to Create a Watercolor Wash
Watercolor washes are all about controlling water. Start with clean, cool water in a separate jar – hot water will make the pigment spread too fast. Wet your paper with a soft brush, then dip your brush into pigment mixed with a little water. Lightly drag the brush across the wet surface; the paint will glide and blend on its own.
Tip: Work from top to bottom. Gravity helps the color flow naturally, so you’ll get an even fade without lifting the brush. If the color looks too light, let the paper dry a bit and add another layer. Remember, each layer should be dry before you add the next – otherwise the colors will muddy together.
Common mistake: Using too much pigment in one go. It makes a dark patch that’s hard to lift. Keep the mix thin, especially for large areas. If you need a darker tone, build it up with several transparent layers instead of loading the brush.
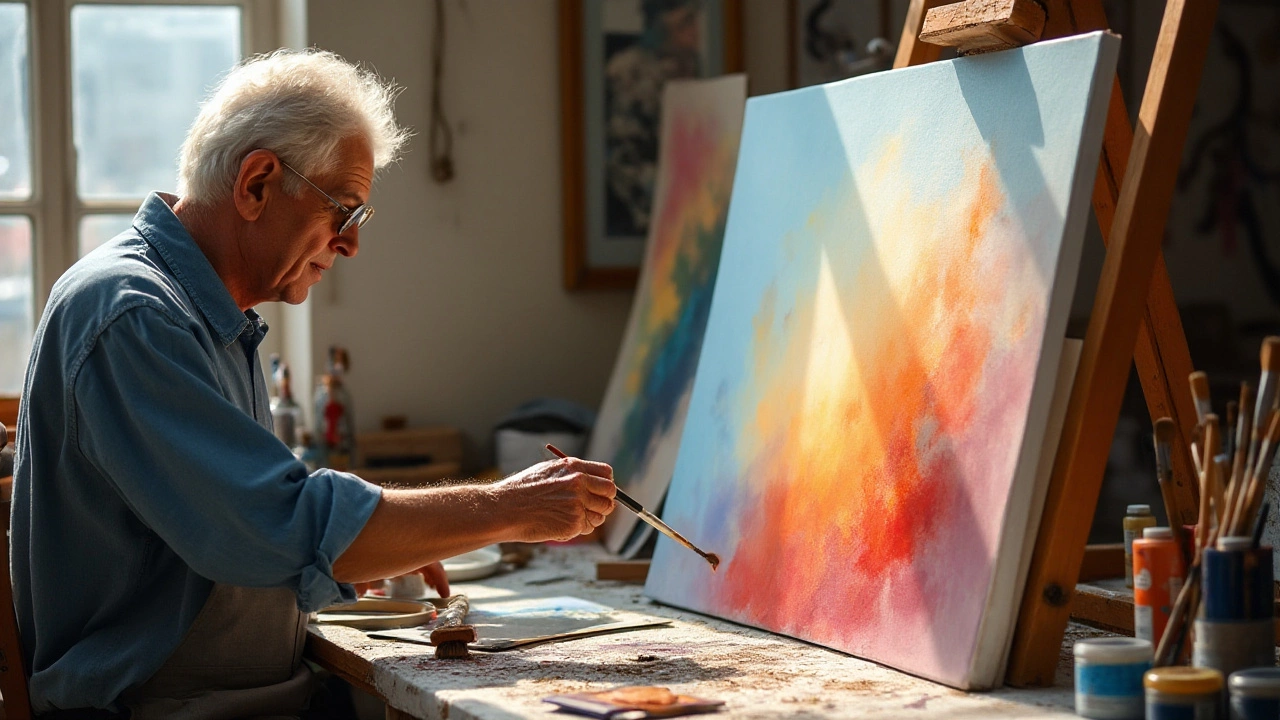
Wash Techniques for Acrylic and Oil
Acrylics dry fast, so you’ll need a medium to keep the paint workable. Mix a tablespoon of acrylic glazing liquid or a few drops of water into the paint. Apply the mix with a wide, flat brush in long, even strokes. Because acrylic dries quickly, work in small sections and blend while the paint is still wet.
For oils, the opposite is true – they stay wet longer. Use a thin mixture of oil paint and a bit of linseed oil or mineral spirits. A soft sable or synthetic brush works best for a smooth glide. Lay down a thin layer, then feather the edges with a clean dry brush to avoid harsh lines.
Both mediums benefit from a “wet‑in‑wet” approach: keep a spray bottle handy and mist the surface if it starts to dry before you finish blending. This trick helps you achieve a seamless transition between light and dark areas.
Key tools: a large flat brush (2–4 inches) for big areas, a small round brush for detail, and a clean rag or paper towel to blot excess moisture. For acrylics, a palette knife can spread thin washes without brush marks.
Avoid over‑working the paint. Too much brushing can lift pigment and leave a chalky texture. Once the wash looks even, let it dry undisturbed.
Finishing up, evaluate the wash under different lighting. A good wash should look uniform from all angles, with no streaks or patchy spots. If you spot a problem, address it while the paint is still tacky – it’s easier to blend out than to fix later.
With these straightforward steps, you can turn a tricky wash into a reliable tool in your art toolbox. Try each method, notice how the medium behaves, and adjust the mix until the result feels right. Happy painting!
23 Oct 2024
The wash technique in oil painting is a dynamic and versatile method that artists use to create luminous effects and soft gradations. This technique involves using thinned oil paints to create translucent layers that allow light to interact with the painting surface in a unique way. Understanding the interaction of oil paints with the canvas is fundamental in achieving this beautiful method. Explore the steps, tips, and common mistakes to watch out for while enhancing your artistry with washes.
Continue reading...