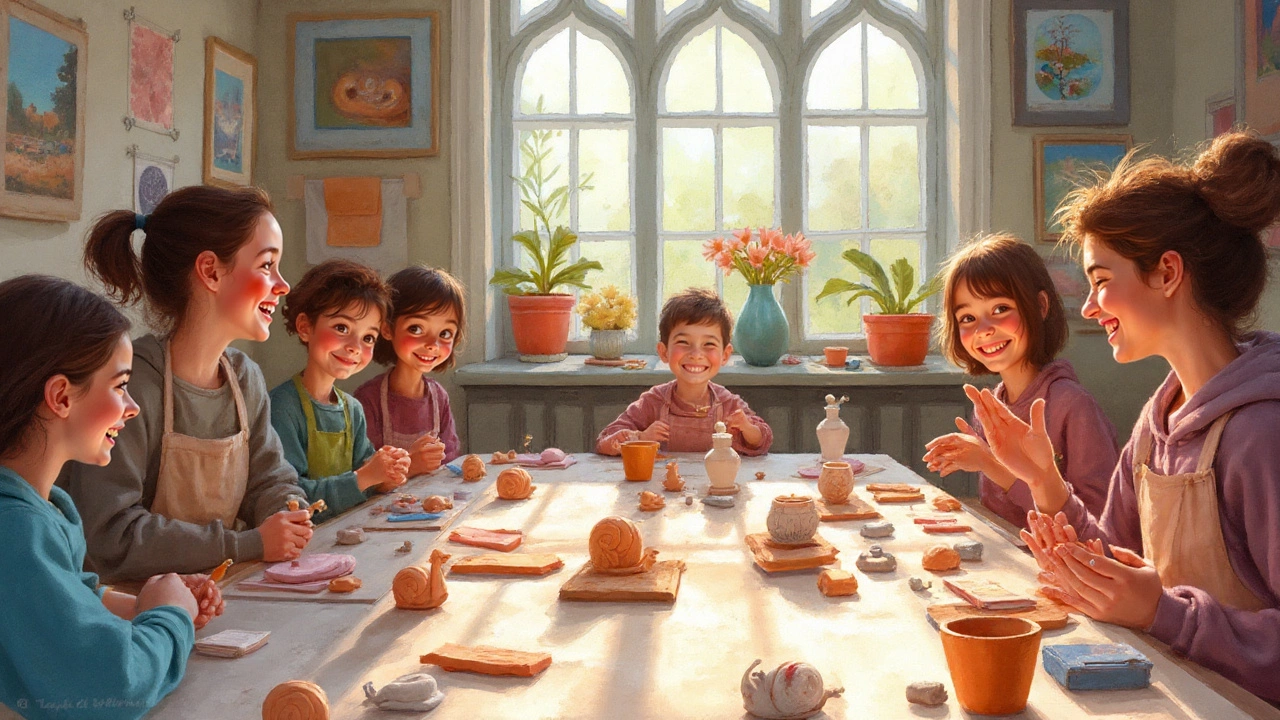
Simple Sculpture Projects You Can Start Right Now
Want to shape something cool without draining your wallet? You don’t need a fancy studio or exotic tools. A few everyday items, a bit of imagination, and a little guidance are enough to create a simple sculpture that looks impressive.
What You Really Need
The first step is to pick the right material. Cheap options work best for beginners – think cardboard, plaster of Paris, polymer clay, or even recycled trash like bottle caps and newspaper. Those items are cheap, easy to find, and forgiving if you make a mistake.
Next, gather a few basic tools: a craft knife or scissors, a hot glue gun, some sandpaper, and a sturdy base like a wooden board or a thick piece of cardboard. You’ll also want a work surface you don’t mind getting messy – a table covered in old newspaper works perfectly.
Three Easy Projects to Try
1. Cardboard Wall Relief – Cut cardboard into simple shapes (triangles, circles, rectangles) and layer them on a base to create a 3‑D pattern. Glue each piece, then use sandpaper to smooth the edges. Paint with acrylics for color, or leave it natural for an industrial look.
2. Plaster Mini‑Statue – Mix plaster of Paris with water, pour it into a silicone mold (you can make a mold from a small toy or a carved block of clay). Once set, sand the surface and paint. This project teaches you how to work with quick‑setting materials and gives a solid finish.
3. Recycled Bottle Cap Totem – Collect bottle caps of different sizes, drill a small hole in each, and thread them onto a wooden dowel. Stack them in any order you like, then seal with a clear spray. It’s a fast way to turn trash into eye‑catching decor.
All three ideas use materials mentioned in our post “Cheapest Materials for Sculpture,” which breaks down costs and shows where to find budget‑friendly supplies.
When you’re ready to step up, try mixing materials. For example, combine wire armature with papier‑mâché to add strength to larger pieces. The wire gives shape, while the papier‑mâché fills volume without adding much weight.
Don’t forget finishing touches. A light coat of matte varnish protects your work and gives it a professional feel. If you’re using polymer clay, a quick bake in the oven hardens the piece and lets you paint it afterward.
Beyond the basics, think about where your sculpture will live. Outdoor pieces need weather‑proof materials like epoxy‑coated wood or metal. Indoor works can be lighter and more delicate.
If you hit a snag, remember that mistakes are part of the process. Scrape off a mis‑shaped area, re‑glue, and keep going. The post “How to Fix Mistakes in Oil Painting” shares a similar mindset—fix, layer, and improve.
Finally, share your progress. Snap a photo, talk about the materials you used, and ask for feedback. Community input can spark new ideas and help you refine your technique.
Simple sculpture projects are all about experimenting, learning, and having fun. With the right supplies and a few easy steps, you can create pieces that look polished and reflect your personal style. So grab that cardboard, mix that plaster, and start shaping your own art today.
