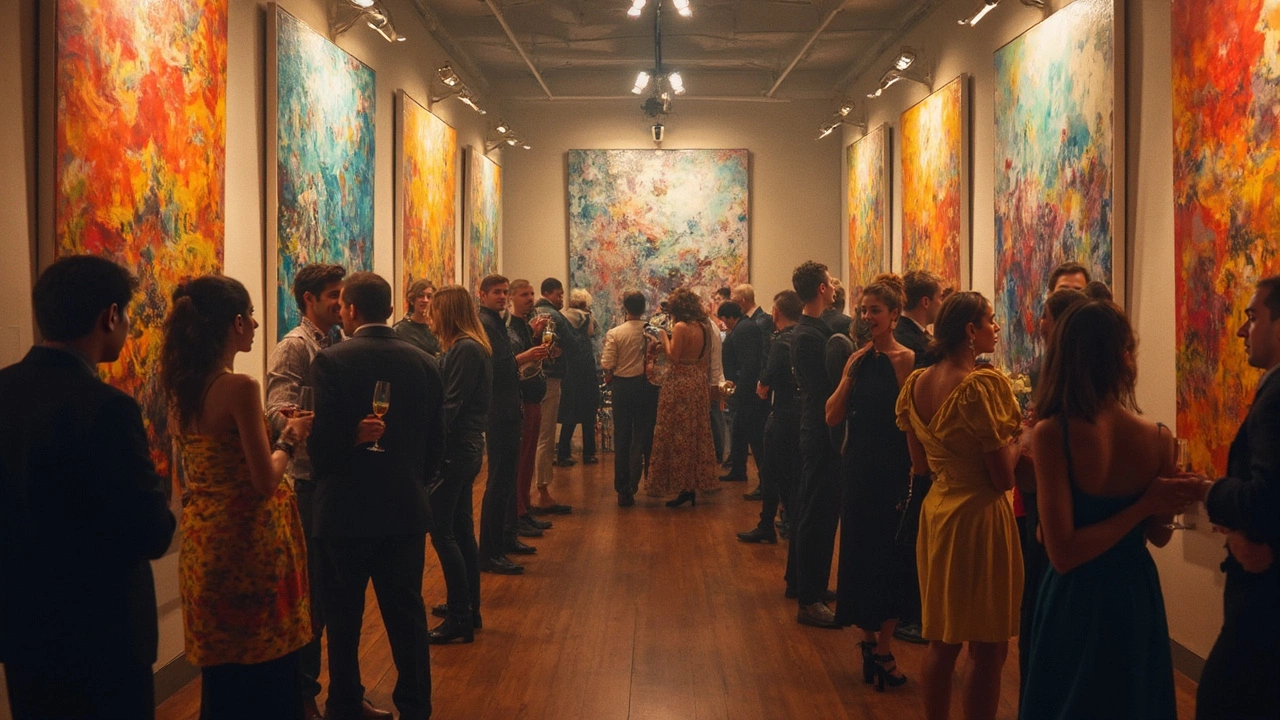
Organize an Art Show: Step‑by‑Step Guide
Ready to turn a blank wall into a buzzing gallery? Planning an art show can feel like a mountain, but breaking it down into bite‑size tasks makes it doable. Below you’ll find the exact moves most successful curators use, from the first budget line to the final thank‑you email.
Plan the Basics
Set a realistic budget. List every expense – venue rent, insurance, lighting, printing, transport, catering, and promotion. Add a 10 % buffer for unexpected costs. Knowing your limit early stops a lot of last‑minute scrambling.
Pick the right venue. Look for space that fits the number of artworks, offers good lighting, and matches the vibe of the show. If you’re on a tight budget, consider community halls, pop‑up spaces, or a partner café that will host your event for free in exchange for foot traffic.
Choose artists and define the theme. A clear theme helps you select works that talk to each other. Reach out to artists with a short, friendly email: include dates, what you can offer (sales commission, exposure), and why you think their work fits.
Create a timeline. Work backwards from the opening night. Mark key dates: call for submissions, selection deadline, contracts, artwork delivery, installation, press release, and final walk‑through. Put this timeline in a shared Google Sheet so everyone sees the same deadlines.
Handle contracts and insurance. A simple contract outlines payment terms, insurance coverage, and responsibilities for damage. If you can’t afford a full policy, ask the venue if they cover public liability and get artists to insure their own pieces.
Run the Day Smoothly
Promote smartly. Use social media posts, a short event page, and local art blogs. Create a striking flyer with the show’s title, dates, and a teaser image. Ask artists to share the flyer with their followers – it multiplies your reach without extra cost.
Set up the space. Label each artwork with a clean, readable label that includes title, artist, medium, and price. Arrange pieces with enough breathing room; crowded walls look chaotic. Test the lighting – spotlights should highlight textures without harsh shadows.
Organise volunteers. Recruit a few friends to greet guests, hand out programs, and keep an eye on the artworks. Give them a quick briefing the night before so they know the flow.
Plan the opening night. Offer light refreshments, play background music that doesn’t drown conversation, and have a short welcome speech ready. Keep the speech under three minutes – thank the artists, the venue, and the guests, then invite people to explore.
Capture feedback. After the show, send a short thank‑you email to attendees with a link to a quick survey. Ask what they liked and what could be better. This data helps you improve the next event.
Finally, follow up with the artists. Let them know which pieces sold, share any press coverage, and discuss future collaborations. A smooth wrap‑up leaves everyone eager for the next show, and that’s the real win of organizing an art show.

10 Apr 2025
Organizing a solo art exhibition might seem daunting, but it's totally doable with the right plan. From choosing the perfect venue to marketing your event, this article breaks down everything you need to know. We'll explore basic steps like setting a budget, creating a compelling artist statement, and engaging with your community. Perfect for artists ready to show their work to the world, these insights will help make your exhibition a success. Time to get those masterpieces in the limelight!
Continue reading...
