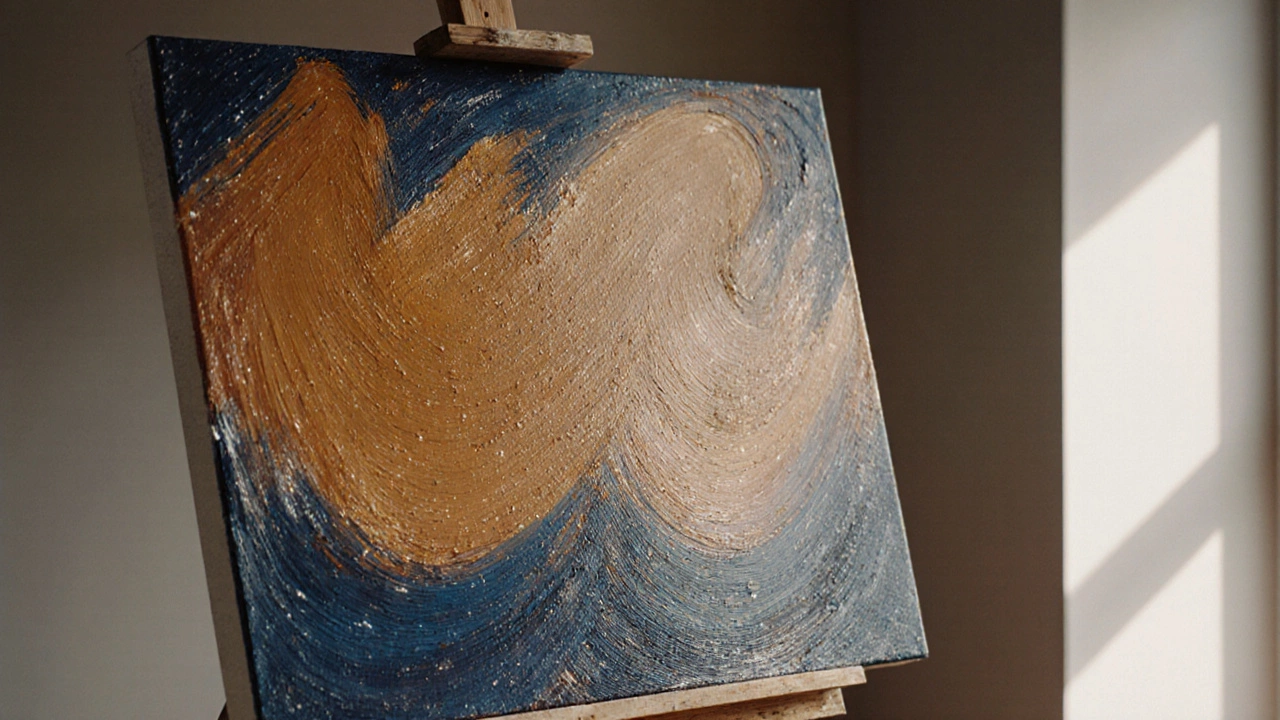
Oil Painting Varnish: Protect, Enhance, and Finish Your Work
When working with oil painting varnish, a transparent coating applied to dried oil paintings to protect the surface and deepen colors. Also known as protective finish, it creates a barrier against dust, UV light, and humidity, while allowing the artist to control the final sheen. Understanding how varnish fits into the broader oil painting process that includes mixing, layering, and drying is key to a professional result.
Choosing the Right Varnish Type
The market offers several varnish types, including gloss, matte, and satin finishes made from damar, synthetic resin, or acrylic polymer. Gloss varnish delivers a shiny, vibrant look that can make colors pop, but it also reflects more light, which may not suit subtle tonal works. Matte varnish reduces glare and offers a soft, museum‑like appearance, ideal for portraits where skin tones need a gentle finish. Satin sits in the middle, giving a slight sheen without the full shine of gloss. Selecting a varnish depends on the desired visual impact, the painting’s subject, and the exhibition environment.
Beyond appearance, drying time is a practical factor. Traditional damar varnish dries within a few hours but can yellow over decades. Synthetic acrylic varnishes dry faster, stay clear longer, and are easier to remove for future conservation. Artists who plan to re‑ varnish or adjust the surface later should favor a removable acrylic option. In short, the choice of varnish influences both the immediate look and the long‑term preservation of the artwork.
Applying varnish correctly also ties into the three‑bucket rule—a workflow tip many oil painters use to keep colors consistent. One bucket holds the paint mix, another the medium, and the third the varnish. This separation prevents cross‑contamination and lets you control each layer’s thickness. When you finish a painting, ensure the paint is fully cured (usually at least a month for thick impasto) before reaching for the varnish bucket. Rushing can trap solvents, leading to a sticky or uneven finish.
Preparation matters too. Lightly dust the surface with a soft brush to remove any loose particles, then work in a well‑ventilated space. If you’re using a brush‑on varnish, choose a high‑quality sable or synthetic brush to spread a thin, even coat. For spray varnish, keep the can about 12 inches away and apply in overlapping passes. Both methods benefit from a cool, dry environment to avoid clouding or bloom.
One common mistake is applying varnish too early. Even if the painting looks dry, the underlying oil layers can still be tacky. Test the surface with a gentle touch; if it feels firm and the paint no longer transfers to a fingertip, you’re ready. Another pitfall is over‑ varnishing. A single, thin layer often suffices; additional coats can darken colors and make the surface overly glossy. If you need extra protection, let each layer cure fully before adding the next.
For artists who need to correct mistakes after varnishing, the good news is that most modern varnishes are reversible. A solution of mineral spirits or a dedicated varnish remover can gently lift the coating without harming the paint. This flexibility is why many professionals keep a small bottle of remover in their studio—a safety net for accidental spills or changes in artistic intent.
Beyond the technical side, think about the viewing context. Outdoor murals benefit from UV‑resistant varnishes, while gallery pieces might require a low‑gloss finish to match surrounding lighting. Some museums even apply a final protective glazing over the varnish for extra security. Knowing where your work will live helps you pick the varnish that best meets those conditions.
All these considerations—type, drying time, application method, and environment—show how oil painting varnish is more than a finishing touch. It's an integral step that safeguards your effort, enhances visual impact, and ensures the piece stands the test of time. Below you’ll find a range of articles that dive deeper into related techniques, from mastering the three‑bucket rule to fixing common oil painting mistakes, so you can build a complete workflow that ends with a flawless varnish finish.