Oil Painting Tips You Can Use Right Now
Got a smudge, a wrong colour, or a dry patch that just won't cooperate? You’re not alone. Oil painting can feel messy, but the right tricks make it easy to recover and keep your canvas looking fresh. Below are the most useful tips you’ll need, from fixing errors to choosing the best materials.
Fix Common Mistakes Quickly
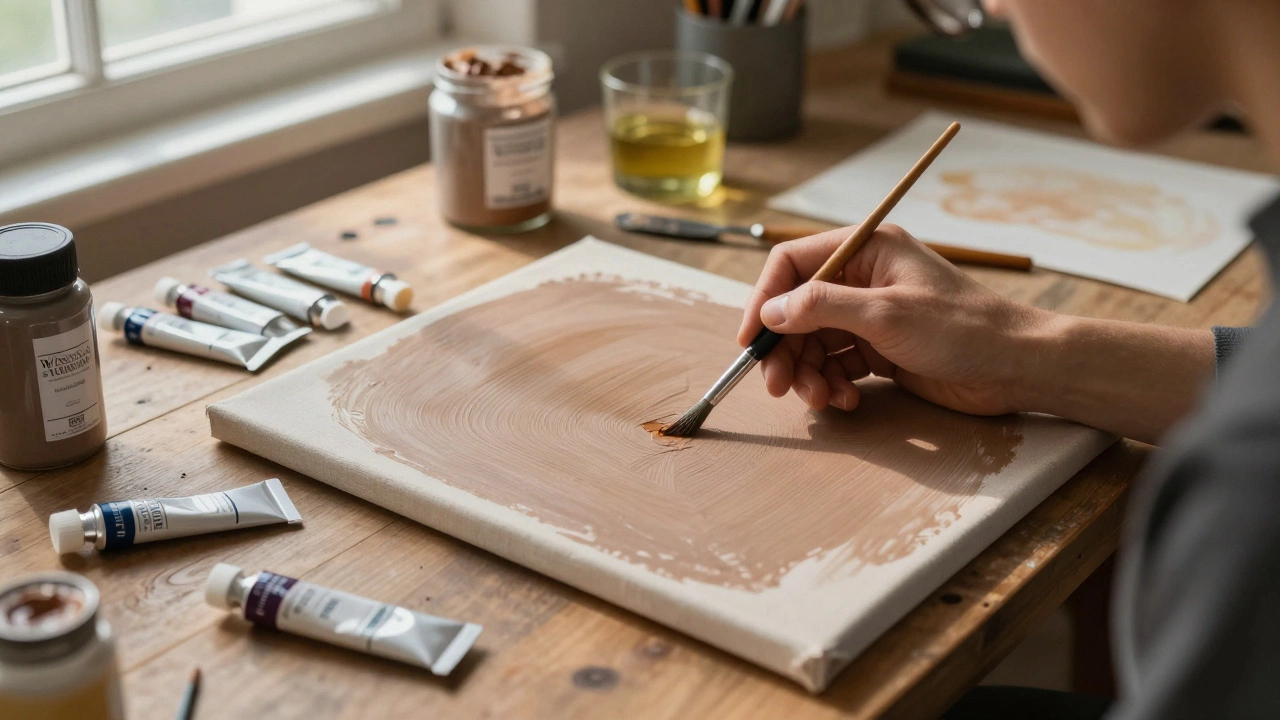
First off, know that not every mistake is fatal. If the paint is still wet, grab a clean cloth or a soft brush and wipe away the unwanted colour. For tacky layers (paint that’s started to dry but is still gummy), a little bit of linseed oil on a rag will loosen the paint enough to scrape it off with a palette knife. When the paint is fully dry, you have two safe options: glazing or scumbling. Glazing means applying a thin transparent layer of colour over the mistake, letting the original tone peek through. Scumbling is a loose, dry brush technique that adds texture and can mask errors without a heavy buildup. Both methods let you correct without sanding or removing the whole layer.
For bigger blunders, consider a colour correction technique called underpainting. Lay down a thin, complementary colour under the problem area and blend it in once it dries. This works especially well for fixing skin tones in portraits or restoring colour harmony in landscapes.
Choosing Materials and Techniques That Save You Time
Good supplies prevent many headaches. Pick a high‑quality, slow‑drying oil like linseed or walnut oil; they give you more working time to adjust. Pair them with a medium such as Liquin or stand oil to control flow and reduce brush marks. When it comes to brushes, use hog bristle for thick applications and sable for fine detail – each holds paint differently, helping you achieve the effect you want.
Another tip: always keep a small palette of core colours (white, ultramarine, burnt sienna, cadmium yellow, and a touch of alizarin crimson). Mixing from this limited set reduces the chance of wrong hues and keeps your colour palette consistent across the whole piece.
If you’re new to oil, start with simple subjects like a single fruit or a small portrait study. Work in layers: a thin “lean” underpainting, a middle “fat” layer, and a final “fat” glaze. This classic “fat over lean” rule prevents cracking and lets you build depth gradually.
Lastly, remember to clean brushes promptly with a mild solvent like Odorless Mineral Spirits, followed by soap and water. A clean brush stays soft and responsive for the next session, saving you from harsh strokes and broken bristles.
With these oil painting tips in your toolbox, you’ll spend less time worrying about errors and more time enjoying the flow of colour on canvas. Grab your brushes, mix a fresh batch of paint, and put these tricks to the test – your next masterpiece is just a few strokes away.
15 Feb 2026
Learn the essential techniques for oil painting correctly-from layering and drying times to the fat-over-lean rule. Avoid common mistakes and build durable, luminous paintings that last.
Continue reading...
1 Apr 2025
Figuring out whether to start with dark or light can be confusing for beginner oil painters. This article explores the reasons behind each approach, breaking down common techniques and offering practical tips. Learn how the choice can affect your painting's mood and depth. Plus, unlock secrets from well-known artists to inspire your creative journey. Make your oil painting process more enjoyable and satisfying with these insights.
Continue reading...
7 Nov 2024
Explore the myriad ways to activate oil paint and bring your artwork to life. Discover the different mediums and tools that affect the texture, drying time, and vibrance of oil paints. Learn practical tips to enhance your painting technique and create stunning masterpieces effortlessly. From understanding traditional methods to experimenting with modern solutions, this article provides a comprehensive guide for artists looking to deepen their practice.
Continue reading...