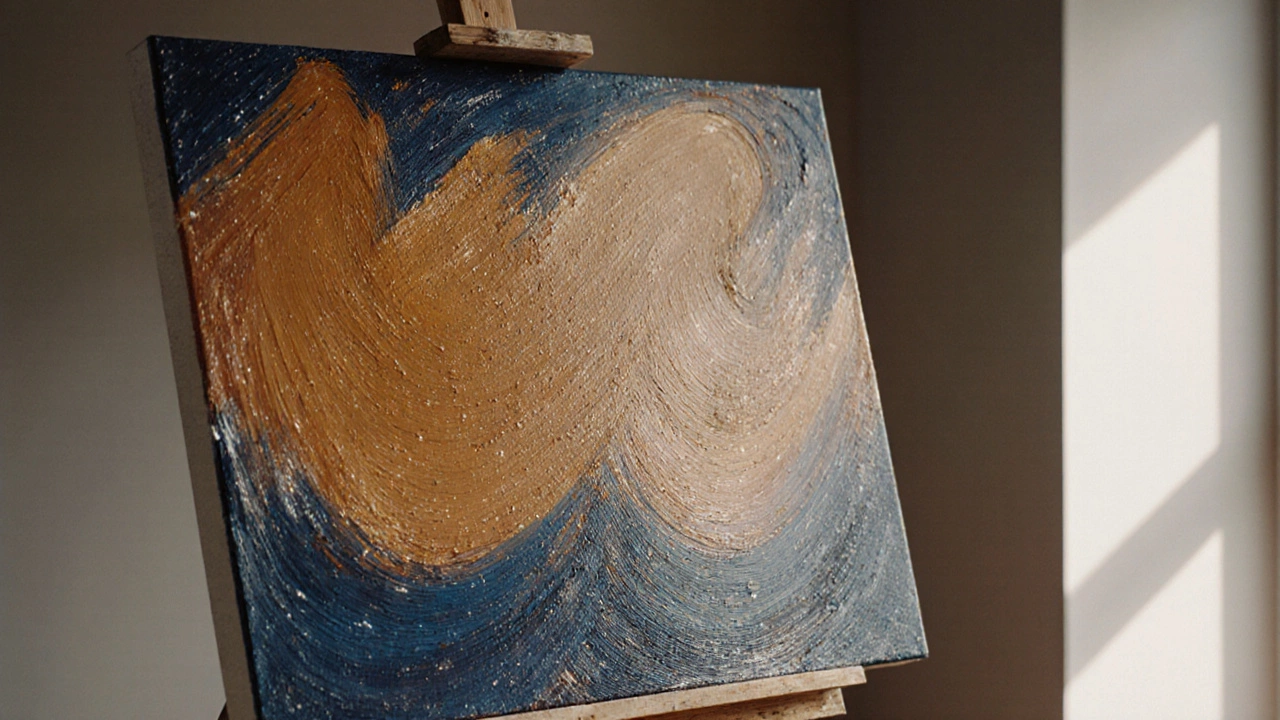
Oil Painting Protection
When you talk about oil painting protection, the practice of shielding oil‑based artworks from dust, light, and wear. Also known as painting preservation, it helps keep colors vibrant for decades. The broader field of oil painting, creating artwork with pigments bound in drying oil relies on careful handling from start to finish. One of the first steps is choosing the right medium and surface, because the foundation determines how well the finished piece will hold up under humidity or UV exposure. Understanding these basics sets the stage for the protective methods we’ll explore next.
Oil painting protection isn’t a single trick; it’s a suite of habits that work together. The most visible layer is varnish, a clear coating that seals the surface against pollutants and scratches. Applying varnish after the paint has fully cured creates a barrier that slows oxidation and keeps the original hues from fading. Varnish also enhances depth, giving the finished work a professional gloss or matte finish depending on the product chosen. In short, varnish is the frontline defender in the protection chain.
But you can’t just splash varnish on a wet canvas and call it a day. The drying time of oil paint is a critical factor. Oil paint oxidizes slowly, and rushing the cure can trap solvents beneath the varnish, leading to cracking later on. A common rule is to wait at least six months for thick impasto layers, while thinner washes may cure in a few weeks. Patience here prevents the most common cause of premature deterioration: brittle, uneven surfaces that peel under temperature swings.
Practical Systems That Support Protection
One method that directly supports both color consistency and long‑term stability is the three‑bucket rule, a workflow that separates colors, medium, and solvent into three distinct containers. By keeping these elements apart, you avoid accidental contamination that could affect drying speed or varnish adhesion. The rule also makes it easier to replicate a palette later, which is handy when you need to touch up a protected piece without disturbing the protective layer.
Another technique many artists swear by is alla prima, a wet‑on‑wet approach that completes a painting in a single session. While alla prima may seem at odds with slow drying, it actually reduces the number of layers that need curing, meaning there’s less chance for trapped solvents. When paired with a well‑timed varnish application, the result is a fresher look that ages gracefully.
Environmental control rounds out the protection strategy. Keep the finished work in a stable environment—ideally 20‑22°C with 40‑50% relative humidity. Avoid direct sunlight, which accelerates pigment fading, and use UV‑filtering glass when framing. Simple measures like these complement the chemical safeguards and extend the lifespan of the piece.
Finally, regular maintenance ensures that protection stays effective. Dust the surface with a soft, lint‑free cloth, and re‑varnish every 5‑10 years depending on exposure. Light cleaning removes grit that could scratch the varnish, while a fresh coat restores gloss and seals any micro‑cracks that have formed.
All these elements—proper curing, thoughtful varnishing, disciplined workflow, and environmental care—create a robust system for oil painting protection. Below you’ll find articles that dive deeper into each aspect, from the science of varnish selection to step‑by‑step guides on the three‑bucket rule and alla prima techniques. Explore the collection to sharpen your protective practices and keep your art looking its best for years to come.
22 Oct 2025
Skipping varnish on an oil painting leads to dust, UV damage, cracking, and uneven gloss. Learn the risks, protection tips, and proper varnishing steps.
Continue reading...