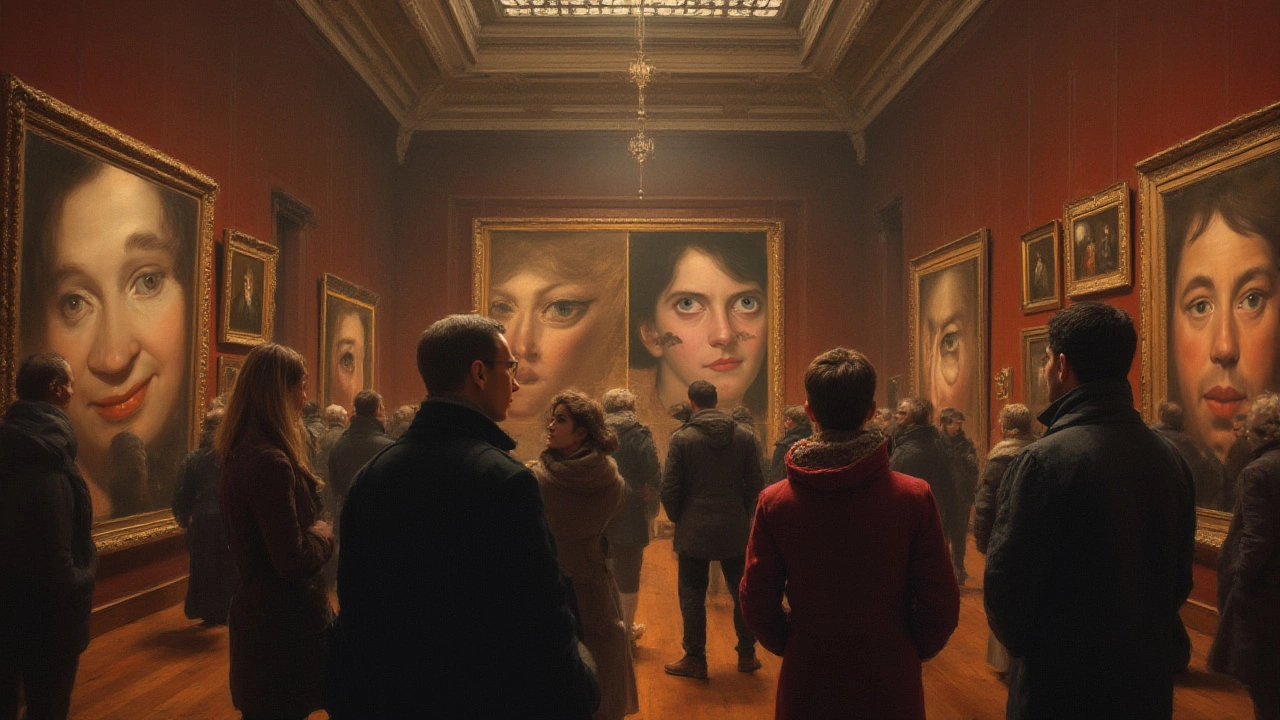
Eyes in Portraits: Simple Tips to Make Them Look Real
Eyes are the first thing people notice in a portrait. Get them right and your whole painting feels alive; get them wrong and the whole piece can look flat. Below are practical steps you can follow right now to paint eyes that pop, no matter if you work in oil, acrylic, or watercolor.
Start with the Basic Shape
Every eye begins as an oval with a slight point at the inner corner. Sketch this shape lightly with a pencil or a thin brush. Keep the ratio of the iris to the white part around 1:4 – the iris shouldn’t dominate the eye. If you’re unsure, draw a quick line through the middle of the oval; the iris sits on that line.
Once the outline is in place, add the upper and lower eyelids. The upper lid is usually thicker and follows a gentle curve, while the lower lid is thinner and flatter. Pay attention to the crease where the lid meets the brow – that little line gives the eye depth.
Block in Light and Dark
Before you worry about details, block in the major light and shadow areas. Use a medium tone for the sclera (the white part) and a slightly darker tone for the surrounding skin. The shadows under the brow and around the eyelid create a natural three‑dimensional look.
For the iris, start with a base color that matches the eye you’re painting – blue, green, brown, or gray. Add a darker ring near the outer edge and a lighter spot where the light hits. This contrast is what makes the eye feel alive.
Don’t forget the tiny highlight on the cornea. A small, bright white spot (or a very light glaze) placed on the upper side of the iris is enough to suggest moisture and reflection.
Details That Matter
Now add the fine lines of the iris. Use a thin brush or a fine tip pen to draw radial lines that radiate from the pupil outward. Keep them subtle – you don’t need to draw every single line, just enough to give texture.
The pupil should be a solid black (or very dark) circle. Make it slightly off‑center to avoid a “dead” look. Around the pupil, a thin dark rim helps define the edge of the iris.
When painting eyelashes, start with a few quick strokes at the outer corners; they don’t need to be perfectly uniform. A few longer lashes on the upper lid and shorter ones on the lower lid give a natural feel.
Finishing Touches
Step back and look at the whole portrait. Do the eyes match the lighting of the rest of the face? If the portrait has a strong light source, add a soft glaze of warm color on the lower lid and a cool shadow on the upper lid. This ties the eyes into the overall mood.
Finally, check the transition between the eye whites and the surrounding skin. A soft blend with a clean edge prevents a harsh, painted look. A quick, light wash of the skin tone around the eye can smooth the edges without losing detail.
Practice these steps on quick sketches before moving to a full‑size canvas. The more you repeat the process, the faster you’ll spot where you tend to over‑darken or miss a highlight. Soon, painting realistic eyes will become a natural part of your portrait workflow.

23 Jul 2025
Have you ever noticed how the eyes in portraits follow you around? Dive into why artists obsess over eyes, and how they shape the emotional punch of a painting.
Continue reading...
