Drawing to Digital: How to Turn Your Sketches into Pixels
If you love sketching on paper but want the flexibility of digital art, you’re in the right place. Converting a drawing to a digital file isn’t magic – it’s a simple process that anyone can follow. In this guide you’ll see which tools work best, how to keep line quality, and a step‑by‑step workflow that saves time.
Choosing the Right Tools
First, decide how you’ll capture your sketch. A flatbed scanner gives the cleanest result for line art because it records every tiny detail without distortion. If you don’t have a scanner, a good smartphone camera works too – just make sure the lighting is even and the paper lies flat.
Once you have a digital image, you’ll need software to clean it up. Free options like GIMP or Krita are powerful enough for most tasks. For vector work, Adobe Illustrator or the free Inkscape can trace your lines and let you scale the image without losing quality.
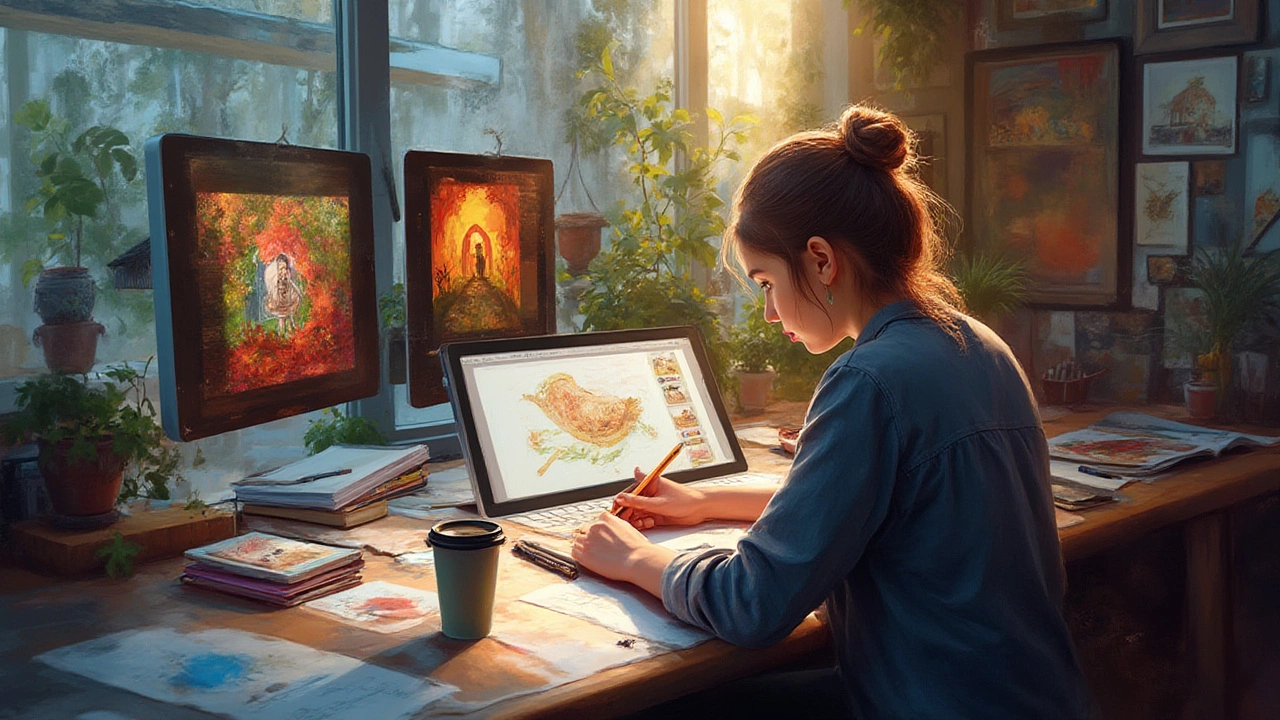
Don’t overlook a drawing tablet. If you plan to add color or edit the sketch often, a tablet with a pressure‑sensitive pen (like a Wacom or an iPad with Procreate) lets you work directly on the screen. Pair it with a program that supports layers – layers make it easy to separate line work from color.
Step‑by‑Step Workflow
1. Capture the sketch. Scan at 300 dpi or higher. If you use a phone, set the resolution to the maximum and keep the camera parallel to the paper.
2. Crop and straighten. Open the image in your editor, trim away excess background, and rotate if the lines look tilted.
3. Adjust contrast. Increase the contrast a bit so the lines become darker and the paper stays light. This makes later tracing easier.
4. Clean up stray marks. Use the eraser tool or a brush to delete stray smudges. Keep the original file saved in case you need to go back.
5. Convert to black‑and‑white. If you’re moving to vector, convert the image to a pure black‑and‑white mode. This gives the tracing algorithm a clear edge.
6. Trace the lines. In Illustrator or Inkscape, use the “Image Trace” function. Adjust the threshold until the traced lines match the original thickness. Export as an SVG if you want a scalable file.
7. Add color and texture. Import the traced line layer into a raster program (Krita, Photoshop, Procreate). Create new layers beneath the line work and start painting. Because the line layer is on top, you won’t lose any detail.
8. Save in multiple formats. Keep a layered PSD or KRA file for future edits. Export a PNG for web use and a PDF if you need a printable version.
That’s it – a complete pipeline from paper to screen. The key is to keep each step simple and save your work often. You’ll find that the more you practice, the faster you get, and the better the final digital piece looks.
Finally, experiment with shortcuts. For example, many apps let you set a custom hotkey to toggle between the line layer and paint layer, speeding up the coloring stage. Also, try using a light‑box under the paper when you trace by hand – it reduces eye strain and improves line consistency.
Turning drawings into digital art opens doors to animation, online portfolios, and easy revisions. With a scanner or phone, a free editing program, and a clear workflow, you can bring any sketch into the digital world in under an hour. Give it a try – your future self will thank you for the extra flexibility and creative freedom.