Drawing Conversion: Turn Your Sketches into Digital Art Fast
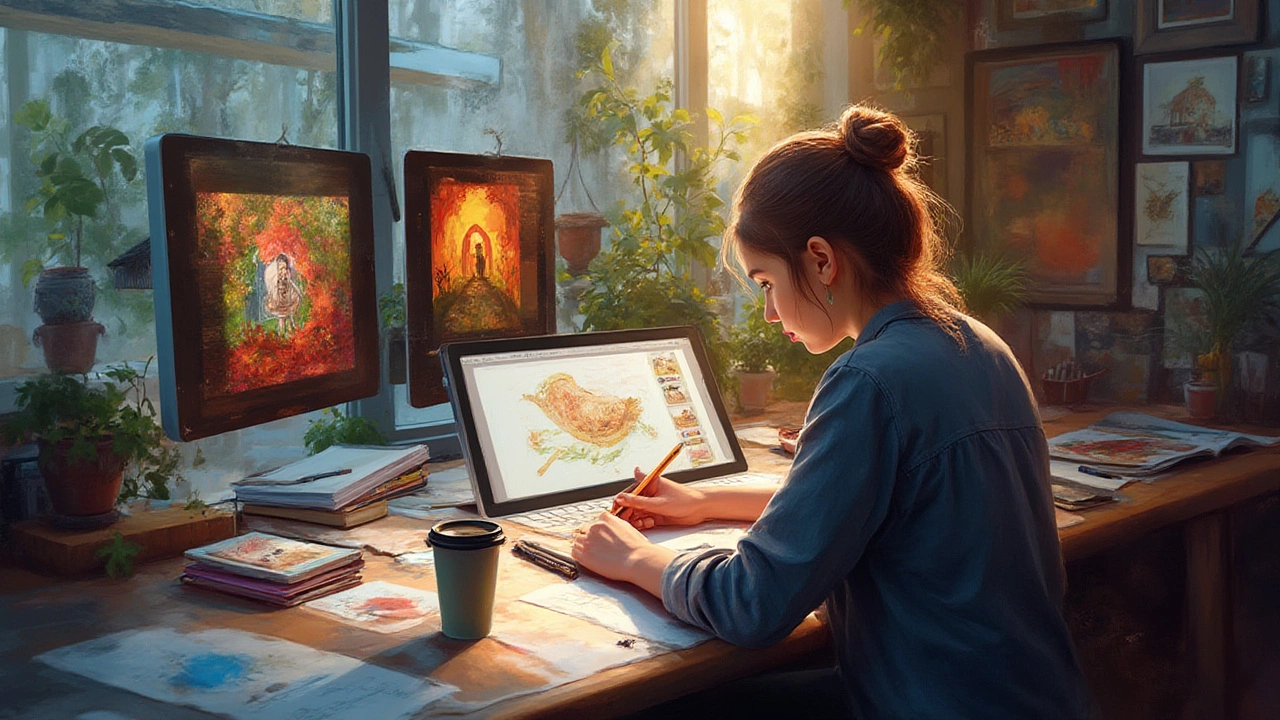
Got a sketch you love but need it in a digital format? You’re not alone. Artists, designers, and hobbyists all face the same question: how to move a paper drawing into a clean, editable file without losing any detail? The good news is you can do it quickly with a few simple steps and the right tools.
First, think about why you want a digital version. Maybe you need to edit colors, share the image online, or use it in a larger project. Knowing the end goal helps you pick the right capture method, file type, and cleanup process. Below are the most common situations and the best way to handle each.
Choosing the Right Capture Method
If you have a scanner, use it. Set the resolution to at least 300 dpi for a crisp result. Scanners give even lighting and minimal distortion, which means less work later. No scanner? A smartphone camera works fine too. Hold the phone directly above the drawing, avoid shadows, and use the highest resolution setting. Some apps, like Adobe Scan or Microsoft Lens, automatically straighten and enhance the image.
For larger drawings that won’t fit on a scanner bed, photograph the piece in natural light. Lay the paper flat, use a tripod if you have one, and keep the camera level. Take several shots and pick the sharpest. Remember, good lighting reduces the need for heavy editing later.
Cleaning Up and Finalizing the Digital Version
Once you have a clear image, open it in a basic editor—GIMP, Photoshop, or even free online tools work. Start by cropping excess paper and straightening the edges. Then adjust brightness and contrast to make the lines pop. If the sketch has smudges or stray marks, use the eraser or clone stamp tool to clean them up.
Next, decide on the file format. For editing, keep a layered PSD or XCF file. For sharing or uploading, export as PNG (lossless) or JPEG (smaller size). If you need a vector version—for logos or large prints—use a tracing tool like Adobe Illustrator’s Image Trace or the free Inkscape “Trace Bitmap” feature. Vector files scale without losing quality, but they require a clean, high‑contrast source.
Don’t forget to name your files logically. Include the project name, date, and version (e.g., "portrait_sketch_2024_v1.png"). This makes it easier to find later and helps with SEO if you upload to a portfolio site.
Finally, back up your work. Store the original scan, the edited version, and any vector files in at least two locations—cloud storage and an external drive. Losing a favorite sketch because of a hard‑drive crash is a nightmare you can avoid.
Now you have a digital copy that’s ready for color experiments, animation, or inclusion in a design brief. The whole process can take as little as ten minutes once you get the hang of it. Try it with a simple doodle today and see how fast you can go from paper to pixel.
4 Jul 2025
Explore practical steps and creative advice on converting hand-drawn sketches into professional digital art, with expert tips, tools, and must-know facts for artists.
Continue reading...