Art Exhibit Guide: From Idea to Opening Night
Thinking about putting on an art exhibit but not sure where to start? You’re not alone. Many artists and curators feel overwhelmed by the amount of detail involved. This guide breaks the process down into clear steps you can follow right away, so you can focus on the creative side and let the logistics fall into place.
Step 1 – Define the Concept and Budget
Before you book a space, write a short statement about what the show is about. Is it a celebration of local landscape painters? A mixed‑media exploration of identity? A clear concept helps you pick the right artists and gives your audience a hook. At the same time, sit down with a spreadsheet and list every cost you can think of – rent, transport, insurance, marketing, refreshments. Knowing the total early on prevents nasty surprises later.
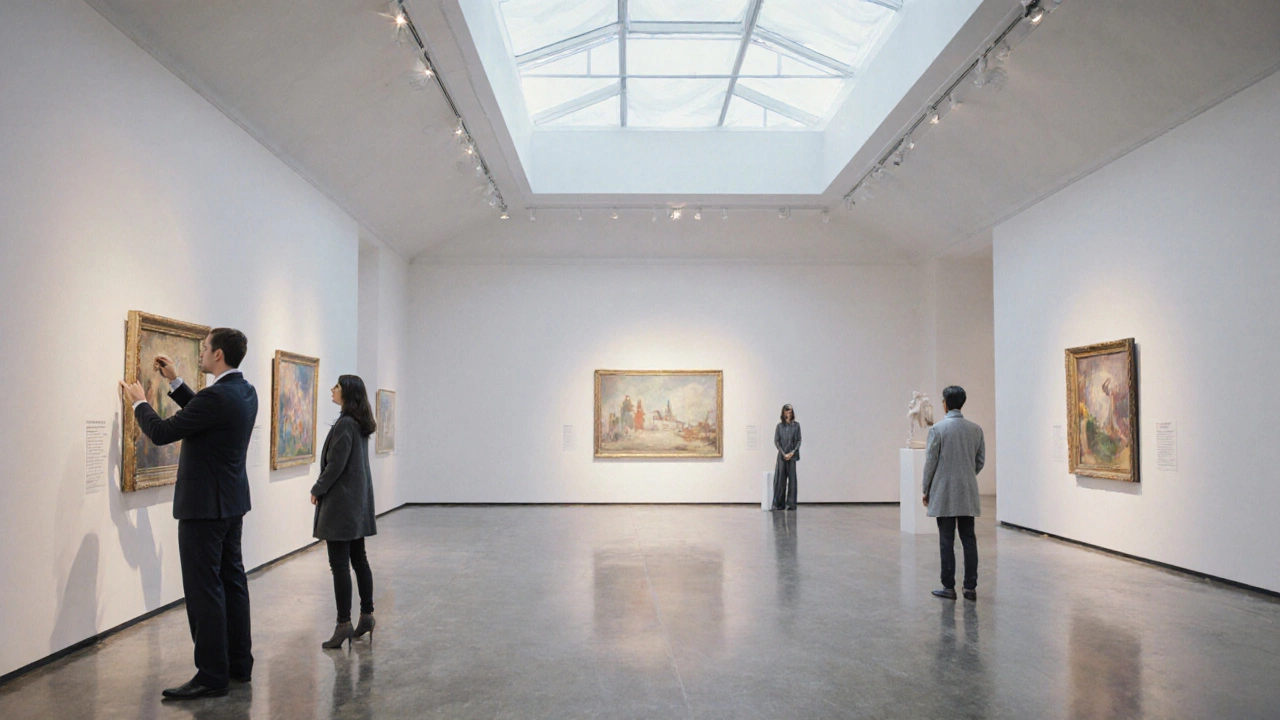
Step 2 – Choose the Space and Set Up the Layout
Look for a venue that matches the scale of your work. A small gallery works well for intimate pieces, while a larger hall lets you spread out installations. When you walk the space, mark where each artwork will go. Keep the flow easy – visitors should move naturally from one piece to the next without back‑tracking. Use simple lighting tricks: a spotlight on a centerpiece and softer wash lights for surrounding works can make a big difference without extra cost.
Once the layout is sketched, talk to the venue about hanging hardware, wall protection, and any restrictions on adhesives. Most spaces have a technical rider you can request; filling it out early speeds up the installation day.
Next, start reaching out to artists. Share your concept, budget, and timeline. Be transparent about commission rates or sales splits – clear contracts avoid misunderstandings. If you’re working with emerging talent, consider offering a small stipend or covering material costs; many artists appreciate the gesture and will promote the show on their own channels.
Marketing is the engine that brings visitors through the door. Start building buzz at least six weeks before the opening. Create a simple event page with a striking image, date, and a short description. Use social media stories to show behind‑the‑scenes prep, and ask each participating artist to share the post. Local newspapers, community boards, and cultural newsletters love free listings, so send them a concise press release.
Don’t forget printed materials. A flyer or postcard with QR code to the event page costs little and can be handed out at coffee shops, libraries, and art schools. When you print, use one side only and keep the design clean – too much text turns people away.
On opening night, keep things relaxed. Offer light refreshments, a brief welcome speech that ties the concept together, and a chance for visitors to meet the artists. A short artist talk or panel can add depth and give the audience something to remember.
After the exhibit closes, gather feedback. Send a short email to attendees asking what they liked and what could improve. Document the show with photos and video; these assets are gold for your portfolio and for promoting future events.
Finally, settle sales and payments promptly. Clear accounting builds trust and makes it easier to work with the same artists again. With the financials wrapped up, you can start planning the next exhibit and keep the momentum going.
Putting together an art exhibit may feel like a mountain at first, but breaking it into bite‑size tasks makes it manageable. Use this guide as a checklist, stay organized, and let the art speak for itself. Good luck – your next show could be the talk of the town!
1 Oct 2025
Discover the precise difference between an art exhibit and an art exhibition, with clear definitions, real‑world examples, a handy comparison table, and a FAQ to master the terminology.
Continue reading...