Acrylic Painting: Simple Tips to Get You Started
If you’ve ever stared at a blank canvas and wondered how to make it pop with acrylics, you’re not alone. Acrylic paint dries fast, so you have to work a little differently than with oils or watercolour. Below you’ll find down‑to‑earth advice that lets you start painting right away, avoid the usual hiccups, and keep your work looking vibrant.
Choosing the Right Materials
First things first: pick a decent set of acrylic paints. You don’t need the most expensive brand, but look for tubes that list a high pigment count. More pigment means richer colour and less layering. Grab a few basic colours – cadmium red, ultramarine blue, titanium white, and a dark black. You can mix almost any hue from these four.
Next, get a set of synthetic brushes. They hold their shape when the paint dries, which saves you money in the long run. A medium‑sized flat brush works well for washes, while a small round brush is perfect for details. Have a palette cup for water, a mixing tray, and a rag or paper towel handy.
Don’t forget a surface that can handle the quick‑dry nature of acrylics. Canvas panels, primed wood boards, or even heavyweight paper are all good options. If you’re on a budget, a cheap pre‑stretched canvas will do – just make sure it’s stretched tight enough that the paint won’t crack when it dries.
Everyday Techniques to Boost Your Work
One common mistake is letting the paint dry before you’ve blended the colours you want. To keep the paint workable, spray a light mist of water onto the canvas every few minutes. You can also use a retarder medium – just mix a teaspoon into your paint to slow the drying time.
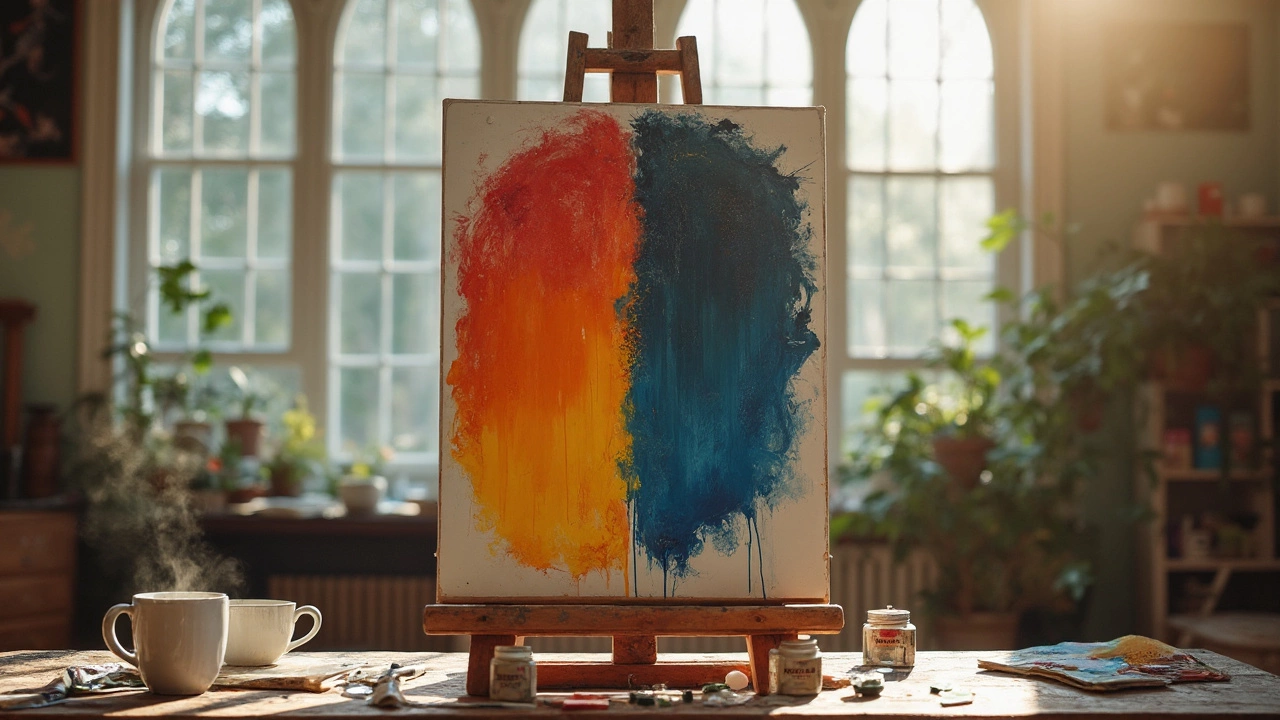
When it comes to colour mixing, start simple. Mix a small amount of a secondary colour (like orange) by adding a touch of its complementary colour (blue) to the primary (red). This removes any unwanted hue and gives you a cleaner mix. Test the colour on a scrap piece of canvas before you apply it to your main piece.
Use the “wet‑on‑wet” technique for smooth transitions. Apply a thin wash of colour, then immediately brush a second colour into the wet area. The two blend naturally, creating gradients without harsh lines. For texture, try “dry brushing” – dip a dry brush into paint, wipe most of it off, then drag it lightly over the surface. This leaves a broken, almost stippled effect that works great for foliage or rough stone.If you mess up, don’t panic. Because acrylic dries fast, you can sand away small mistakes once the paint is fully dry. Use fine‑grit sandpaper and gently rub the area, then repaint. For larger errors, a thin layer of gesso can cover the spot and give you a fresh start.
Finally, protect your finished painting with a clear acrylic varnish. It adds a glossy or matte finish and prevents the colours from fading over time. Spray varnish in a well‑ventilated area and follow the label’s drying time.
With these basics under your belt, you can start experimenting right away. Try painting a simple landscape, a still‑life, or even an abstract piece – the techniques work across subjects. Remember, acrylics are forgiving; the more you play, the better you’ll understand how the paint behaves. Grab your brushes, mix a colour, and let the canvas speak.
18 Jun 2025
Thinking about painting a portrait but not sure if acrylic or oil paint is easier to use? This article breaks down the main differences in handling, drying times, and techniques for both mediums. Get real-life tips and hear about some common mistakes to avoid. Find out which paint suits your style and skill level, and how to make each one work for you. Make better choices and get more joy out of your next portrait project.
Continue reading...