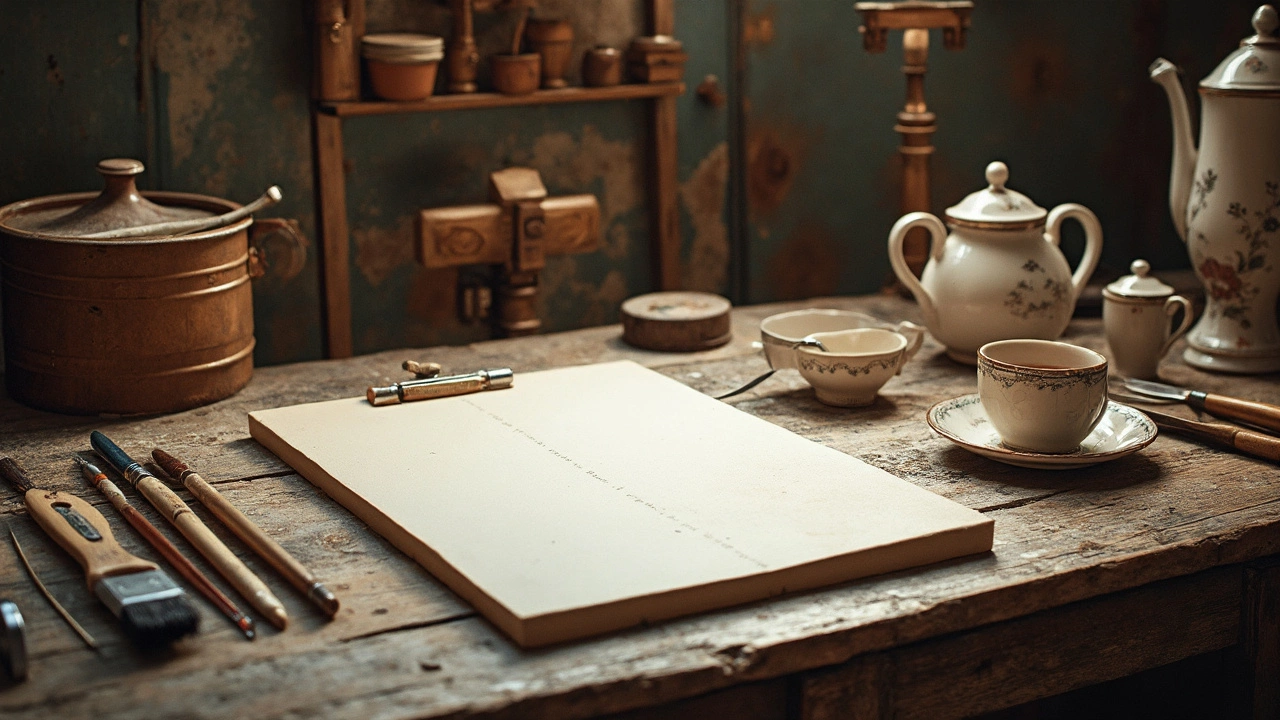
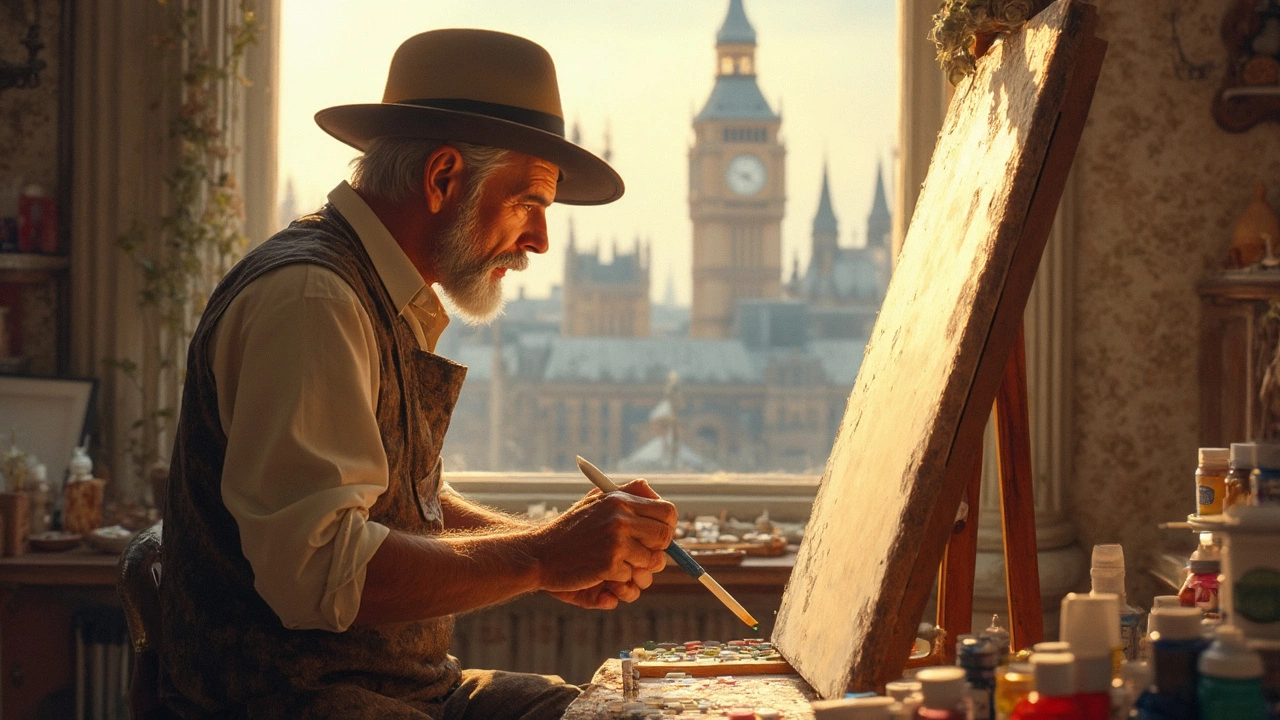
So, you've got your oil paints ready and you're staring at that blank canvas, but wait—what goes on the canvas before you start painting? Prepping your canvas might seem like just another step, but trust me, nailing this can take your artwork from average to amazing. It’s not just about splashing some color; it’s about setting the stage for it.
First, choosing your canvas is crucial. A good-quality canvas is like a solid foundation for a house, supporting everything you create. You'll come across pre-stretched canvases or canvas rolls. Each has its perks—pre-stretched ones save you time, while rolls give you adjustable sizes.
Choosing the Right Canvas
Picking the perfect canvas is kind of like finding the right pair of shoes—it all depends on what you need. For beginners, pre-stretched canvases are super handy because they come ready to hang and paint on, no fuss. These are great for diving straight into the fun part: actual painting. They’re usually made with cotton or linen, the two biggies in the canvas world.
Cotton canvases are like the trusty sneakers of the art world—common, affordable, and pretty versatile. They’re perfect for most oil paints and tend to absorb gesso well, which makes them a popular choice if you’re just starting out. On the flip side, linen canvases are the swanky dress shoes. They’re pricier and offer a smoother, more durable surface which many pros love for detailed work.
If you’re planning bigger projects or working with non-standard sizes, you might wanna consider canvas rolls. They give you the freedom to stretch your own canvases, and though it’s a bit more work, the flexibility is worth it. Plus, you can control the tightness of the canvas—a tight stretch is crucial for preventing that annoying bounce when you’re painting.
Let’s take a quick look at some common canvas characteristics:
| Canvas Type | Texture | Best For |
|---|---|---|
| Cotton | Medium/Heavy | General painting, cost-effective |
| Linen | Smooth | Detailed, professional work |
| Jute | Rough | Textured backgrounds, abstract |
Choosing between these depends on your style, goals, and budget. But no worries, trying out different types is part of the fun. Just remember, a good canvas can make your art sing, so pick one that feels just right for you.
Understanding Gesso
If you're diving into oil painting, you've likely heard of gesso, but what exactly is it? Gesso is like a magic primer that preps your canvas for painting. Think of it as a traditional coating that artists have been using for centuries. It provides a stable, slightly textured surface that makes your colors pop and helps your brush move smoothly.
Gesso comes in a few forms: acrylic gesso, which is the most common, and traditional gesso, which is a bit more demanding to use. Most artists opt for acrylic gesso because it dries quickly, is flexible, and sticks better to modern pre-stretched canvases. Traditional gesso is more of a specialty, requiring a bit more patience and practice.
What's really cool about gesso is you don't just have to use the white version. It can be tinted with acrylic paint to create colored backgrounds for your work. This can add depth and a unique undertone to your painting.
- Why use gesso? It prevents paint from soaking into the canvas threads, improving durability.
- How many coats? Usually, two or three light coats are perfect to give you a smooth surface for oil paint to grip.
- Applying gesso: Use a wide brush or a roller for even application and let each layer dry completely before adding the next.
Gesso is like your artwork's best friend, providing it with the foundation it needs to stay vibrant over time. By understanding how to use it, you ensure your creation has the best starting point.

Steps to Prime a Canvas
Diving into oil painting? Prepping your canvas with canvas preparation is where you begin. It’s not rocket science, but there are a few steps to follow to ensure your art has the best possible outcome. Here’s how you can do it:
- Gather Your Supplies: You'll need gesso, a wide brush or roller, and some old clothes you don’t mind getting messy. Trust me, gesso doesn’t wash out easily!
- Set Up Your Workspace: Make sure you have a flat, stable surface. Lay down a drop cloth or some old newspapers to catch spills. Prepping can get a bit messy.
- Apply the First Layer of Gesso: Pour a small amount of gesso into a tray. Use your brush or roller to cover the entire canvas. Keep it even, not too thick, and brush in one direction for the first layer.
- Let It Dry: Patience is key here. Let your canvas dry completely. Depending on the gesso, this can take an hour or two. Grab a coffee or sketch some ideas while you wait!
- Sand It Down: Once dry, gently sand the canvas with fine-grit sandpaper for a smoother surface. You’re aiming for a texture that takes paint nicely but isn’t rough to touch.
- Repeat the Process: It's commonly suggested to apply at least two coats of gesso. Apply the second coat perpendicular to the first and let it dry. Sand lightly between each layer.
- Final Check: Make sure the surface is smooth and evenly coated. If everything feels right, you’re ready to start painting.
And there you have it – a perfectly prepped place where your oil painting dreams can come alive! Prepping might seem like a lot of work, but it sets a sturdy foundation for your creativity to flow.
Common Mistakes to Avoid
When you're just starting with oil painting, it’s easy to stumble into some common pitfalls. These can mess with your results, leaving you frustrated and questioning your artistic abilities. But don't worry, avoid these blunders, and you'll be on your path to creating stunning pieces!
First up, forgetting to prime your canvas with gesso is a biggie. Painting directly onto an untreated canvas might sound tempting if you're impatient to start, but it can lead to issues like paint soaking in unevenly or even canvas damage. Always apply a couple of gesso layers first.
Another mistake is not letting layers dry properly before moving on to the next. Oil paint is notorious for its slow drying time, so if you're layering colors too soon, you’ll end up with a muddy mess instead of the vibrant piece you envisioned.
Skipping on quality might save you a few bucks initially, but it can hurt in the long run. Using cheap brushes or low-quality oil paints won't bring out the best in your art. Invest in good materials whenever you can.
Ignoring lighting conditions can also trip you up. Working in dim light or under artificial lighting can skew your perception of colors, leading to surprises when you see your painting in daylight.
Watch out for overmixing paints. It’s easy to get overzealous with mixing, but remember, it can dull your colors. Aim for bold, distinct hues, not a single monochrome blob!
Avoiding these common mistakes helps you create a better surface and brighter finish, making your oil paintings something you can be genuinely proud of.

