Oil paint doesn’t behave like watercolor or acrylic. If you treat it like those, you’ll end up with muddy colors, cracked surfaces, or paintings that never dry. Oil painting is a slow, layered process built on patience and understanding-not just brush strokes. Many beginners quit because they expect quick results. But when you learn how to work with the medium’s natural rhythm, oil becomes one of the most forgiving and richly expressive tools an artist can use.
Start with the Right Supplies
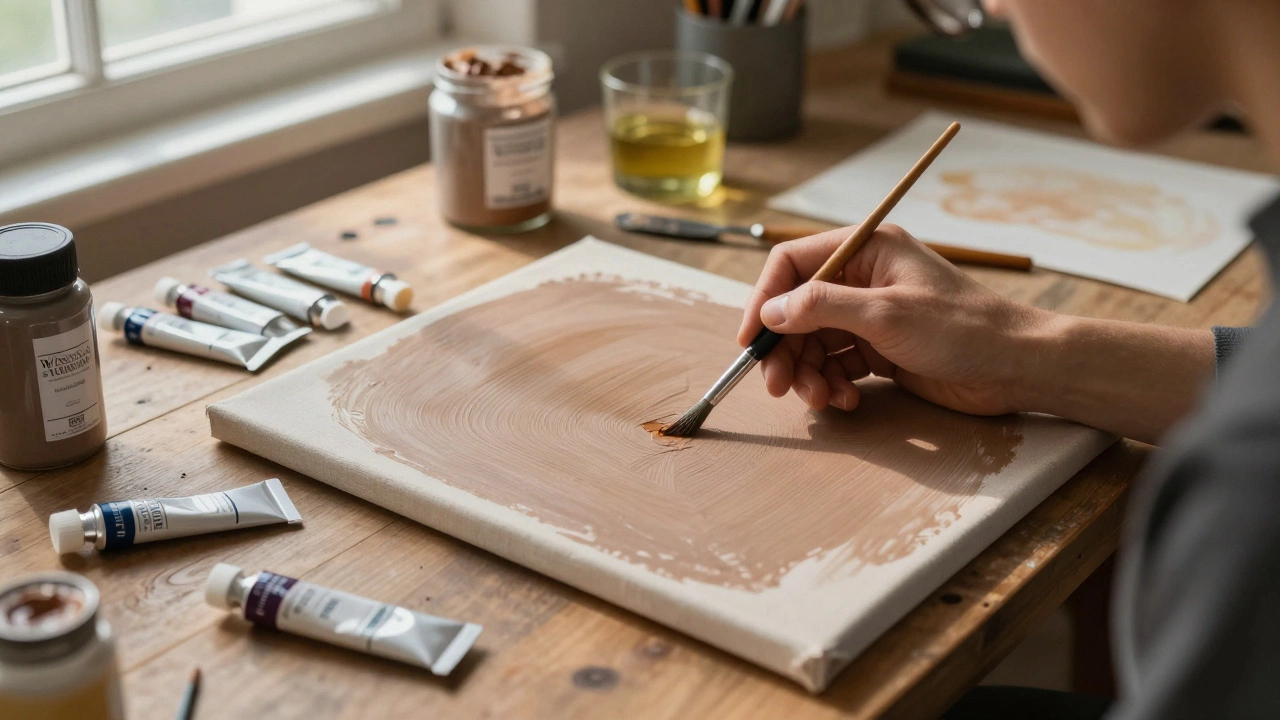
You don’t need the most expensive brushes or tubes of paint, but you do need the right basics. Skip the student-grade paints if you can afford better-they contain more pigment and less filler. Brands like Winsor & Newton, Gamblin, or Old Holland give you more color intensity with less product. Use a set of synthetic brushes for underpainting and natural hair (like hog bristle) for thicker layers. A palette knife is just as important as your brushes; it’s how you mix colors without thinning them with solvent. For your surface, stretched cotton canvas is standard, but many pros use linen for its tighter weave and durability. If you’re starting out, pre-primed canvas panels are easier to handle than stretching your own. Always use an oil-compatible primer-acrylic gesso won’t hold up over time. The surface needs to be sealed properly so the oil doesn’t sink in and dry unevenly.Follow the Fat Over Lean Rule
This is the single most important rule in oil painting, and it’s not optional. “Fat over lean” means each layer should have more oil than the one below it. Why? Because oil dries from the outside in. A lean layer (thin, solvent-heavy) dries faster than a fat layer (thick, oily). If you put a fat layer over a lean one, the top dries slowly while the bottom is already hardened. That mismatch causes cracking. Start with thin washes using a 1:1 mix of turpentine and paint. Let that dry for 3-5 days. Then add a second layer with 2 parts oil to 1 part turpentine. The next layer? Use mostly oil, maybe just a splash of solvent. By your final layers, you’re using paint straight from the tube. This builds a flexible, durable film that won’t split open years later.Work in Layers, Not One Go
One of the biggest mistakes beginners make is trying to finish a painting in one sitting. Oil paint takes days to dry. If you keep painting over wet layers, you’re just smearing color around. Instead, work in sessions. Paint the big shapes first-this is your underpainting. Use a single color, like burnt umber, to map out light and shadow. Let it dry completely before adding color. Once the underpainting is dry, add your color layers. Don’t try to blend everything smoothly. Oil paint holds its shape. Let brushstrokes stay visible. The magic happens when you let adjacent colors sit next to each other without mixing. The eye blends them, not your brush. This is called optical mixing, and it’s why old masters like Rembrandt and Vermeer had such luminous skin tones.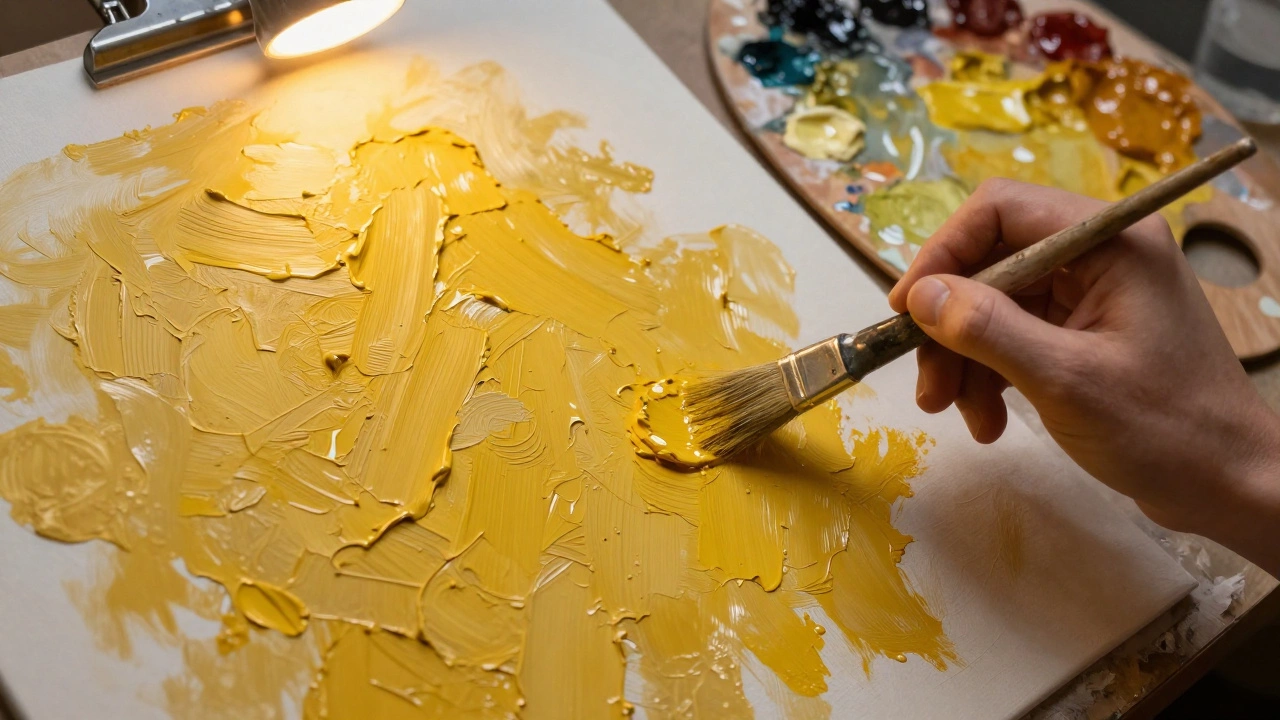
Control Drying Time With Mediums
Turpentine evaporates fast, which is great for thinning paint early on. But it’s harsh on brushes and lungs. Try odorless mineral spirits instead. For later layers, use linseed oil or stand oil. These slow drying time and give paint a buttery consistency. If you need a faster dry, add a small amount of cobalt dryer-just a drop per tablespoon of paint. Too much, and your paint will skin over too fast, trapping wet paint underneath. Some artists use alkyd mediums like Liquin. These cut drying time to 24 hours and add gloss. They’re great for detail work, but don’t use them in early layers. Stick to the fat-over-lean rule even with mediums.Don’t Overwork the Paint
It’s tempting to keep tweaking, blending, and reworking areas. But oil paint doesn’t like being touched too much. Each time you drag a brush over dried paint, you risk lifting the layer beneath. If you need to change something, let it dry, then paint over it. Scraping back with a palette knife works better than scrubbing. You can even sand lightly between layers with fine-grit paper-just wipe away the dust first. If you’re stuck, step back. Look at your painting in a mirror. Reversing the image shows you flaws in proportion and value you didn’t notice. Or turn off the lights and use a single lamp. Shadows reveal where your values are too flat.Let It Dry-Really
A thin layer of oil paint takes 5-7 days to dry to the touch. Thick areas, like impasto, can take weeks. Don’t varnish until it’s fully dry. That could take 6 months to a year. Varnishing too soon traps solvents and causes yellowing. When it’s ready, use a removable varnish like Gamvar. It protects the surface and evens out the sheen. If you’re in a hurry, hang your painting in a warm, dry room with airflow. Never use a heater directly on it. Heat warps canvas and causes uneven drying. Sunlight? Avoid it. UV rays fade pigments over time.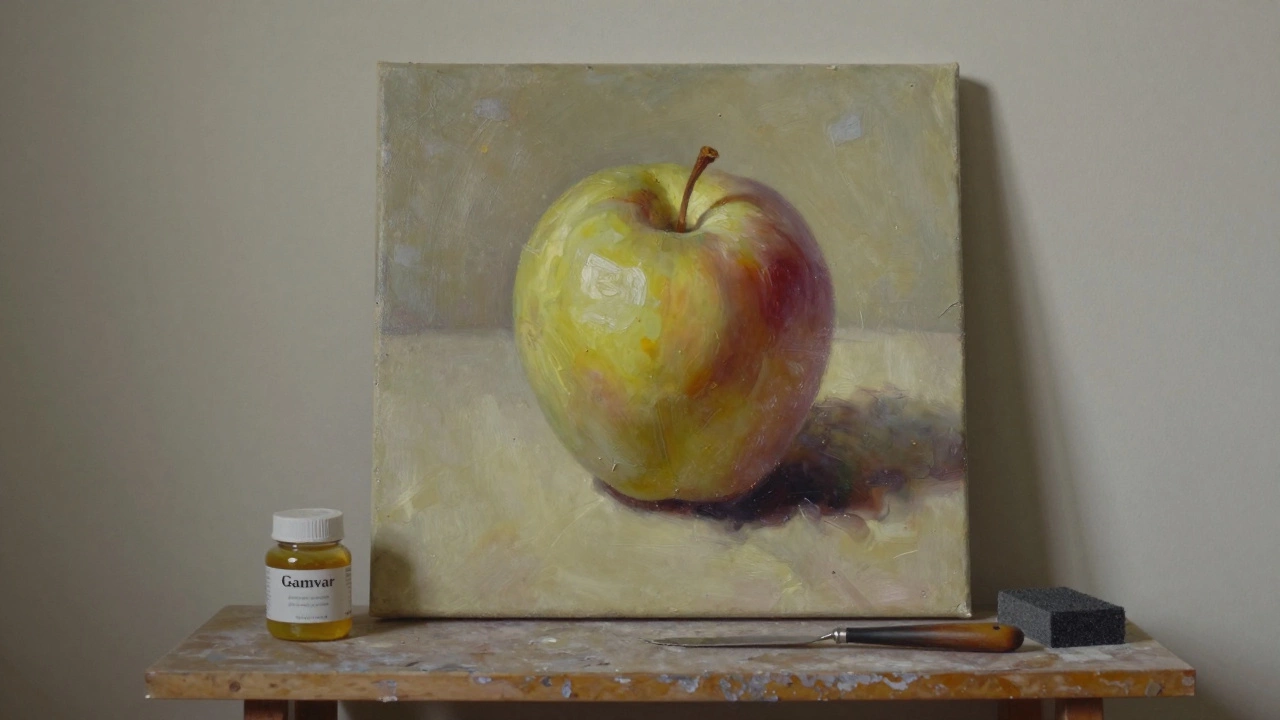
Common Mistakes and How to Fix Them
- Muddy colors: You mixed too many pigments. Stick to 2-3 colors per area. Use a limited palette-burnt sienna, ultramarine, cadmium yellow, and titanium white will get you 90% of the way.
- Crumbling surface: You used too much solvent in early layers. Scrape it off, re-prime, and start again with leaner mixes.
- Yellowing paint: You used linseed oil without letting it dry fully. Let the painting sit longer. Next time, use refined linseed or stand oil.
- Paint won’t stick: Your canvas wasn’t primed properly. Always use oil primer, not acrylic.
What to Paint First
Start with simple subjects: a single apple, a cup, a still life with three objects. Avoid complex scenes like landscapes with trees and sky right away. Focus on shape, value, and edge quality. Learn how light falls on a sphere before trying a full portrait. Use reference photos, but don’t copy them. Paint what you see, not what you think you know.Next Steps
Once you’ve mastered layering and drying times, try glazing. That’s applying a thin, transparent layer of color over a dry surface. It creates depth you can’t get with opaque paint. Or experiment with alla prima-painting wet-on-wet in one session. It’s fast and bold, but only works if you understand the medium’s limits. Oil painting isn’t about speed. It’s about listening to the paint. Let it tell you when it’s ready. Respect its pace, and it will reward you with depth, luminosity, and permanence that no other medium can match.How long does oil paint take to dry completely?
A thin layer of oil paint dries to the touch in 5 to 7 days, but full drying-where the paint is stable and ready for varnishing-can take 6 months to a year. Thick applications, like impasto, may take even longer. Never varnish before the paint is fully cured, or you risk yellowing and cracking.
Can I use acrylic primer under oil paint?
No. Acrylic gesso is not compatible with oil paint over the long term. Oil needs a porous, oil-based ground to bond properly. Using acrylic primer can lead to peeling, cracking, or delamination years later. Always use an oil-specific primer like lead white or titanium white in linseed oil.
What’s the best way to clean oil paint brushes?
First, wipe excess paint off with a rag. Then soak brushes in odorless mineral spirits for 10-15 minutes. Swirl gently, don’t scrub. Rinse with warm water and mild soap (like Murphy’s Oil Soap). Reshape the bristles and lay flat to dry. Never leave brushes standing upright in solvent-it damages the ferrule and handle.
Is it okay to paint over a still-wet layer?
Only if you’re following the fat-over-lean rule and the layer underneath is still workable. Wet-on-wet painting (alla prima) is valid, but only if all layers have similar oil content. Painting thick over thin while wet can trap solvents and cause cracking later. If in doubt, wait for the layer to dry.
Do I need to varnish an oil painting?
Yes, but not right away. Varnish protects the surface from dust, UV light, and cleaning damage. It also unifies the sheen across matte and glossy areas. Wait at least 6 months-ideally a year-before applying a removable varnish like Gamvar. This allows the paint to cure fully without trapping solvents.