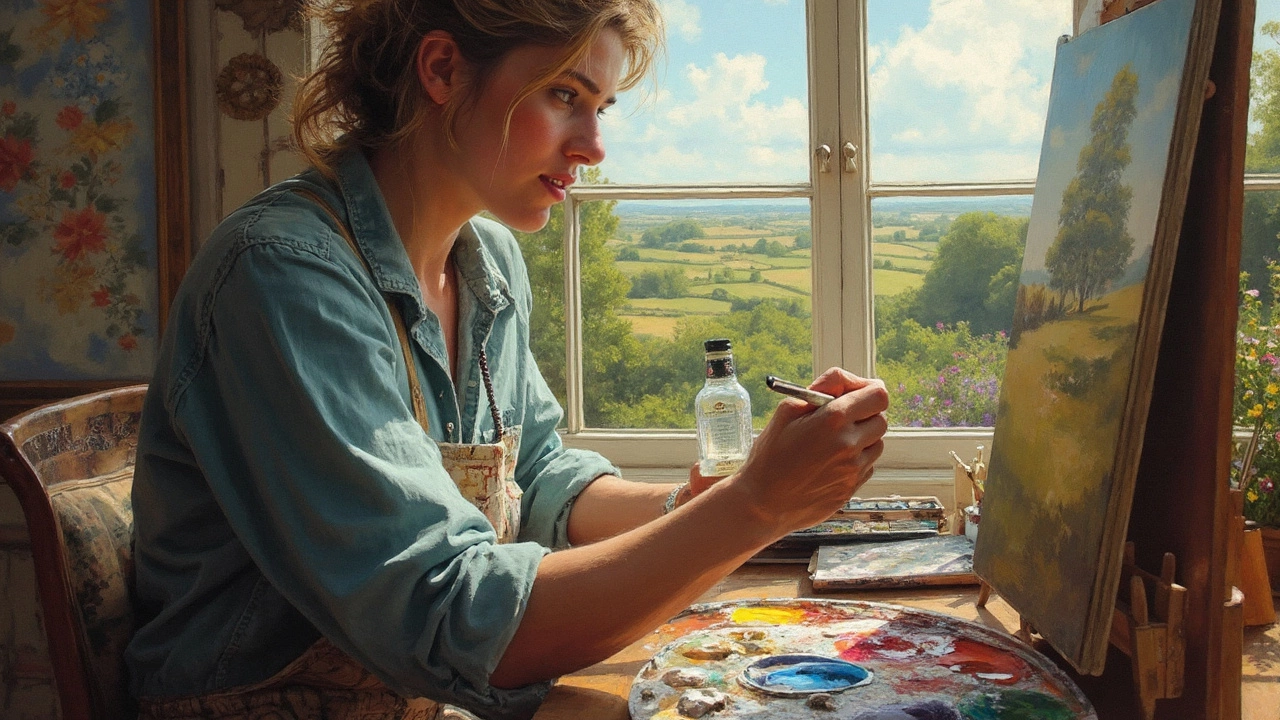
Oil painting may seem daunting at first, but there's a golden rule that simplifies it all: 'fat over lean.' Basically, it's about layer management. The paint on your canvas needs to dry properly to avoid cracks, which means thicker ('fatter') layers should sit on top of thinner ('leaner') ones. Understanding this is crucial if you want your masterpiece to last.
Why is this so important? Well, oil paint drys by oxidizing, not just evaporating like watercolors. Thinner layers dry faster because they have less oil in them. If you put a slow-drying, thick layer under a fast-drying thin layer, you risk cracks or even peeling. Keeping the rule in mind will save you from these headaches.
- Understanding Fat Over Lean
- Layering Techniques
- Importance of Drying Times
- Common Mistakes and How to Avoid Them
- Enhancing Your Art with Texture
Understanding Fat Over Lean
Getting to grips with the 'fat over lean' principle is a game-changer for anyone diving into oil painting. At its core, this technique ensures that your paintings don't just look good today but also stand the test of time.
Oil painting involves layers, and each of these layers can have varying amounts of oil. 'Lean' refers to those with less oil, and 'fat' means more oil. Drying is key here—lean layers dry faster because there's less oil to oxidize. Ever notice how thick-stuffed layers sometimes seem to take forever? That's the extra oil at work.
How to Apply Fat Over Lean
- Start lean: Begin with thin washes and keep the oil content lower. You might want to mix your color with more solvent or less oil.
- Build up to fat: As you add layers, gradually increase the oil content. This is where artists typically mix in mediums for thicker, richer textures.
But hey, why follow this? Because ignoring 'fat over lean' might lead to disappointing results like cracks or worse, layers flaking off years down the line. Imagine investing hours into a piece only to see it crumble over time!
Real-life Practice
Remember, it's about rhythm too. Don't rush. Each layer needs time to dry before piling on the next. A rule of thumb? At least 24 hours between layers. And moist conditions impact drying times, making it longer—so always check your climate.
Old masters like Rembrandt swore by 'fat over lean', trusting it to ensure their artworks' longevity. They also explored this by building textures, enhancing the paintings' depth, all thanks to clever layer management.
Layering Techniques
Layering is an essential part of oil painting, bringing depth and dimension to your work. By applying paint in multiple layers, you create rich textures and shading that are hard to achieve with a single coat. But doing it right requires some planning and understanding of painting techniques.
Start Thin, Go Thick
The rule of thumb here is to begin with thin, diluted layers and gradually build up to thicker, more textured paint. This technique ensures that each layer adheres properly and dries evenly, following the 'fat over lean' principle we mentioned earlier.
When to Let Layers Dry
Each layer needs to be fairly dry before adding the next. This might seem like common sense, but patience is key. Depending on the thickness of the paint and the humidity of your workspace, drying can take a day or more. Getting the timing right prevents smudging and keeps your colors vibrant.
Building Color and Texture
Once your base layers are dry, it’s time to add more complex colors and textures. Use thicker brushes or palette knives to experiment with textures. You can even mix media like sand or sawdust for interesting results. Experimentation will be your best friend here.
Using Glazes
If you're up for it, glazing is another awesome way to enhance your art. A glaze is a thin, transparent layer of paint that can alter the hue and tone of your painting without covering the underlayer completely.
By mastering these layering techniques, you’ll give your artwork a lifelike quality that captivates viewers. Don’t be afraid to play around and find what suits your style best; after all, painting is as much about discovery as it is about creation.

Importance of Drying Times
Let's face it, patience in oil painting can be a real challenge. But understanding and respecting drying times is a game-changer. Oil paints dry through oxidation, which means they react with air and this process can be slow, depending on the thickness of your layers.
One crucial tip is using the 'touch test' before adding another layer. If your paint feels tacky, it's not ready. Jumping in too soon can mess with your masterpiece.
The Role of Temperature and Environment
Temperature and your workspace environment play a huge part in drying times. Cooler, humid climates can slow down the process. If your studio tends to be more like a sauna, think about getting a dehumidifier or at least opening some windows to let air circulate.
| Paint Thickness | Typical Drying Time |
|---|---|
| Thin Layers (Lean) | 1-2 Days |
| Thick Layers (Fat) | Up to a Week or More |
Using the Right Mediums
Another tip to speed things up is using drying mediums. Liquin or Galkyd can help reduce drying time, but remember they change the paint's texture and glossiness, so experiment a bit.
- Always apply thin layers first, they dry quickly.
- Consider layering with different drying mediums.
- Don't rush; if you're unsure, give it more time.
By respecting the drying times, you let your artwork develop richness in color and texture. It may take time, but like a good wine, it's worth the wait!
Common Mistakes and How to Avoid Them
Even the best artists have their off days, and with oil painting, avoiding basic slip-ups can save loads of frustration. Improving your art involves understanding these common mistakes and knowing how to sidestep them.
Avoiding Over-Thinning
It's tempting to thin paint too much, thinking it’ll help spread it smoothly. But too much solvent weakens the paint’s adhesive qualities. The result? Fragile layers that can lead to cracking or peeling. Always check your paint’s consistency. If it looks like soup, you’ve gone too far. Aim for a mix that’s creamy, not runny.
Getting the Layering Wrong
The 'fat over lean' rule is your best friend. Ignoring it is a common pitfall. Newer painters often stack thick paint on bottom with thin layers on top, just because it feels right. However, this causes instability as thinner layers dry faster. Stick to building up gradually from thin to thick and give those layers time.
Rushing the Drying Process
Remember, patience is crucial. Unlike acrylics, oil painting needs time to dry between layers. Rushing leads to muddy colors or damaged surfaces. A good guideline is to let layers dry to the touch before moving on. It might sound like a hassle, but it’s invaluable for quality results.
Ignoring Clean Brushes
Dirty brushes are creativity killers, trust me. Clean them regularly to maintain your art quality. Using turpentine or a quality brush cleaner can make a world of difference. It ensures your colors stay vibrant and mixes don’t get murky.
If you can dodge these mistakes, you'll likely find your painting experience much smoother and more rewarding. And hey, even if things don’t go perfectly every time, learn from it and keep brushing off those setbacks, literally and figuratively.
Enhancing Your Art with Texture
Creating texture in oil painting can transform a flat image into a dynamic masterpiece. It's all about making your painting feel alive, capturing interest at first glance. But how do you go about it? Let's break down some simple techniques.
Choosing the Right Tools
Firstly, your choice of brush really matters. Bristle brushes are fantastic for thick, expressive strokes that leave visible texture. Meanwhile, softer brushes work better for smooth transitions and softer textures. Palette knives aren't just for mixing; they're brilliant for applying thick layers of paint.
A Play with Techniques
The 'impasto' technique is a popular method where paint is applied thickly on the canvas, often making it appear as if it's coming off the surface. This adds depth and drama. On the contrary, the 'scumbling' technique uses a dry brush to lightly apply paint over a dry layer, offering a softer, hazy look. Both can add unique textures.
Incorporating Elements
Don't shy away from incorporating various materials like sand or beads into your oil paint. This adds an unexpected element of style and creates a tactile experience.
Textural Contrast
Variety is your ally. Combining different textures can guide the viewer's eye around your painting. Mixing smooth and rough areas can add interesting contrasts that keep your artwork engaging.
Want to see how texture impacts your work? Here's a quick cost overview on common texturing tools:
| Tool | Approximate Cost (USD) |
|---|---|
| Bristle Brush Set | 15-30 |
| Palette Knife | 10-20 |
| Mixed Media Elements (sand, beads) | Varies |
Incorporating texture isn't just about making a painting look good. It's about making your art feel engaging and multidimensional. Experiment with these approaches, and watch your paintings come to life, one textured layer at a time!