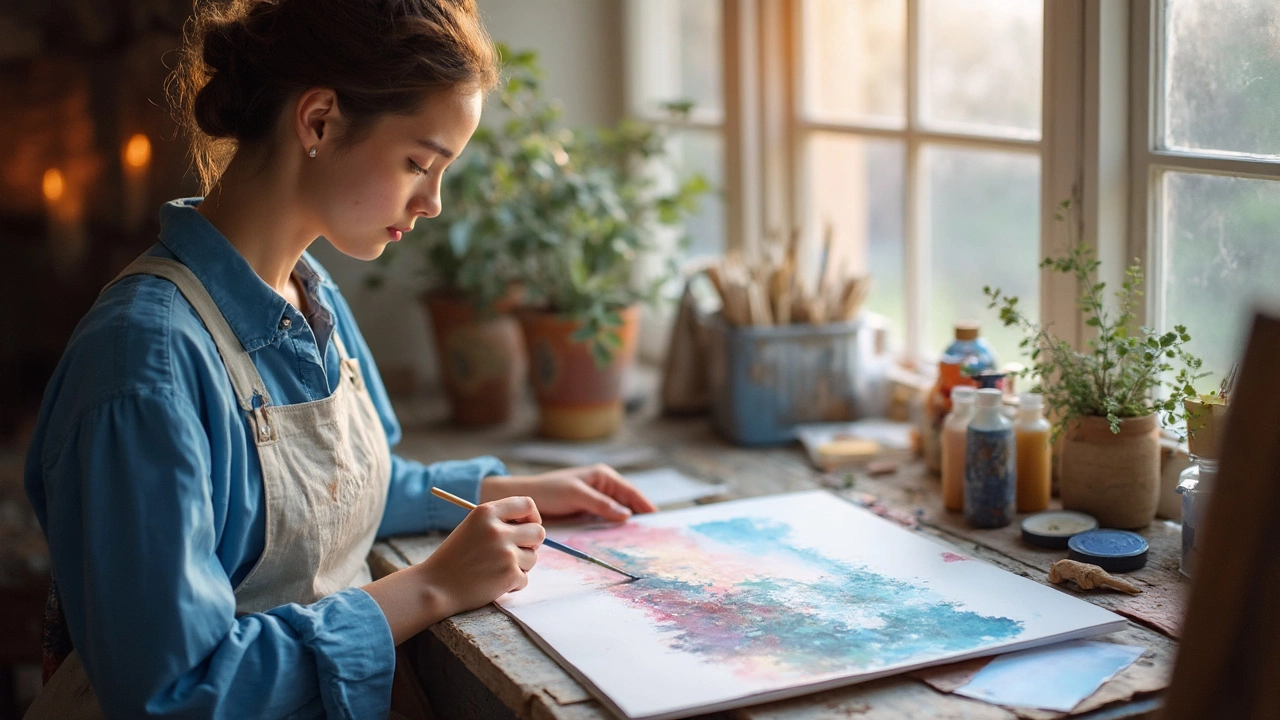
Working with watercolors can feel magical, but it comes with its quirks—like those pesky hard lines that show up when you least expect them. If you've ever wondered how to keep your washes smooth and fluid, you're in the right place. Let's jump into some practical tips to help you avoid these unwanted edges and elevate your painting game.
First up, let's talk about paper. The type of paper you use really matters. Cold-pressed watercolor paper is known for its medium texture, which makes it a popular choice. It absorbs water in a way that helps in maintaining those soft edges. Experiment with your paper because understanding how it reacts to water is key.
Now, let's chat about water and paint management. It sounds obvious, but balancing the right amount of water and pigment makes a world of difference. Too much water and your colors run amok; too little, and you end up with hard lines. Try loading your brush with just the right amount of paint—practice makes perfect here.
- Understanding Paper and Absorption
- Water and Paint Management
- Timing is Everything
- Using the Right Brushes
- Learning from Mistakes
Understanding Paper and Absorption
When it comes to using watercolors, the paper plays a huge role in how your painting turns out. So, if you're serious about avoiding hard lines, you need to get comfy with the kind of paper you're using. Let's break it down a bit.
Types of Watercolor Paper
Watercolor paper comes in three main types: hot-pressed, cold-pressed, and rough. Each one deals with water a bit differently. Hot-pressed paper is super smooth, which can be great for detail work but can lead to more pronounced lines. Cold-pressed is a favorite among artists because its texture gives a nice middle ground, offering some grip but still allowing for smooth blends. Rough paper has the most texture and can give your work a textured look.
Paper Weight and Quality
Paper weight is another thing to think about. Watercolor paper weight is measured in pounds (lb) or grams per square meter (gsm). A heavier paper (like 300 lb or 640 gsm) soaks up water without buckling, which is essential for consistent paint management. Lighter paper can warp and dry too quickly, making it a breeding ground for hard edges.
And quality matters! Opt for 100% cotton paper if you can. It's more absorbent and forgiving, letting you rework areas without stressing about damaging the surface.
Absorption and Timing
Now, let's touch on paper absorption and how timing comes into play. The amount of time your paper stays wet determines how smooth your washes will be. More absorbent paper tends to stay wet longer, giving you more time to fix errors and prevent hard lines. Learning is really about doing. Sit down, test different papers, and see how they behave with varying amounts of water and paint.
Getting Hands-On
So, here's your practical takeaway: if you want to avoid those unexpected hard lines, spend some time experimenting. Try out different types and weights until you find what works for your style. This step is all about trial and error, but it's worth it for that smooth, dreamy finish we all want in our watercolors.
Water and Paint Management
Getting that perfect balance with watercolor is all about managing your water and paint. It's the secret sauce that separates a good painting from a great one. But what does that mean in practical terms? Let’s break it down.
Loading Your Brush
The key is to load your brush properly. Imagine cooking—too much salt and your dish is ruined. Same with watercolors; too much color or water and things can get messy. Wet your brush, but not too much. Dab it on a paper towel first if needed. You want it damp, like a sponge after you've squeezed it out.
The Right Mix
This is where most beginners get stuck. You need to find that sweet spot between water and paint. If you're using more pigment, you'll need just a bit of water to help it spread. With less pigment, more water helps in creating those soft, gentle washes we all love.
Ready to Flow
Start by testing your mix on a scrap piece of paper. This acts like a preview, and no one wants surprises later on! Adjust your water and pigment levels until you’re satisfied. More water will give a lighter tone, while more pigment will deepen the color.
Quick Tips for Success
- Thirsty Brush: If your brush drinks too much water, you'll need to control it. Tap off excess water to avoid unexpected dribbles.
- Mixing Palette: Always have a mixing palette handy. It helps you test colors and water levels before committing to your main piece.
- Practice Swatches: Doing swatches can help in understanding how different ratios appear on paper.
| Ratio | Effect |
|---|---|
| 1:1 Paint to Water | Medium transparency |
| 1:2 Paint to Water | Light and sheer, good for layers |
| 2:1 Paint to Water | Rich and saturated |
A subtle touch is your friend when dealing with watercolor paint management. It’s about finding what works for you and making it consistent. So next time you set out to paint, remember: right balance, controlled chaos, and lots of practice. Happy painting!
Timing is Everything
When it comes to watercolor techniques, timing can make all the difference between a smooth transition and those frustrating hard lines. So, let's talk about why knowing the right time to apply your strokes really counts.
Watercolor is all about flow, and the wetness of your paper determines how your paint spreads. Working on dry paper leads to hard, defined lines, which is perfect for detail work but not so much for washes. If you're aiming for seamless blends, keep an eye on the moisture.
Wet-on-Wet vs. Wet-on-Dry
Understanding when to apply paint on wet versus dry sections can transform your artwork. Here's how:
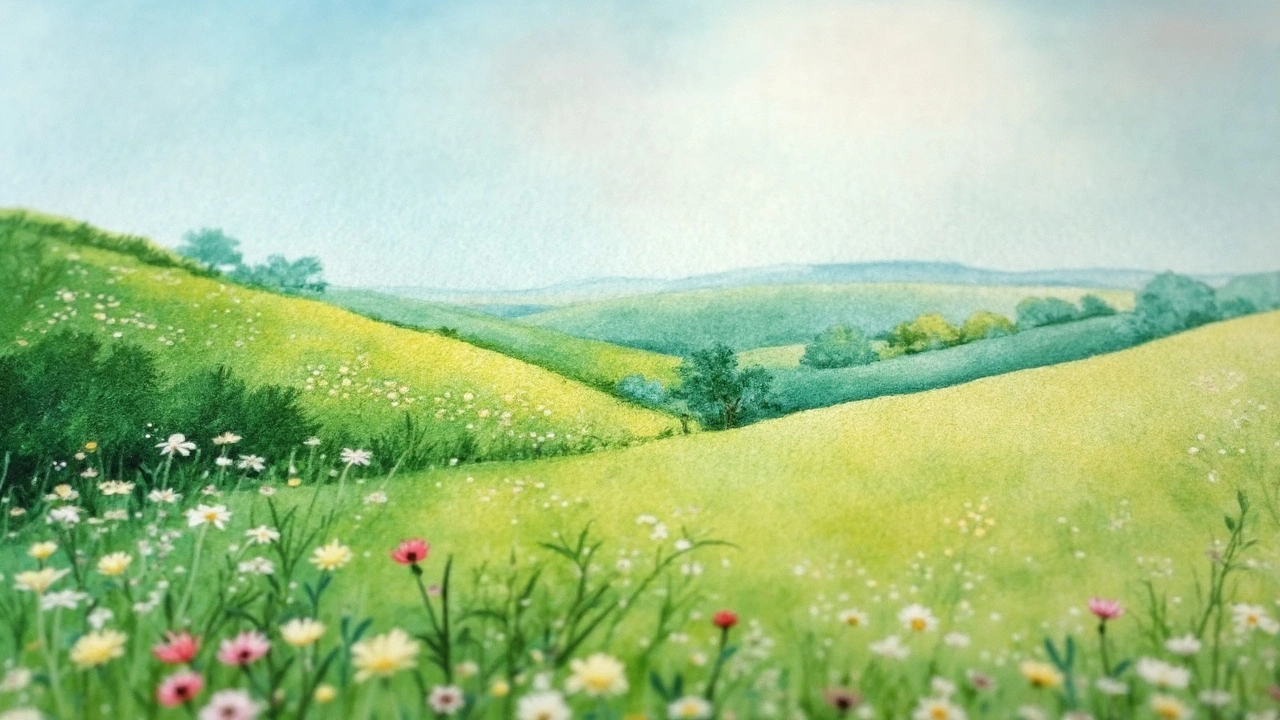
- Wet-on-Wet: Paint blooms into fascinating spreads when applied to wet paper. Use it for skies, seas, and other areas where you want softer edges.
- Wet-on-Dry: Results in more controlled, hard lines. Perfect for edges and details, but watch out for unintended borders.
Practical Tips on Timing
- Watch the Shine: Start adding your paint while the paper still has a sheen; too dry, and you get sharp edges; too wet, and colors might muddy.
- Gauge Drying Speed: Depending on the paper and environment, drying times can vary. Practicing on scraps will help you learn how fast your materials dry.
- Layer with Care: Allow sections to dry before adding new layers, or exploit the natural drying (and wetting) phases to produce desired effects.
Let's not forget, experience builds intuition. As you practice, you'll get a feel for when the moment is right. And don't get discouraged by mistakes—they're just part of the journey, and sometimes they can lead to unexpected and happy discoveries in your watercolor art. Keep experimenting with your timing, and soon those hard lines will be a thing of the past!
Using the Right Brushes
Let's dive into brushes. If you're aiming to prevent hard lines in your watercolor techniques, knowing your brushes inside out is crucial. Different brushes serve different purposes, and choosing the right one can make or break your painting. Let's look at what works best for keeping those edges smooth.
Round Brushes
Starting with round brushes, these are probably the most versatile in your toolkit. With a pointed tip and a full belly, they hold plenty of water and paint. This allows you to lay down a nice even wash while still getting into those tight spots with the tip. A round brush can make broad strokes for washes or fine lines for detail.
Flat Brushes
Flat brushes come in handy when you need to cover a large area without going back and forth repeatedly. They are excellent for creating bold strokes and can be tilted on the edge for finer lines. Just be cautious with the water amount these brushes carry to avoid unexpected streaks.
Mop Brushes
Mop brushes are your go-to for laying down consistent washes without visible brush strokes. Their soft, bushy bristles soak up a ton of water, letting you sweep across the paper effortlessly. They're perfect for large skies or expansive backgrounds where smoothness is key.
- Step 1: Choose a round brush for both detailed and large areas.
- Step 2: Use flat brushes for broad and even strokes.
- Step 3: Rely on mop brushes for smooth, extensive washes.
Brush quality also matters. A well-made brush with good bristles can transform your painting experience. Look for natural fiber brushes for their absorbency and smooth application. Synthetics have improved massively, too, and can be a more affordable option.
Learning from Mistakes
Let's face it, mistakes happen, especially in watercolor painting. But instead of tossing away those paper sheets in frustration, let's turn those mishaps into learning moments. Hard lines are often seen as errors, yet they can tell you a lot about your watercolor techniques and where there's room to improve.
Understand the Why
When you spot a hard line, take a moment to analyze why it happened. Maybe it was too much time between brush strokes allowing areas to dry too fast, or perhaps you used a brush size that didn't cover enough surface. Knowing the cause is the first step toward improving.
Experiment and Adapt
Once you know the issue, get creative with solutions. Try using a different paper, play with the amount of water in your brush, or adjust your painting speed. You might just stumble upon a new approach that works better for you.
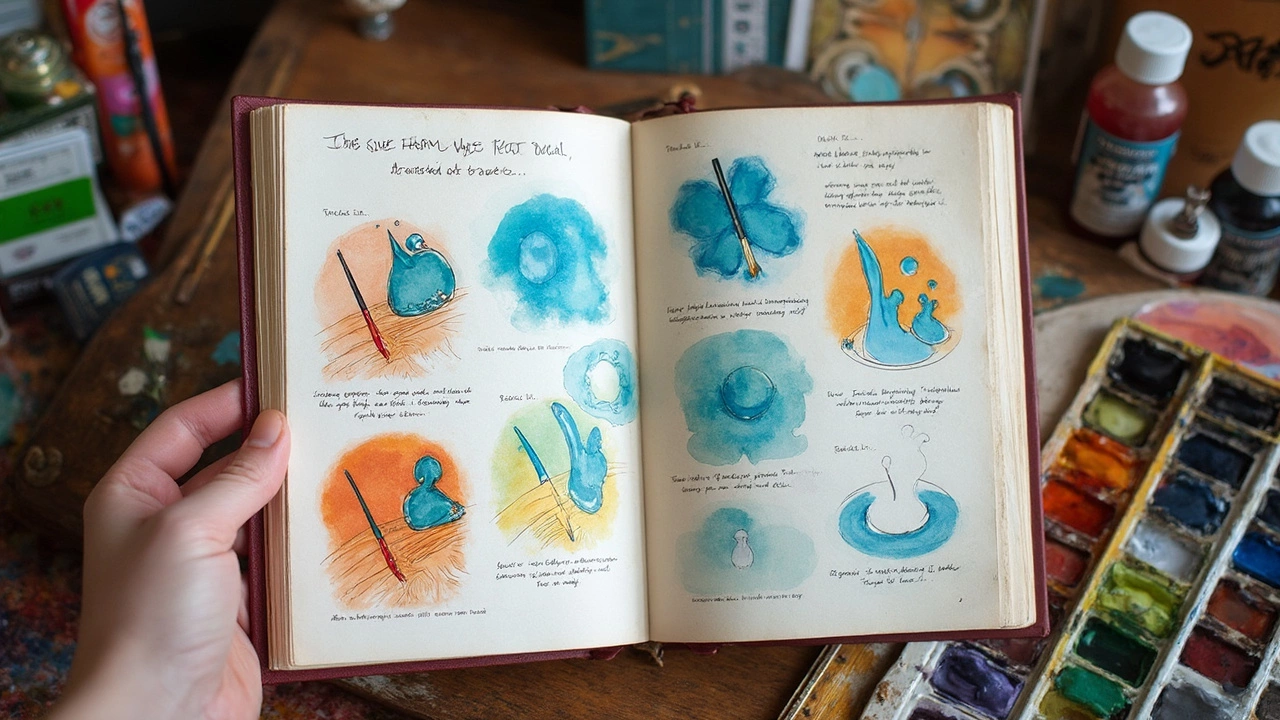
Keep a Mistake Journal
Consider keeping a journal to document your painting adventures. Jot down what went wrong, what you think caused it, and how you adjusted. Over time, this little diary becomes a valuable resource.
- Record your process: Note down the paper type, brushes, water-to-paint ratio, and drying times.
- Evaluate outcomes: Analyze what worked and what didn’t.
- Reflect and learn: Revisit your notes to track your progress and adapt your technique.
Ask for Feedback
Sometimes a fresh pair of eyes can see what we miss. Don’t hesitate to ask fellow artists or an art teacher for input. They might offer insights or suggestions that hadn’t crossed your mind.
In the world of watercolor, every mistake is a step toward becoming a better artist. So next time you see a hard line, embrace it as a learning tool and let it guide you to improve your art!