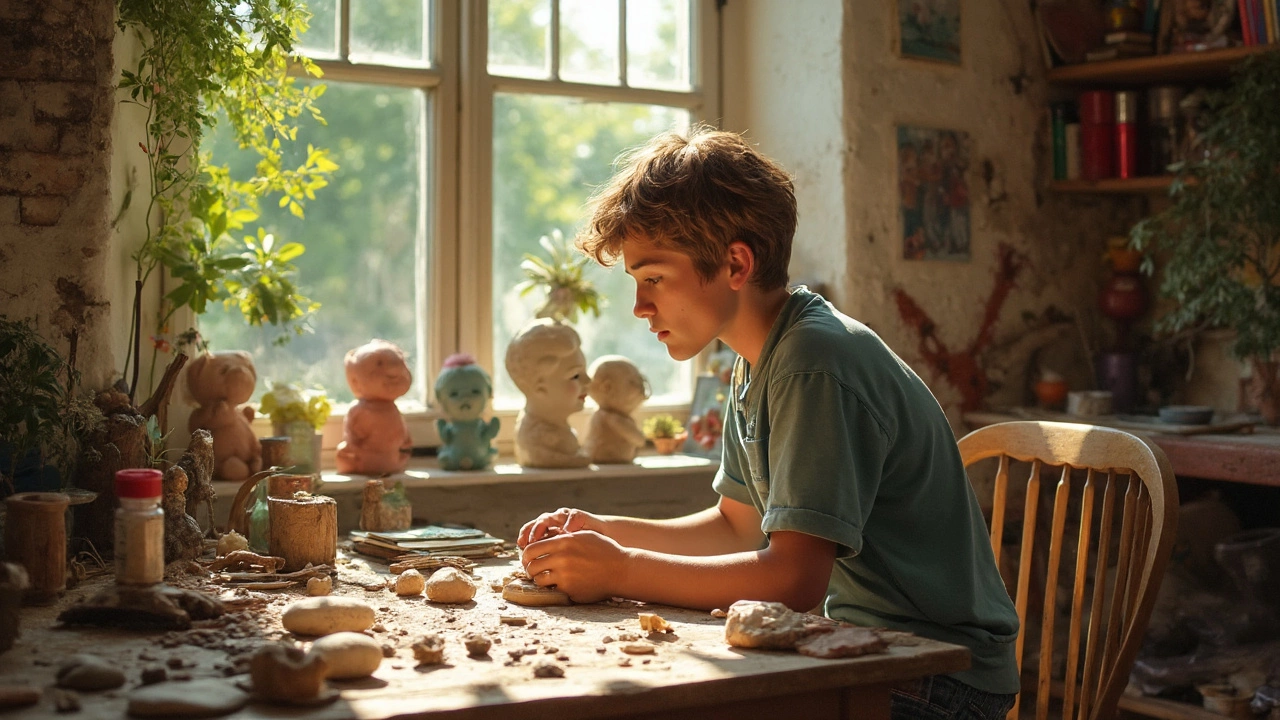
Ever looked at a sculpture and thought, 'I could never do that'? Well, guess what? You totally can! Starting with something simple is key, and you don’t need a fancy studio or expensive materials to get going.
First off, let's talk materials. You can sculpt with all sorts of stuff hanging around the house. Clay is the go-to for many beginners because it's easy to mold and doesn't require special tools. If clay feels too committed, start with something super approachable like play dough. If you're feeling adventurous, grab some soap and a paring knife—just be careful when carving!
Next comes the fun part: the basic techniques. Whether you’re pinching clay or shaving soap, the trick is to start small. Basic techniques like scoring (that's just making tiny lines so two pieces stick better) help hold your work together. Think of it as the glue that makes your sculpture more sturdy.
Taking these small steps, you’ll find that making a sculpture is not just about creating something to look at; it's about the process and the unexpected results it can bring. Ready to get your hands a little messy? Let’s do it!
Choosing Materials Wisely
Diving into sculpture art starts with picking the right materials. The material you choose can make your process either smooth or a bit frustrating, so it's worth thinking about before you start.
Common Materials for Beginners
For first-timers, clay is a top pick. It's versatile and forgiving, allowing you to reshape as you go along. From air-dry clay that hardens overnight to traditional kiln-fired clay, there's something for every comfort level and budget.
If clay feels intimidating, consider using play dough. It's inexpensive and great for practicing shapes and techniques without pressure. And for a unique twist, why not try soap carving? It's a cost-effective way to create intricate designs, plus it smells great!
Getting Creative with Recycled Materials
Feeling eco-friendly? Use recycled materials like cardboard or tin foil. These readily available items can be molded into basic forms and layers. Just be sure to gather clean, sturdy pieces for your sculpture.
"Art is not about what you see, but what you make others see," said Edgar Degas. Choose a material that inspires you and conveys your vision.
Things to Consider
- Durability: Think about whether your sculpture needs to last. Some materials hold up better over time.
- Cost: Budget-friendly options abound; find what fits without breaking the bank.
- Tools: Consider what tools are required. Simple setups involve fewer tools and are less intimidating for beginners.
Materials and Techniques Table
| Material | Tools Needed | Difficulty Level |
|---|---|---|
| Clay | Hands, water, sculpting tools | Easy to Medium |
| Soap | Knife, patterns | Easy |
| Cardboard | Scissors, glue | Medium |
Remember, choosing the right material not only makes the process more enjoyable but also sets the tone for your creative journey. Whether you go traditional with clay or experiment with recyclables, picking wisely ensures a smoother ride in the world of simple sculpture.
Basic Techniques to Know
Alright, so you’ve got your hands on some materials and you’re ready to create a simple sculpture. What’s next? Let’s break down some basic techniques that every beginner should know.
Pinching and Coiling
These are your bread and butter techniques when working with clay. Pinching involves taking a ball of clay and gently pressing it between your fingers and thumb to shape it. It’s like making a pinch pot in art class—super straightforward!
Coiling's a bit different. Roll out long, snake-like pieces of clay and layer them to create shapes. This is fantastic for building taller structures since the coils add extra stability.
Scoring and Slipping
Want two pieces to stick together like they were always meant to be? You need to score and slip. Scoring means scratching hatch marks on the surfaces you want to join. Then, apply slip, which is like liquid clay glue, to the scored areas before pressing the pieces together.
Relief and Carving
If you’re working with something softer like soap or heavy play dough, carving comes into play. Use small tools like butter knives or even popsicle sticks. Relief involves scratching away bits from the surface to add texture or designs.
Safety First!
Quick reminder: if you’re using any tools, ensure they’re safe and appropriate for the material. It's hard to enjoy sculpture art with a kitchen knife in your foot! Be mindful of your work area and any sharp edges.
These basic techniques are the stepping stones to creating detailed and expressive art. Keep practicing, and soon you'll be whipping up sculptures in your sleep!
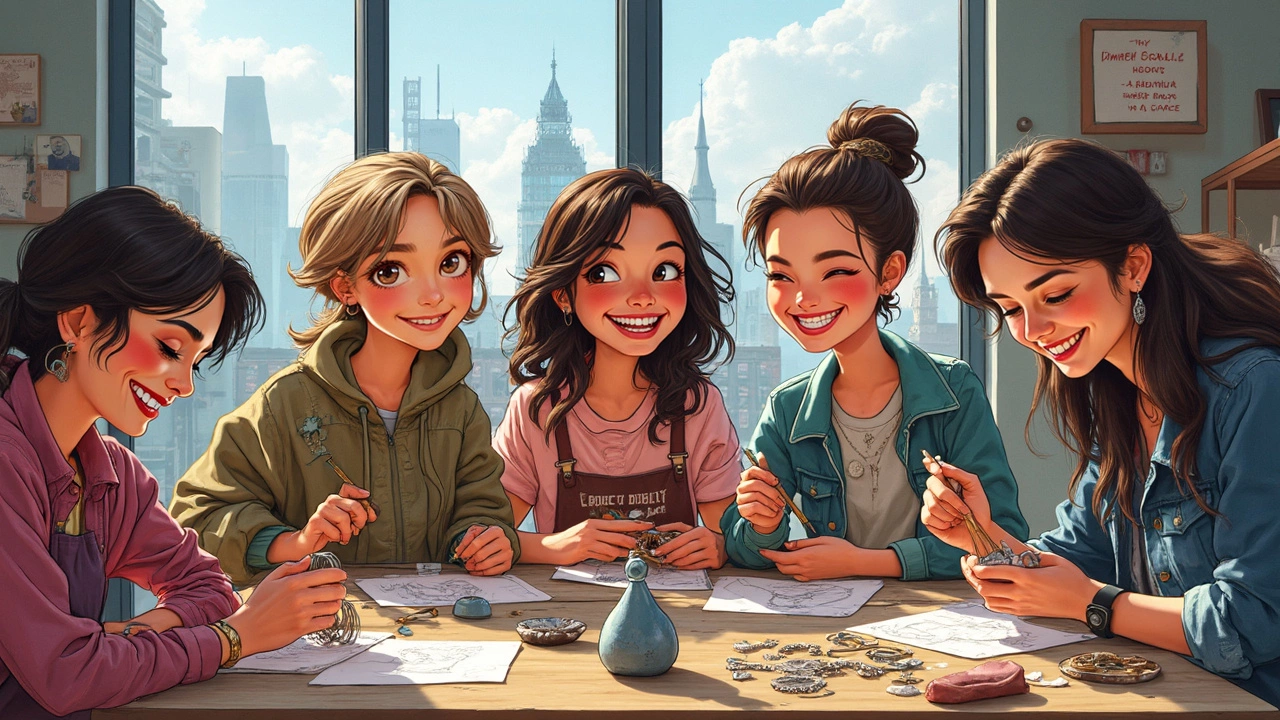
Adding Personal Touches
Now, you've got a basic shape ready and it's time to make it truly yours. This is where the magic happens! Personal touches are what distinguish your simple sculpture from every other creation out there.
Incorporating Texture
Adding texture is one way to give your piece character. You can use tools like forks, spoons, or even your fingers to create patterns. If you're working with clay, try pressing leaves or fabric onto the surface for a unique imprint.
Playing with Color
Color can change the whole vibe of your sculpture. You don't need to be Picasso to experiment a bit. For clay, use acrylic paints. They're cheap, vibrant, and fast-drying. If you're working with something like soap, try using food coloring or natural dyes.
Telling a Story
Maybe your sculpture is a small animal or a figure. Add accessories that tell a story. Little props made of wire or toothpicks can add context. It's like setting a scene in a tiny theatrical play!
Fun Fact
Did you know ancient sculptures were often painted in vibrant colors that faded over time? So, if you’ve ever thought classical statues were always marble-white, here’s a neat twist!
Documenting Progress
For those who love sharing their art journey, take photos as you go. It's both a learning process and a cool way to see how far you've come. Share these on social media or keep a scrapbook for your own enjoyment.
Feel free to mix and match these ideas. The main goal here is to have fun while making something uniquely yours. After all, art is about expressing individuality and creativity.
Common Mistakes and Tips
Diving into sculpture art for the first time can feel a bit overwhelming. While it's all about exploration and getting your hands dirty, knowing what common mistakes to avoid can save you a lot of frustration. Let's break down some hiccups you might encounter and tips to steer clear of them.
Choosing the Wrong Material
One of the biggest rookie mistakes is picking the wrong material for your project. If you're new to simple sculpture, opt for forgiving materials like clay or easy-to-carve soap. Materials like hard stone or metal are advanced and can be discouraging when you're just starting out.
Skipping the Planning
Another common pitfall is jumping straight into sculpting without a clear plan. It might be tempting to dive in, but sketching out a rough design first can help guide your work and prevent wasted effort. Stick figures are fine—it's just about getting the idea down.
Overworking Your Piece
It’s easy to get caught up in perfecting every detail and end up overworking your sculpture. This might lead to cracking, especially with clay, or you might carve away more than intended on soft materials.
- Tip: Take regular breaks. Step back and assess your work periodically to keep from overdoing it.
Ignoring Proportions
Proportions can be tricky but are crucial for any piece, even a beginner sculpture. Start with simple, proportionate forms. If you're making a sculpture of a person, for instance, make sure arms aren’t longer than legs unless it’s intentional!
Rushing the Drying Process
Everyone wants to see their masterpiece finished, but rushing the drying stage can undo all your hard work. Especially with clay, drying slowly at room temperature reduces the risk of cracking.
- Tip: Cover your piece with a damp cloth as it dries to control the moisture release.
While you're bound to face some hiccups along the way, remember that's all part of learning how to make sculpture. Embrace the process, have fun, and don't be afraid to make mistakes—they're just stepping stones to success!