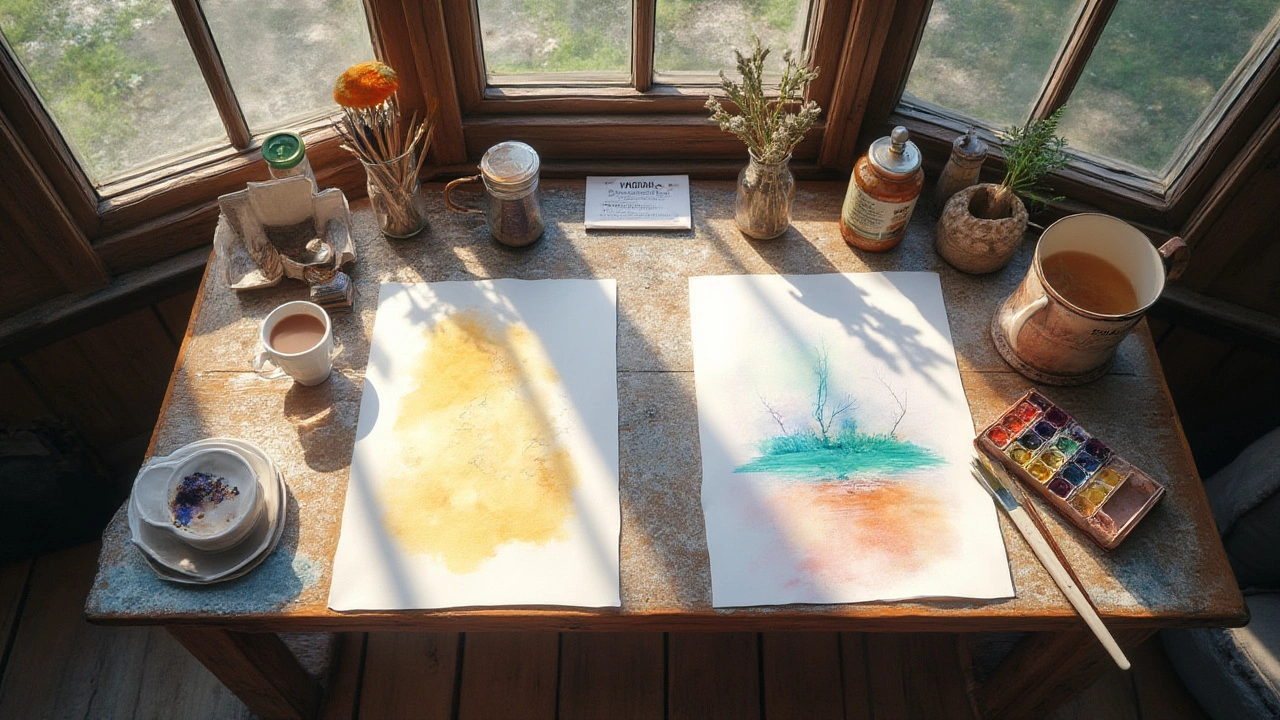
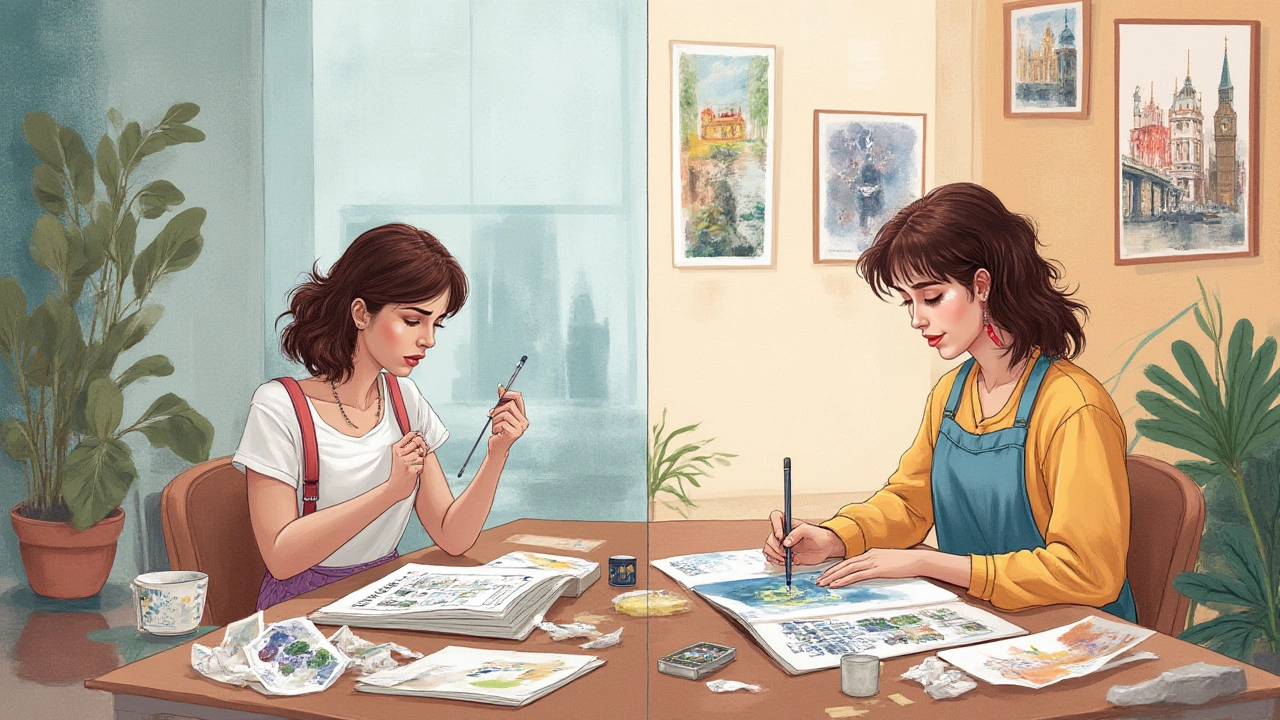
Picture this: you’re staring at a fresh, blindingly white sheet of watercolor paper. Your paints stare back, full of potential. But there’s a nagging question—should you sketch something first, or just start painting? It seems trivial, but artists get weirdly passionate about this. Some say sketching is like training wheels, others treat it as an essential safety net. There are strong opinions. But the truth isn’t black and white—it’s as varied as the colors in your paint box. Let’s break down what actually happens when you sketch before watercolor and what changes when you don’t.
The Case for Sketching: Why Artists Reach for Pencils First
Behind most magazine illustrations, architectural watercolors, and botanical paintings, you’ll usually spot faint graphite or ink lines. What’s the deal? When you sketch first, you get a blueprint. Mistakes can be erased or refined before the paint ever touches paper. Believe it or not, even John Singer Sargent occasionally roughed out his figures before adding his legendary watercolor washes.
Sketching gives you control, plain and simple. Facial proportions, horizon lines, and tricky objects land exactly where they should. You’re less likely to wind up with a horse that looks like it’s melting in the sun. And for beginners? It helps a ton. Mapping out a flower or cityscape reduces the mental load. You’re not staring down hundreds of decisions at once; you already have a path to follow.
But there’s more to it. Some artists use colored pencils (soft pinks, aquas, or yellows) to make guidelines that disappear under washes, or even ink for bold, permanent outlines. When you pair delicate graphite with the grainy texture of watercolor paper, you get a dreamy mesh of lines and color.
Still, you have to be picky about the tool. Graphite pencils are classic, but go too dark with a 2B or softer and you’ll wind up with grayish mud under your sky blues. Try an HB or H for lighter lines. Erasers are your friends, but they can scuff the surface, making watercolor behave weirdly. Kneaded erasers (those funny gray things that look like gum) only lift pigment and leave paper smooth. Mechanical pencils are popular for their sharp, precise lines, great for detail work or technical drawings.
If you plan to use ink, let it dry completely before painting to avoid messy bleeding. Waterproof pens like Sakura Micron, Uni Pin, or Pilot Drawing Pens are safe choices. Some artists love seeing their initial sketch peeking through the washes; others erase most of it before painting. It’s all personal taste.
Here’s a quick tip: To avoid smudging the pencil lines into your colors, try working lightly. Several studies by material manufacturers (like Winsor & Newton) mention that lighter pencil grades rarely show through multiple washes, especially if you dab off any extra graphite with a kneaded eraser before painting. That’s why even advanced watercolorists sketch lightly, not heavily.
Going Direct: The Lowdown on Painting Without a Sketch
Ever watched those mesmerizing ‘direct watercolor’ demos? The artist loads a big round brush with color and starts painting right away, no guides, no outlines, just confidence. It looks thrilling, almost risky. This approach is about embracing unpredictability and trusting your instincts.
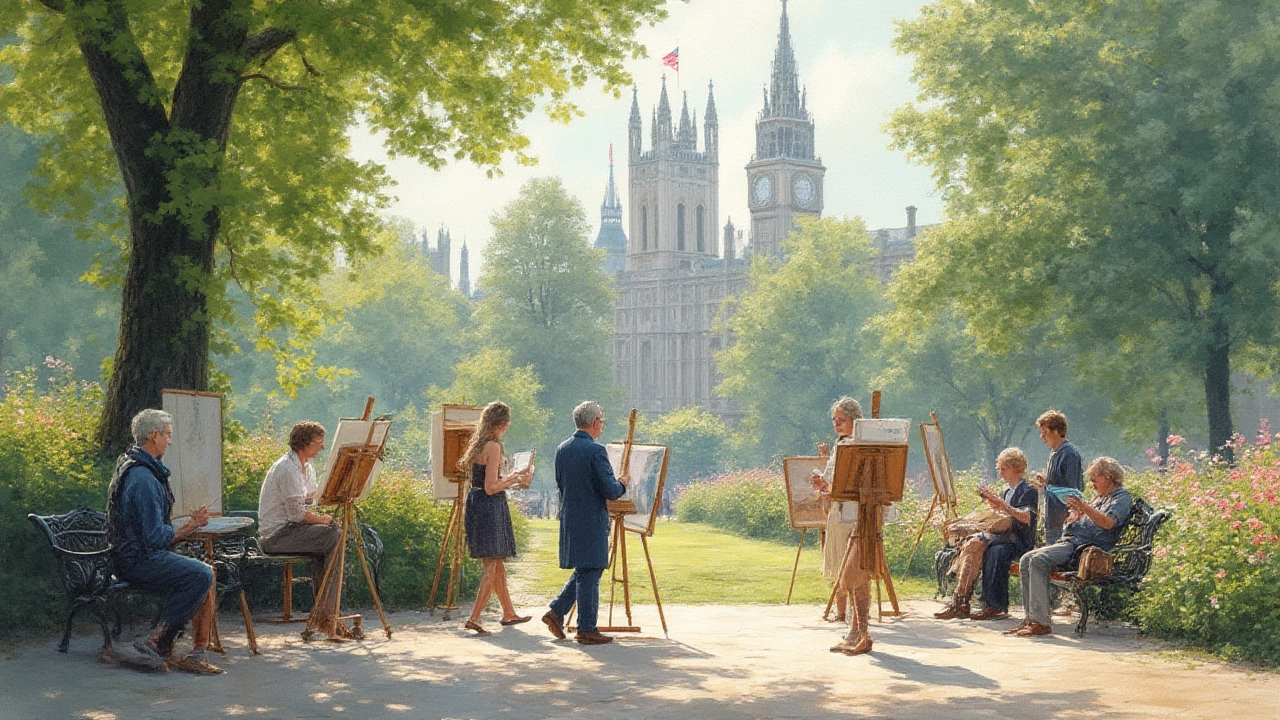
No sketch means no safety net—and that can send your creativity into overdrive. You aren't boxed in by pre-drawn lines; you let the brush and water lead the way. This is how many plein air artists (those who paint outdoors, quickly) work: the light changes fast, so there’s no time for detailed planning. You capture the mood instead of every brick.
But it’s not just for speed. Sometimes, going sketchless makes a painting feel more alive. Each brushstroke carries energy. Colors bleed and bloom in unexpected ways. Famous watercolorists like Charles Reid, Jean Haines, and Lars Lerin work this way precisely because it keeps their art loose and expressive.
But there’s a price. One misplaced stroke, and you can’t erase like you can with graphite. Watercolor is famously unforgiving—layering too much paint turns colors muddy and lifeless. It takes practice, planning, and a keen eye. You need to watch for the way the water flows, how much pigment you load, how each color spreads.
People who skip the sketch often spend a few minutes mentally mapping their painting first. They might break the scene into shapes or values. If you’re just starting out, you’ll likely find this tricky. One workaround? Use a light grid drawn with a non-staining watercolor pencil and wash it away as you work. Or, try a “value map”—with just one light color—laying down shadow shapes instead of lines.
The upside is freedom. Direct watercolor can be exhilarating. You’ll get better at seeing the big picture and letting “happy accidents” become the best part of your piece. Plus, fewer pencil marks mean cleaner, brighter colors (especially with transparent paints).
Common Concerns: Smudges, Staining, and Faint Lines
Here’s the stuff people complain about the most: pencil smudges ruining white sections, dark lines showing through every wash, and that moment when you realize you can’t erase anything after the first drop of paint. Yep, the struggle is real.
Actually, there are a few easy fixes for most of these problems. Want to avoid pencil marks showing? Stick with harder pencils (H, 2H) or erase gently before painting so only the faintest shadow is left. Some artists like the faint lines—it gives character and grounds the painting. Others want them invisible, especially for soft, luminous effects (think of those moody, misty landscapes).
If you see tiny specks of graphite floating around once you add water, you probably used too much pressure or too soft a pencil. Next time, barely touch the paper. And here’s a neat trick: do a quick “ghost erase” by gently sweeping a kneaded eraser over the finished sketch before you start with the washes.
Ink is another beast. Water-soluble inks will run and stain unless you let them dry for ages (at least 30 minutes, but sometimes longer, depending on humidity), or you use a heat gun. Waterproof pens are your safest bet if you love that crisp comic-book look.
Not all paper is the same, either. Cold-pressed watercolor paper (the one with a bit of tooth) grabs graphite and ink differently from smoother hot-pressed sheets. With rough paper, pencil lines tend to vanish under a single wash. Hot-pressed? Those lines stick around, whether you want them or not. So match your paper to your style—testing on scraps first always helps.
History fact: Back in the 19th century, architects making watercolor renderings of buildings had strict rules—ink the drawing with technical pens, then float transparent watercolor over the top. That clean, precise look is still popular in urban sketching circles today.
Mixing Methods: Hybrid Approaches for Every Mood
Can’t choose between sketching and bold, free painting? You don’t have to. Tons of artists use hybrid techniques. Maybe start with a loose sketch for the main structure, paint most of it, and then sharpen details with colored pencils or ink after it dries. It’s the best of both worlds—guidance mixed with freedom.
Another trick: try sketching certain sections only. Map out tricky hands or faces, but leave backgrounds for spontaneous brush play. Flow painters—those folks who embrace giant washes and soft blends—sometimes ignore details until the very end, then bring in crisp lines with a rigger brush or white gel pen.
For practice, do “thumbnail studies”—tiny rough sketches in pencil to figure out the composition or value range. Then, when you hit the big sheet, skip the sketch entirely and paint with confidence.
If you want to see pros pull this off, check out Yuko Shimizu for brilliant ink-and-watercolor pop, or urban sketchers like James Richards. They blend fast location sketches with juicy watercolor accents, finding the perfect balance between structure and spontaneity.
Hybrid approaches are great for building your skills, too. They help you get used to the way watercolor reacts while offering fallback support when you need it. Plus, there’s no rule that says you can’t keep experimenting with every new piece.
Practical Tips: Find Your Best Watercolor Routine
Here’s a table with a few handy facts and stats about watercolor sketching habits, compiled from real artists’ surveys and materials brands:
| Habit | Percentage of Artists | Common Tools | Useful Tip |
|---|---|---|---|
| Always Sketch First | 58% | HB pencil, kneaded eraser, cold-press paper | Keep lines light; test eraser first |
| Sometimes Sketch (depends on subject) | 29% | H pencil, ink pen, colored pencil | Delete guidelines as you go |
| Never Sketch First | 13% | Large brush, soft watercolor pencil for grids | Outline shapes in your mind first |
Trying both approaches is the fastest way to learn. If you’re nervous, start with a sketch—no shame, just think of it as a draft. Want a looser style? Practice painting small objects without any pencil at all. Try apples, mugs, or clouds. The fewer lines you use, the more you can focus on color and flow.
Don’t worry about erasing every last bit of graphite or ink. Plenty of museums show famous artists’ watercolors with visible pencil marks. It’s part of the process, a nod to the time and thought that went into the piece.
If colors seem muddier than expected, it might be from heavy-handed sketching. Go lighter next time. If you crave more precision, sketch out the sections that make you anxious and freehand the rest. Play with different paper textures. Cold press for subtle blending, hot press if you want sharp lines (but be easy with the pencil).
Remember, there’s no right or wrong here. What matters most is how you feel when you paint—the joy, the calm, the chance to make a beautiful mess. So, do you sketch before watercolor? Or just jump in? Either way, your next page is full of possibilities. Grab your pencil… or don’t. The adventure is totally up to you.